Surprise, surprise… back to school is here!
And after seven wonderful weeks of summer, I am refreshed and full of energy to plan for Meet the Teacher. This is the first school event where I meet my new fourth graders and their families.
To organize Meet the Teacher, I set up stations to cut down the stress of the back to school madness and make the most of the time with each family.
Table of Contents
Stations for Meet the Teacher
Prior to using stations, I did not look forward to this event at all! It made me uncomfortable, and I had no idea where to start. Since the families showed up at different times, it was hard to be a good host.
To make things worse, whenever I had a crowd of faces staring at me, I would stand tall and give parents a heap of information quickly.
Then, to go through all of it again a couple of minutes after. I think by now you get the picture of the mess I had going on.
Following the embarrassment, I quickly realized I needed to get organized and get my information across while not losing anyone in the process, including myself.
At last, the solution to have different stations around the room was simple and effective for Meet the Teacher Day.
Families now can gather information independently freeing me from repeating the same information every couple of minutes.
Now, I can greet and mingle with everyone that walks in the room.
Preparing the Stations
Before the families arrive, I space out the stations to avoid families crowding in one area. I do this by designating six areas in the room to be a station. I make sure the area has space for a table and two adults.
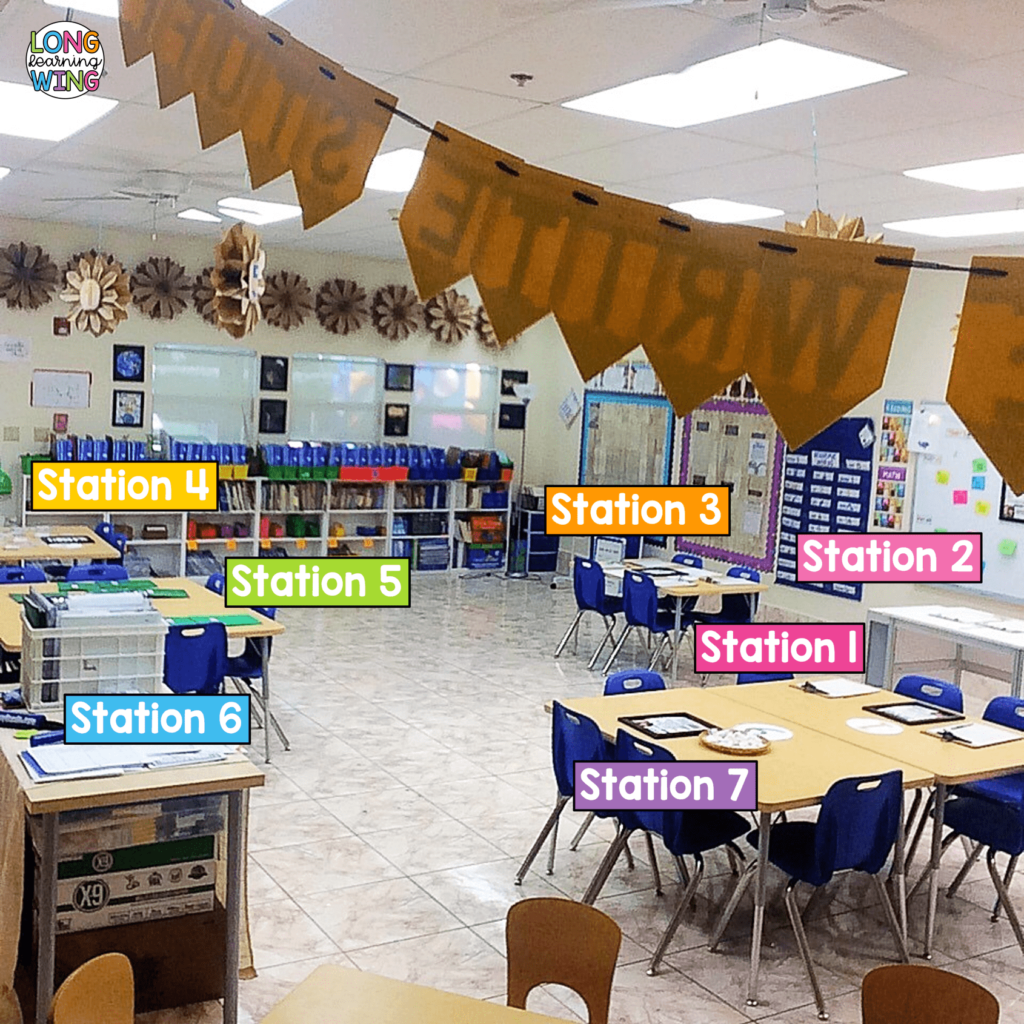
Now that the layout is done, I numbered each area and set up the handouts the families are going to find in each station.
This next part is where most of my prep time goes prior to Meet the Teacher Day.
I write short directions of what to do in each station and fill out any sheets that require a class roster.
This makes it eligible to read and easier on the family. After this, each station is ready to go.
Stations for Meet the Teacher
Station 1: Parent Sign In
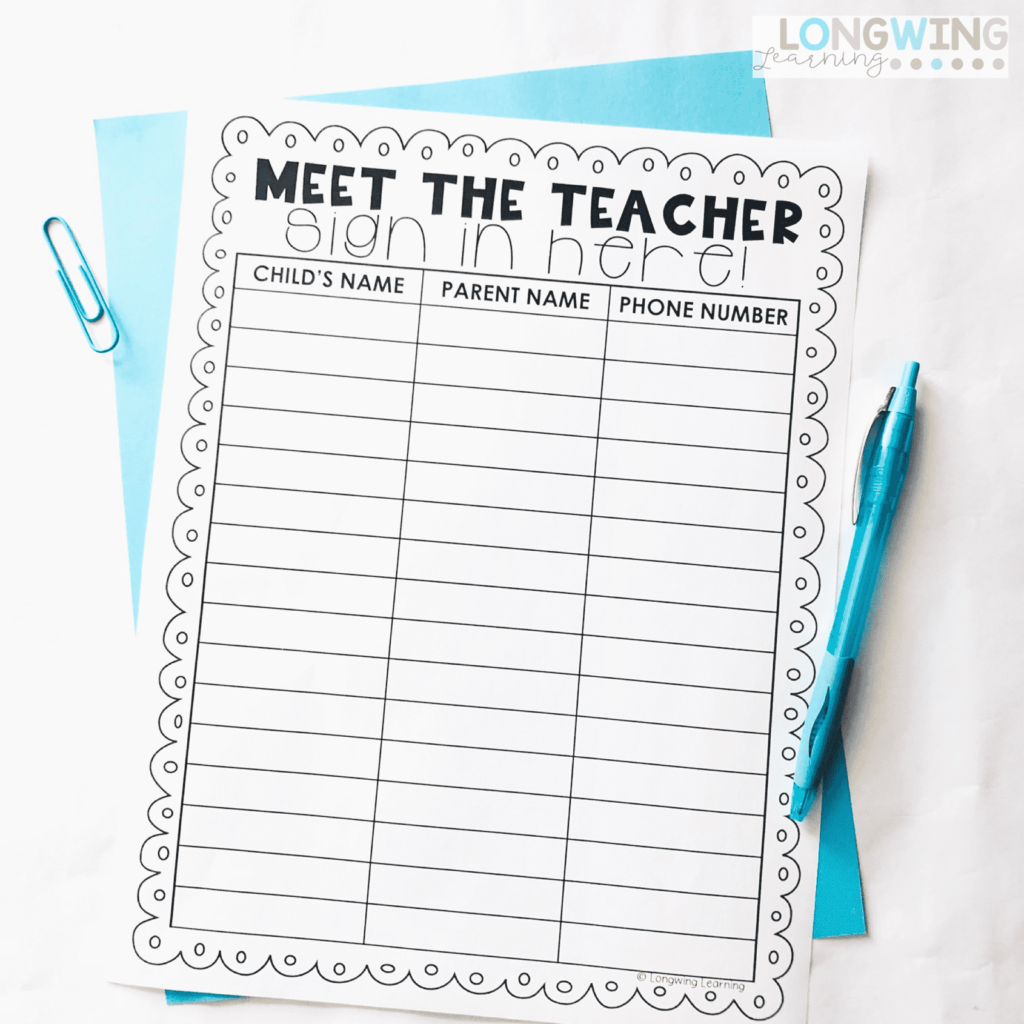
The rotation first starts with the families signing in. Some years my school have a designated sheet so, I’ll use that instead.
The first sign-in sheet has much of the class roster filled out. All they do is verified the information and sign.
I fill out with the class roster so; I don’t have to decipher whose information it is later.
Furthermore, the sign-up sheet lets me know who showed up and who I need to call. I place the sign-in sheets in clipboards because they are less likely to be confused with papers to take home.
Funny story, two years back I had sign-in sheets with holes and realized parents were using their hands as a support to write.
I was in shock because they could use any tables to do that! But for some odd reason, they don’t sit. So, clipboards were the perfect solution!
Station 2: Classroom Donations
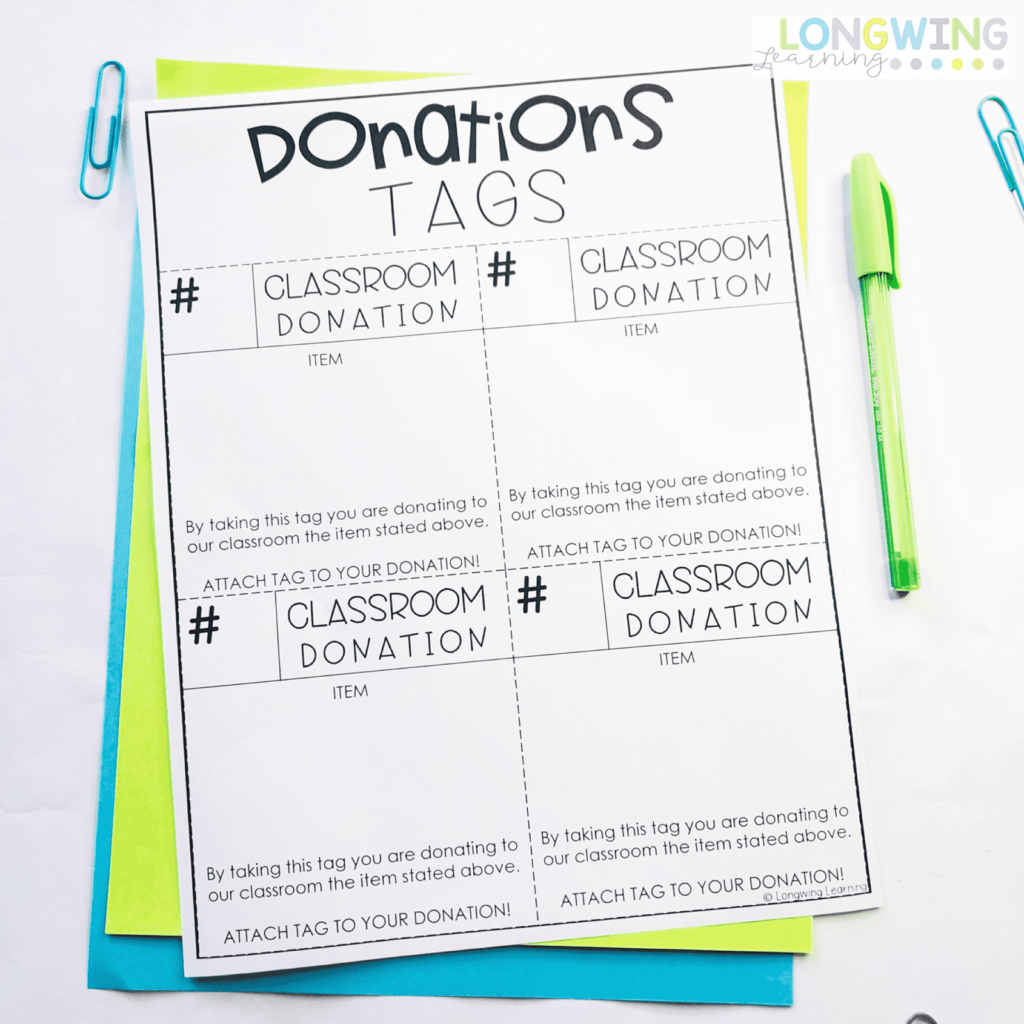
This next station is one of my favorites! Here families have the option to donate supplies to the classroom.
MY SYSTEM TO COLLECT CLASSROOM DONATIONS
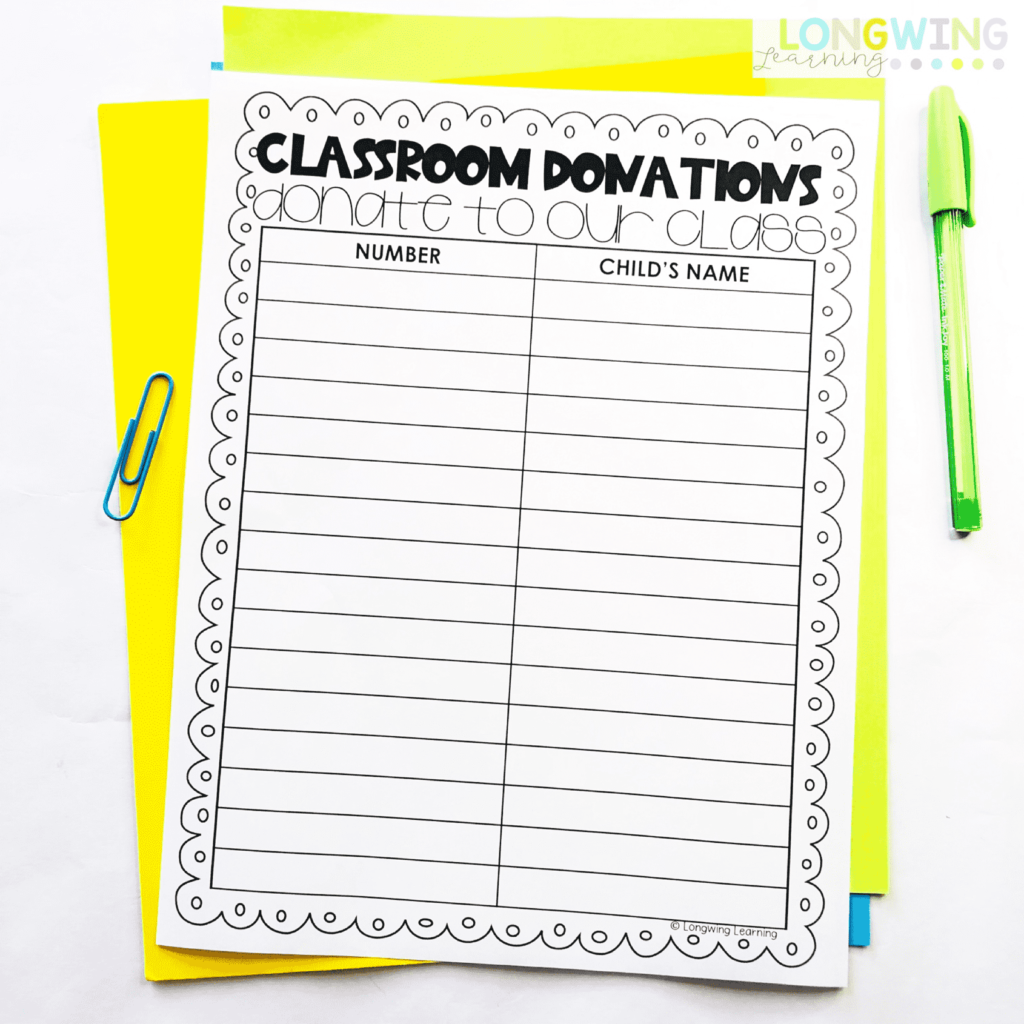
First, I number the donation sign-up sheet all the way to the bottom.
Then, I create an extensive wishlist of materials on Amazon.
As I create the Amazon wishlist, I write down the name of the item on the donation sign-up sheet.
Now that each item has a designated number it makes it easier to keep track of donations.
Afterward, I add a picture, the name of the item and its number in each donation tag.
These donation tags get taped to the whiteboard. Now as families sign up to donate, they take the donation tag with them.
Subsequently, they return the donation tag with the item. In this manner, I can keep track of classroom donations and send thank-you letters.
Recently, I started adding a due date for families to bring in their donations. This has sped up the time I receive each donation.
It also gives families another chance to pick up another donation item someone didn’t bring.
Station 3: Lunch and Transportation
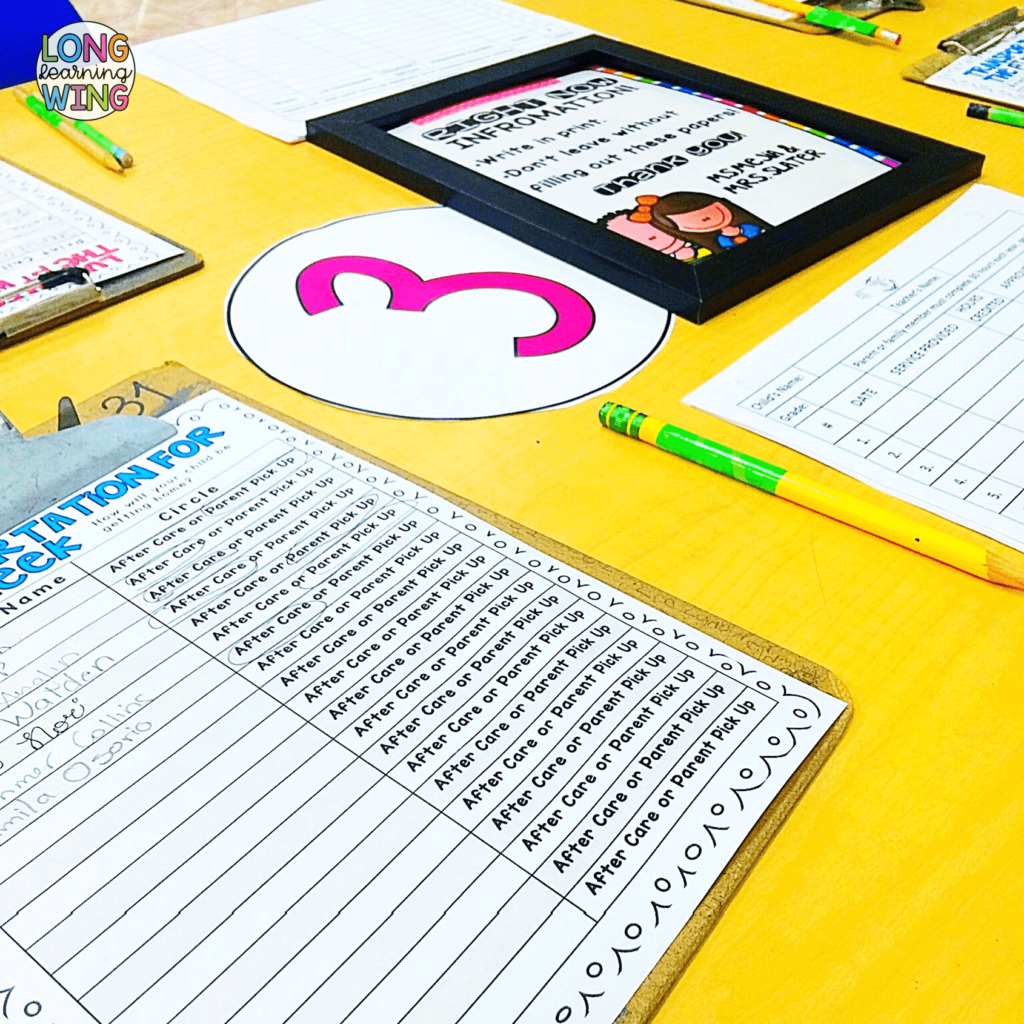
We are halfway through the stations. Station three is all about two important things that make the first day run smoothly: lunch and transportation.
In station three, families use the lunch and transportation sheet to circle their child’s lunch preference and transportation for the first day.
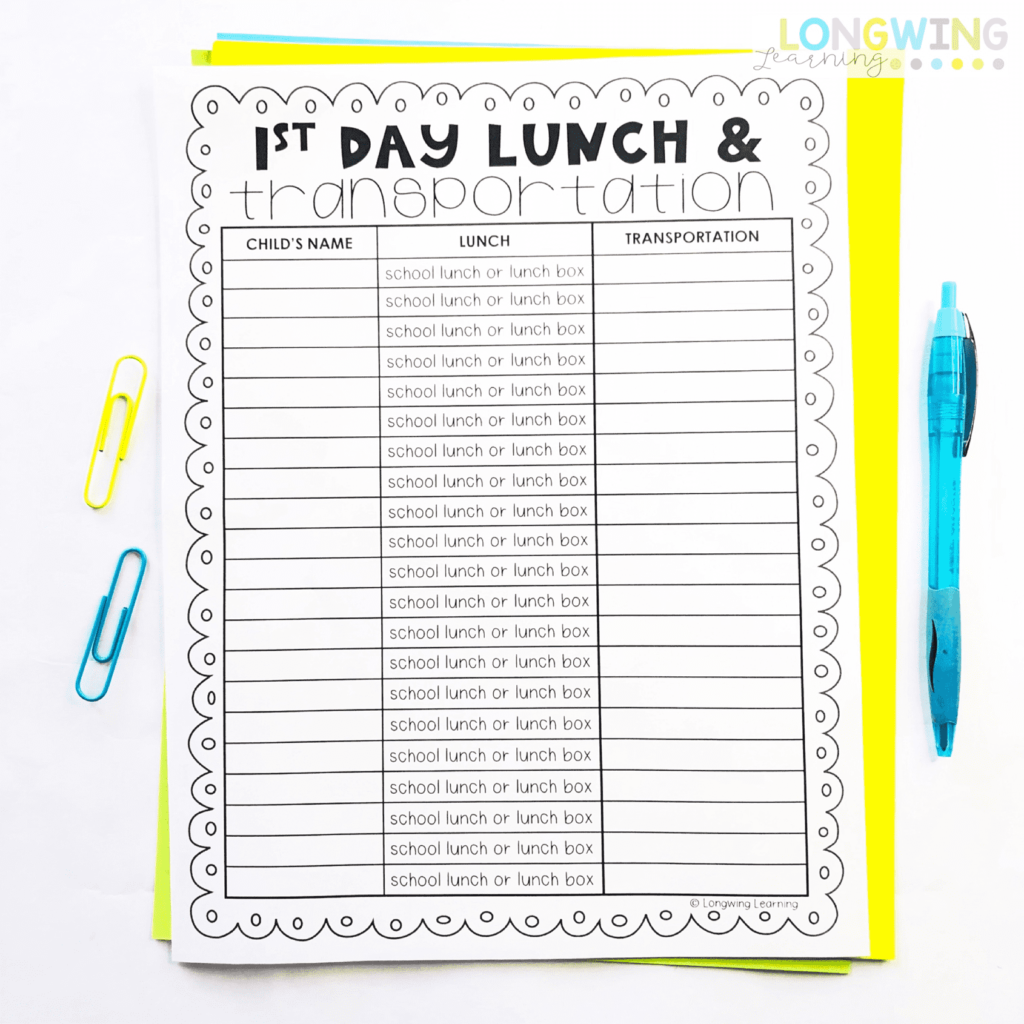
In addition, I put another sign-up sheet for lunch and transportation after the first day. Many times, this information changes.
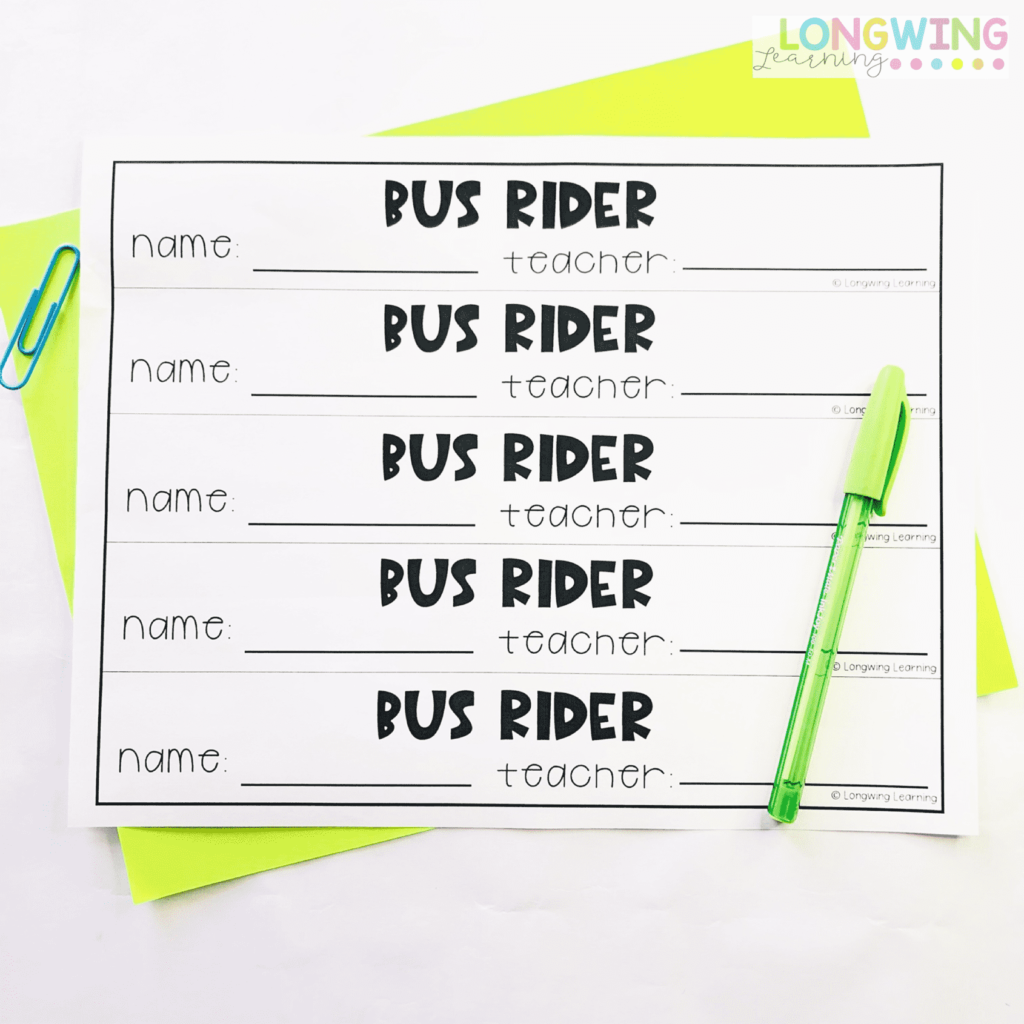
Lunch and transportation are two things I need to know ahead of time for the first day and week to run smooth.
Station 4: Teacher Contact Information
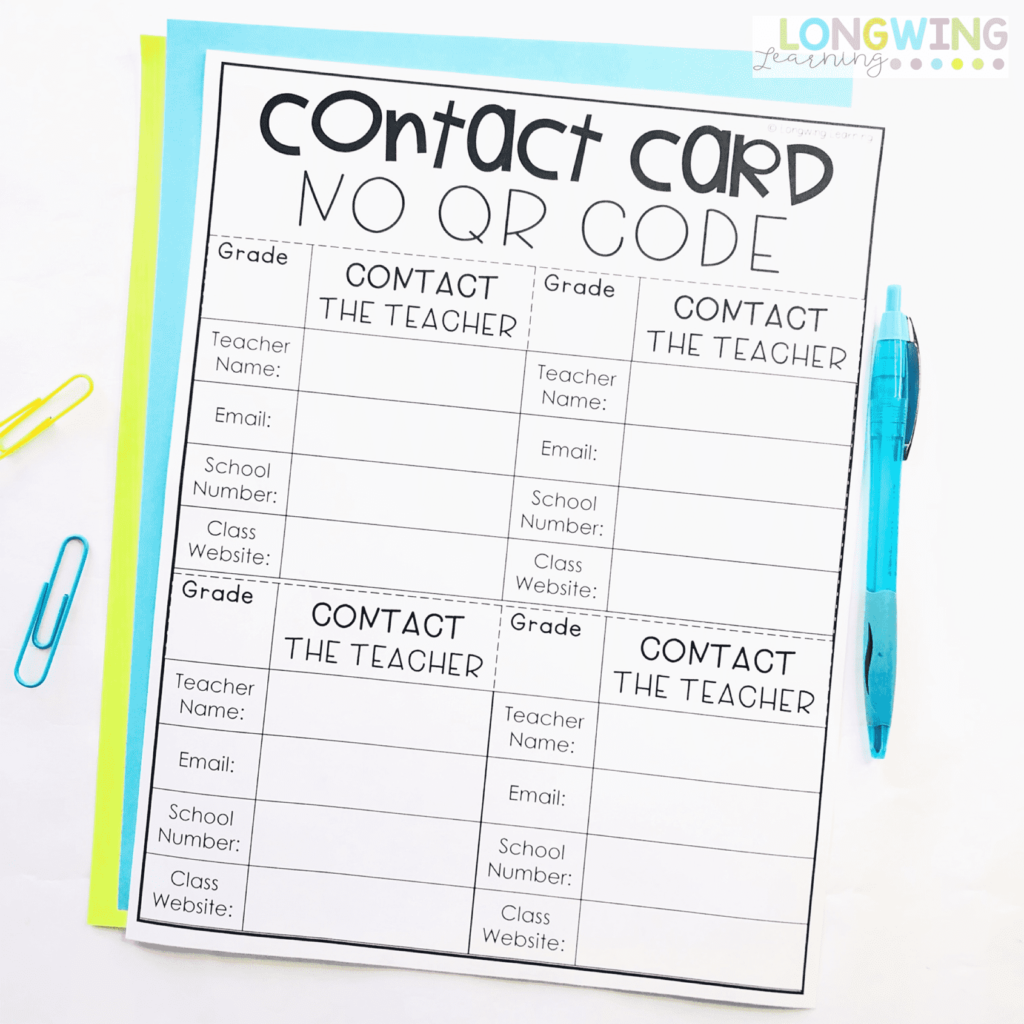
Next, the teacher contact is all the different ways families can contact me.
I make teacher contact cards with my information. It shows my email address, school phone number, classroom website, and the Remind class code.
This is an easy way for families to have the information in one place. I also make extra cards and put them aside for the first parent conference.
Moreover, I add magnetic tape to the cards, so they can put it on their refrigerator.
I have many families tell me throughout the year how much this helps them.
But this is not all, for all the high-tech parents, I include a QR code that automatically leads them to our classroom website.
You can also make a QR code for free! Click here to take you the website I used to make my QR code.
Station 5: Classroom Information
The fifth station in the classroom is where families find all the information related to our classroom and school.
I use cheap folders from the dollar tree to place the information in. If the school provides a manila folder, I use that instead.
Many of the papers are mandatory from the school. I just add a quick overview of the information pertaining to the classroom such as schedule and grading.
Inside of the folders, I condense the information by using a foldable and print it out on bright Astrobright colored paper, so it screams read me!
I also write the name of each child on the folders. This is another way to know who showed up to the event.
This is another station where I make extra copies to pass out during parent-conferences. Many families feel overwhelmed by the number of papers they receive on this day.
I try to minimize the paperwork they receive so it won’t end up as just another paper.
Station 6: Collecting Supplies
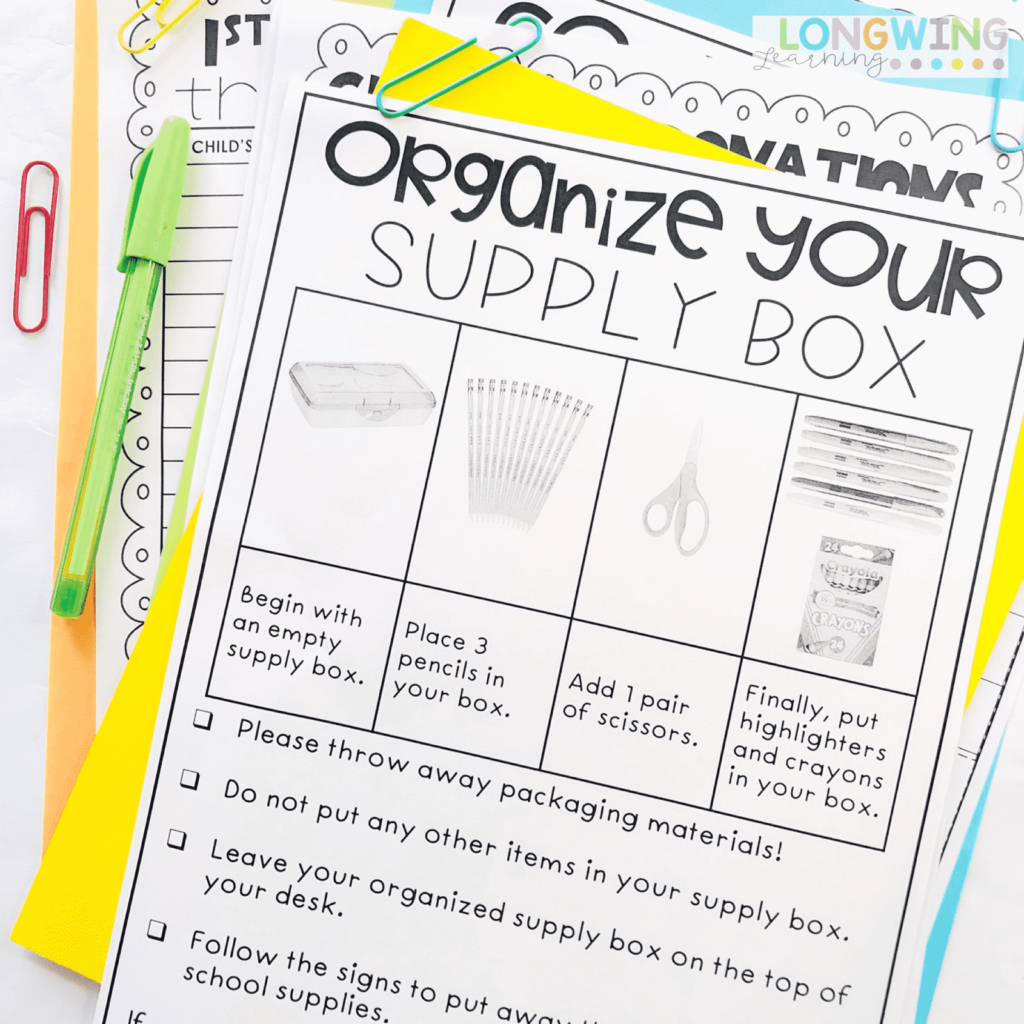
Collecting supplies is a big deal for me. It is my main goal for the families to help me organize supplies. I simply do this by having a station just for it.
This station has two parts. The first part has the kids put together their supply pouch. Their supply pouch is what they mostly use in class and take home.
I set up directions with pictures and saves me time from doing this on the first day.
The next part is putting away the other supplies that need labels or stay in the class. I gather boxes from the front office and label each one with a supply.
As families walk around the room, they place supplies inside the boxes and check off their child’s name.
In the end, all the supplies get sorted! I put a lid on the box and store the supplies in the classroom.
I also leave the labels in the boxes. Throughout the year, it makes it easier to look for supplies to replenish.
Station 7: Thank You Gift
This the last stop for families! After successfully, making it to the last station they have a small treat waiting for them.
Food is a big motivator for children and adults. In this last station, I try to provide a small snack.
This year I passed out mints since it was cost-effective and easy to set up.
Wrapping It Up
Overall, having families visit each station in the classroom was a success. It gives them and their child a chance to familiarize themselves with the classroom.
And, it gives me an opportunity to organize materials and collect information. No more awkward stares and repeating information.
By having this system in place, it has turned this one dreadful event to one I look forward to at the beginning of every year.








3 Responses
Love this idea!!
Hey Tammy, thank you so much for your feedback! I’m glad to hear you like this idea of organizing meet the teacher night this way.😊
As a kid who loved my school supplies and took care of them, I would be upset to throw away the crayon box. I would not like that at all.