

I use Wonders as my core reading curriculum, but I still like finding ways to make the lessons work for the students sitting in front of me. I want students reading independently, talking about what they understand, moving around the room, going back into the text, and making connections between reading, writing, grammar, and spelling.
This is the first full week of fifth grade, and we are diving straight into the curriculum by starting with Unit 1, Text Set 1. If you teach Wonders 5th grade, you already know the teacher’s manual gives you the what.
What it does not always give you is the how, the little moves that make a lesson actually land with ten and eleven year old’s.
So instead of just opening the book and following the script, I want to share what this text set really looks like in my classroom, day by day, from reading through writing, grammar, and spelling.
This post is the first in a series I am planning to write throughout the year as I work through the Wonders 2023 curriculum with my students.
My goal is not to replace your teacher’s manual. It is to give you real ideas you can drop into your own lessons, whether you use every one of them or just pull out the pieces that fit your kids.
Disclaimer: This post is not sponsored by, endorsed by, or affiliated with McGraw Hill or the Wonders curriculum. All ideas and opinions shared here are my own. I am simply a classroom teacher sharing the strategies, routines, and activities I use with my students.
Save this post to your Wonders Pinterest board now, since I will be linking each new text set back to this one as the series grows.
Table of Contents
What’s In Wonders 5th Grade Unit 1 Text Set 1?
Text Set 1 in Wonders 5th Grade Unit 1 includes three connected texts: A Life in the Woods, which is the shared read, Camping with the President, which is the anchor text, and A Walk with Teddy, which is a paired selection.
The reading skills are primary and secondary sources, cause and effect, and author’s perspective.
On the vocabulary side, students practice using context clues to figure out homographs, along with a set of vocabulary words from the curriculum.
Reading: Primary and Secondary Sources, Cause and Effect, and Homographs
Start With a Picture, Not the Book
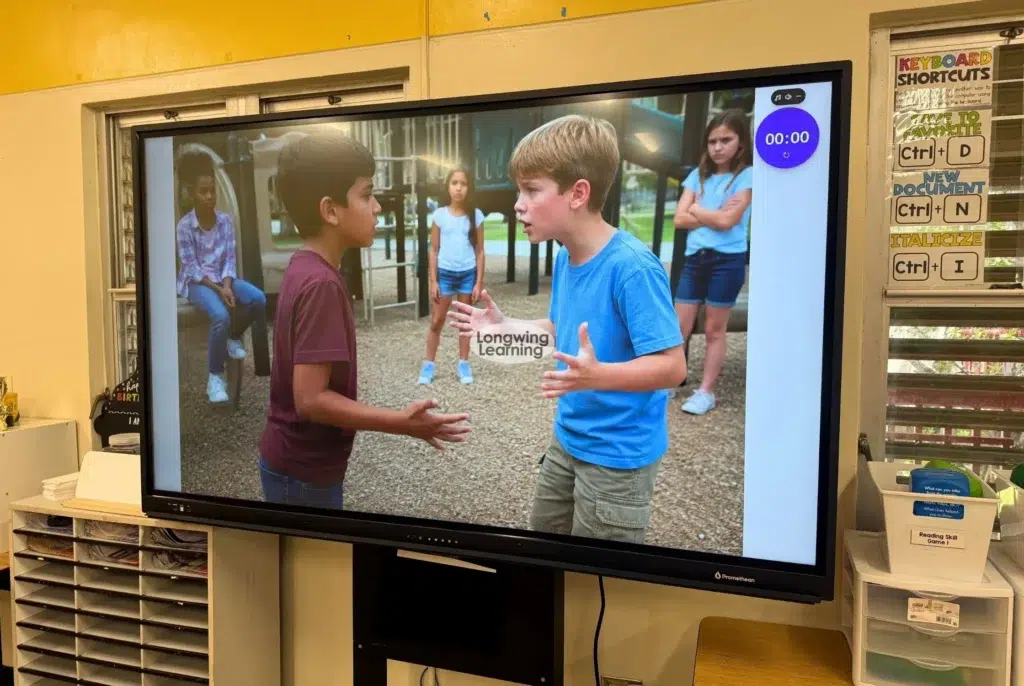
Before I ever open the story, I introduce the reading skills using a picture instead of text. I use one that shows two boys arguing on a playground while a group of girls watches from the background.
Students first look at the picture on their own and describe what they see and what they think is happening. Then they talk it over in their groups and one student shares their group’s thinking with the class.
Once everyone has shared, I connect the picture to primary and secondary sources. The boys in the argument are firsthand witnesses because they were there and involved. If one of them wrote about it later in a journal or gave an interview, that writing becomes a primary source.
The girls watching were also present, so if they wrote a letter to the teacher describing what they saw, that letter counts as a primary source too, since they witnessed the event directly.
Anyone retelling the story after the fact, without having been there, is working from a secondary source instead.
From there we move into cause and effect using the same picture. I ask what students think happened, and they usually guess the boys had some kind of problem, which becomes the cause.
Then I ask what resulted from that, and they land on the boys arguing, which becomes the effect. The part that trips kids up is not the concept itself, it is knowing which question word points to which piece.
I tell them the cause is what led to something, and the effect is what happened as a result, so as long as they can identify which is which, they do not need to get stuck on the exact words why or what.
We touch briefly on author’s perspective here too, though that skill really comes alive once we start reading the actual stories.
Introducing Vocabulary
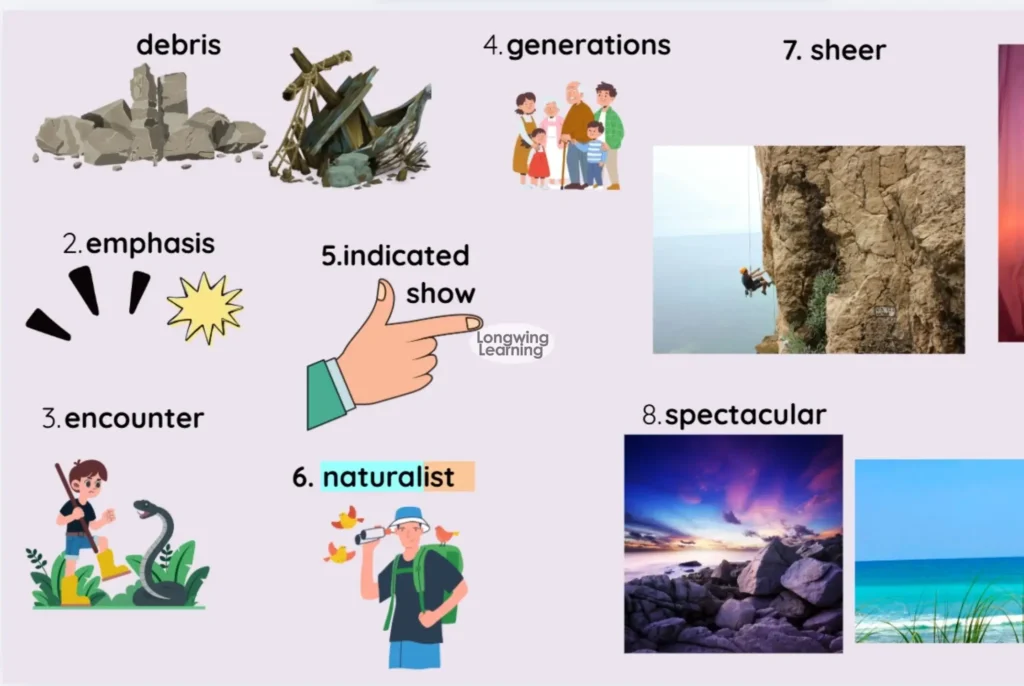
For vocabulary, I use the words and questions from the Reading and Writing Companion. Students repeat each word after me, and as we talk through the questions, I pull up a picture in Canva that represents the word.
Pairing the word with an image while we discuss it gives students another way into the meaning before they ever see it in context.
The online companion also includes photographs for the vocabulary words. I just find it easier to have it all in one space as we discuss each word.
Day One: Reading A Life in the Woods and Building the GIST
After introducing the skill and reviewing vocabulary, students read the first shared read, A Life in the Woods, independently first.
I want them to work out what they can on their own before I explain anything, so I hold off on unpacking the text until after their first read. Once they have read it alone, they talk in groups about what they understood, then we do a share out as a class.
From there we complete a GIST, which is a reading and writing strategty that comes from Releasing Writing previously known as ThinkSRSD.
Students answer five questions: who or what, did what, when and where, and why or how. Their answers do not need to be complete sentences at this stage, just short statements that capture the key details.
Once they have answered all five, they use those answers to build a summary sentence, starting with the when and where information first.
This step naturally pulls in the reading skill for the week. When we wrote our class summary together, students used the word because without me prompting them to, which let us point out that because is a signal word for cause and effect.
That is a much stronger lesson than telling students to memorize signal words, since they discovered the connection in their own writing.
Day Two: Rereading for Primary and Secondary Sources and Cause and Effect
On day two, students already have a sense of the story, so we reread specific chunks instead of the whole text again.
We start by identifying primary and secondary sources directly in the book. In A Life in the Woods, the journal entry written by the main character is the primary source, so students label it right in their text.
We spend most of our time on page 13 because it is the clearest spot in the text for practicing all three reading skills at once.
We also revisit the word dove, which works well for homograph practice, and I push students to use context clues from the surrounding sentences rather than guessing at the meaning.
For cause and effect, students complete a graphic organizer using a gradual release model. I model the first section, we work through the second section together in groups, and students complete the last section independently.
Most of this work happens orally in their groups rather than on paper, until the final independent section, where they record the cause and effect events they found.
Day Three: A Fast Kahoot and Camping with the President
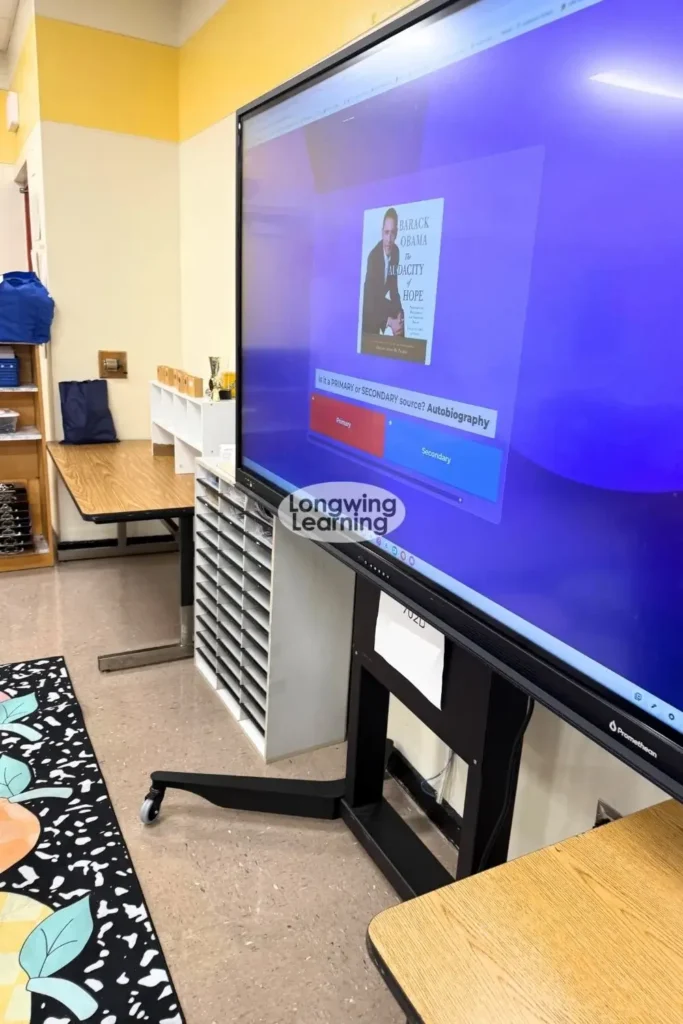
Day three starts with a quick, no login Kahoot review of primary and secondary sources.
Instead of using devices, students stand in the middle of the room and move left or right depending on whether they think the answer is primary or secondary.
They get about 20 seconds to decide, and once they pick a side, they have to stay there until the question ends. With 17 questions, this moves fast, and it gives me a quick read on who understands the concept and who still needs support, all without a single worksheet.
After the Kahoot, students read Camping with the President independently first, then discuss it in groups, complete another GIST, and write a summary sentence.
Once that is done, they take an AR quiz, which our school uses to check comprehension. Between the reading, the GIST, and the quiz, this story tends to take up most of day three, so grammar and writing get the spotlight instead.
Day Four: Sticky Notes for Homographs and Cause and Effect
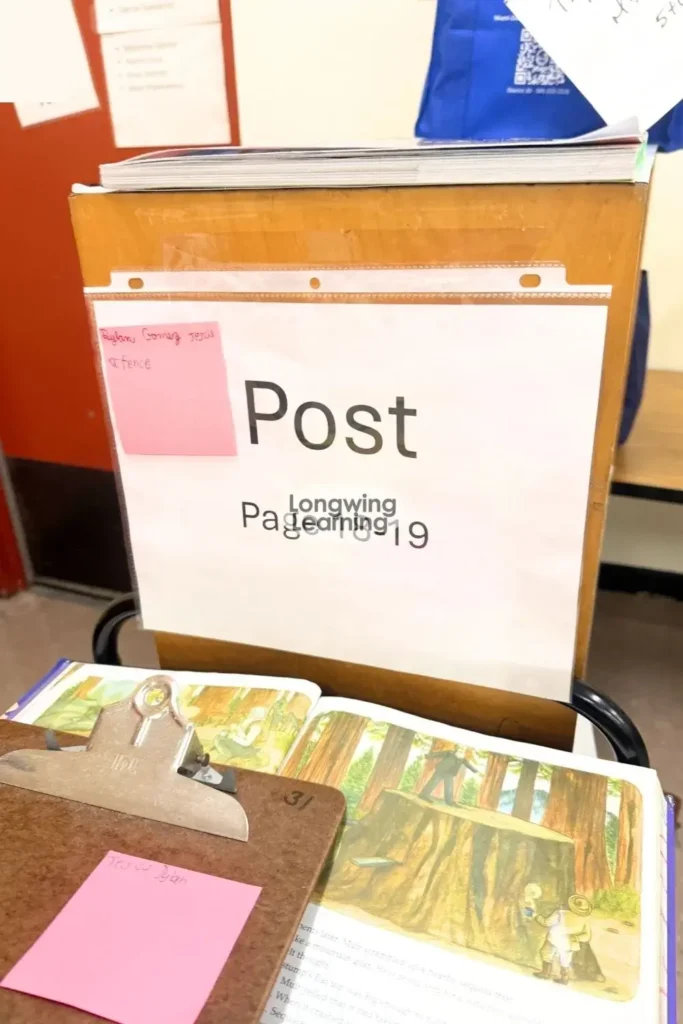
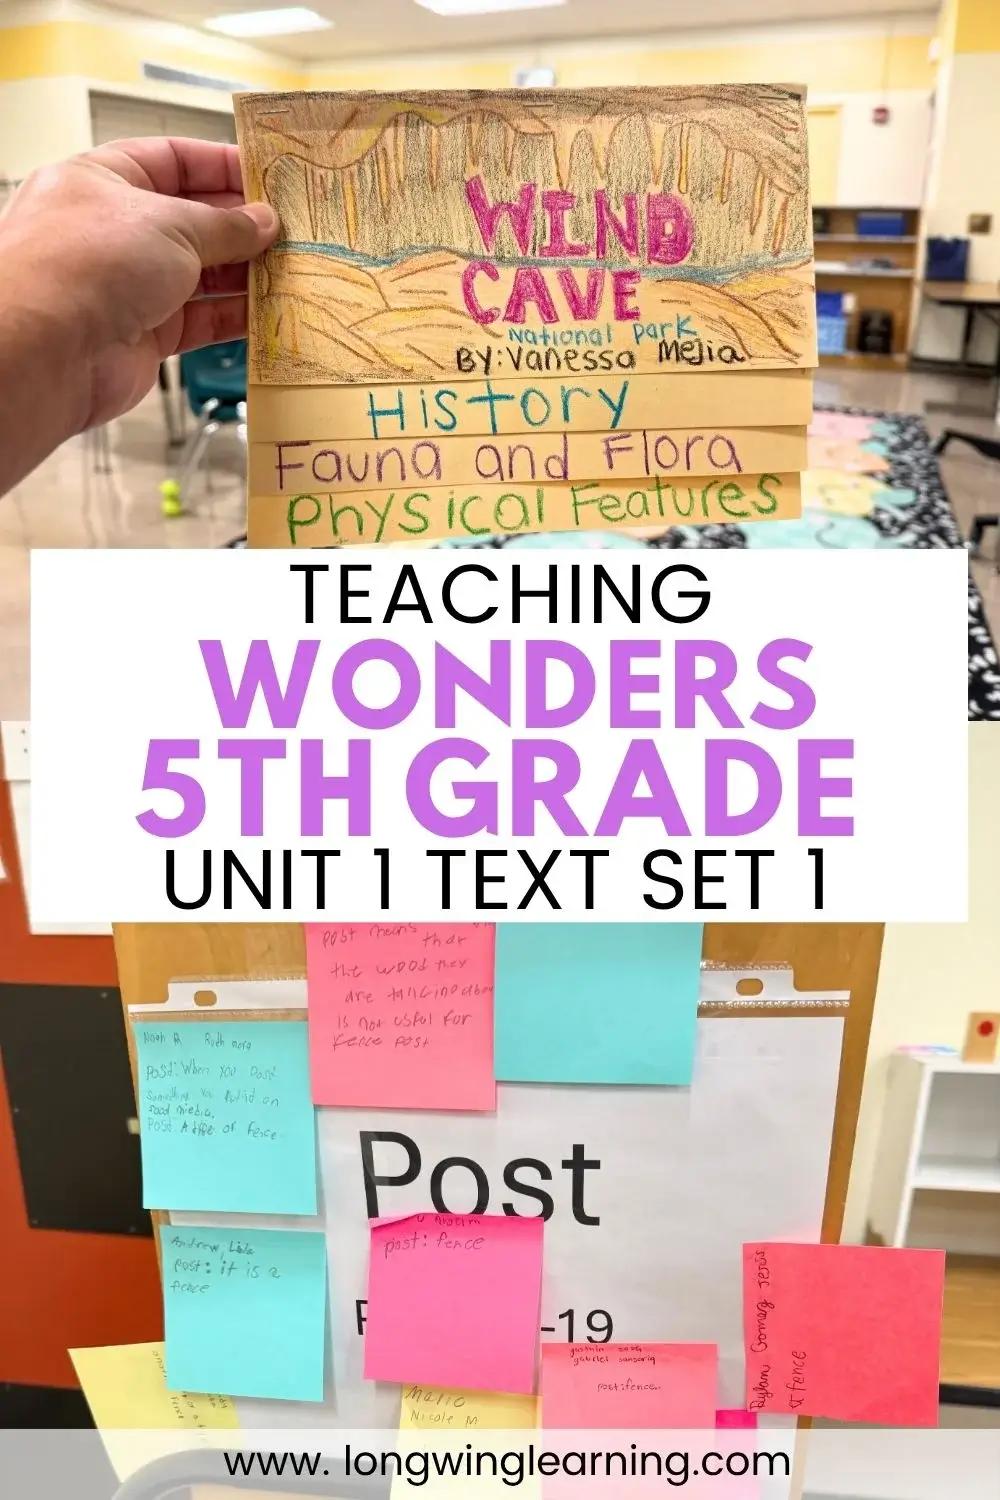
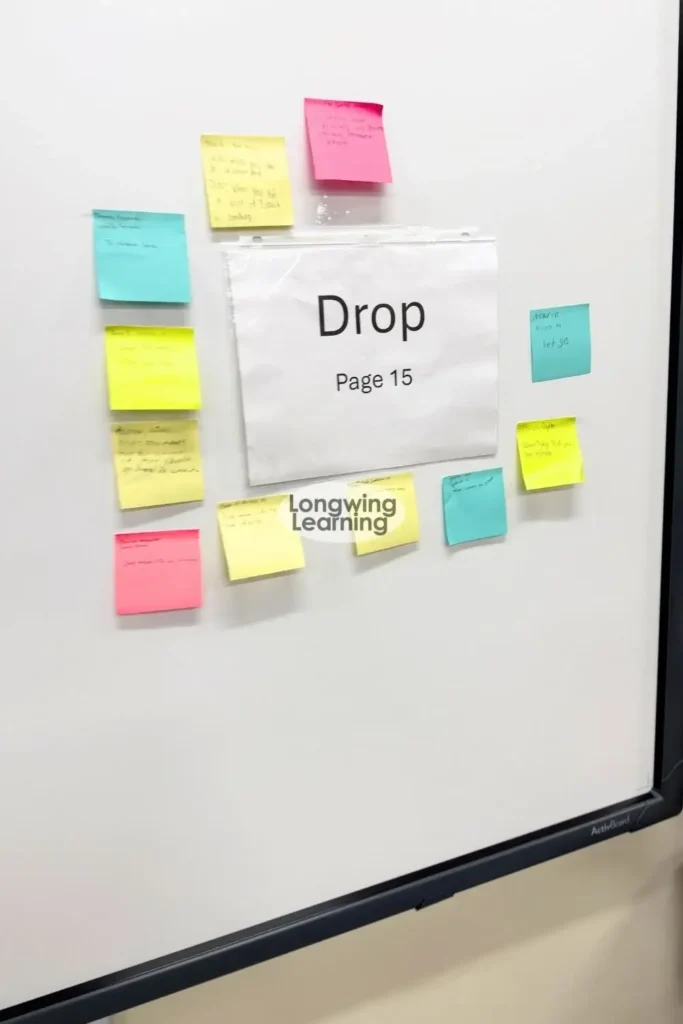
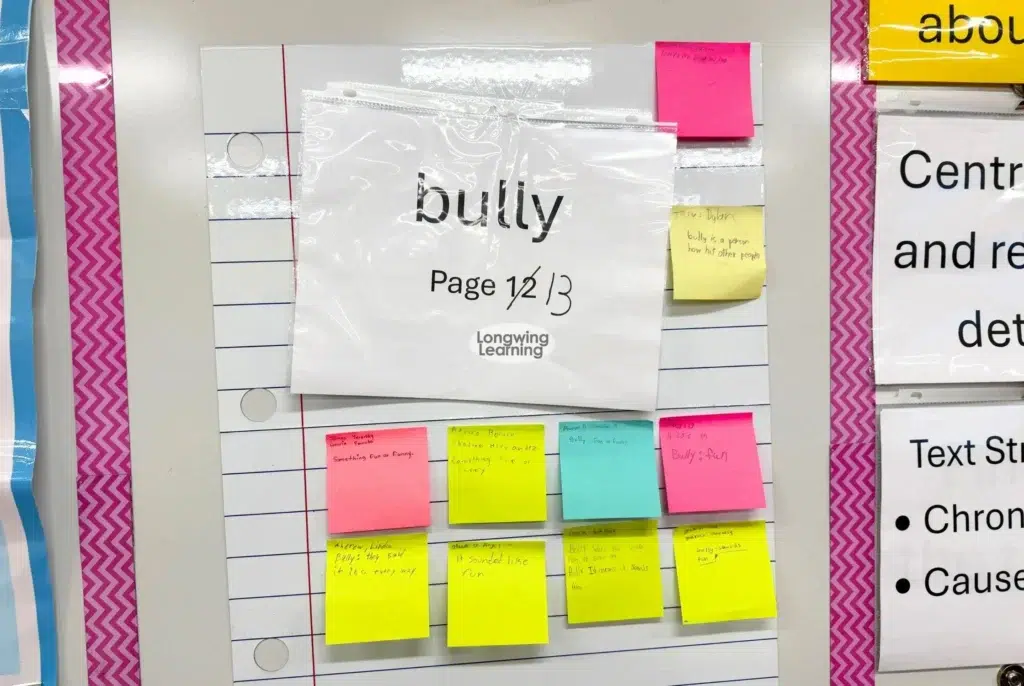
This is one of my favorite activities in the whole text set. I choose six words from Camping with the President that work well for homograph practice and post them around the room.
Students work in pairs, and each pair starts at a different word. They find the word in the text, discuss what it means based on context, and write their names along with the meaning on a sticky note, which they post next to the word.
After two minutes, pairs rotate clockwise to the next word and repeat the process.
Once every word has several sticky notes, I read through them as a class and we talk through which meanings are correct and why, always tying it back to the context clues in the sentence.
Kids are up and moving instead of sitting through another worksheet, and they are still doing the exact same thinking the standard asks for.
Finding the Cause and Effect Relationship
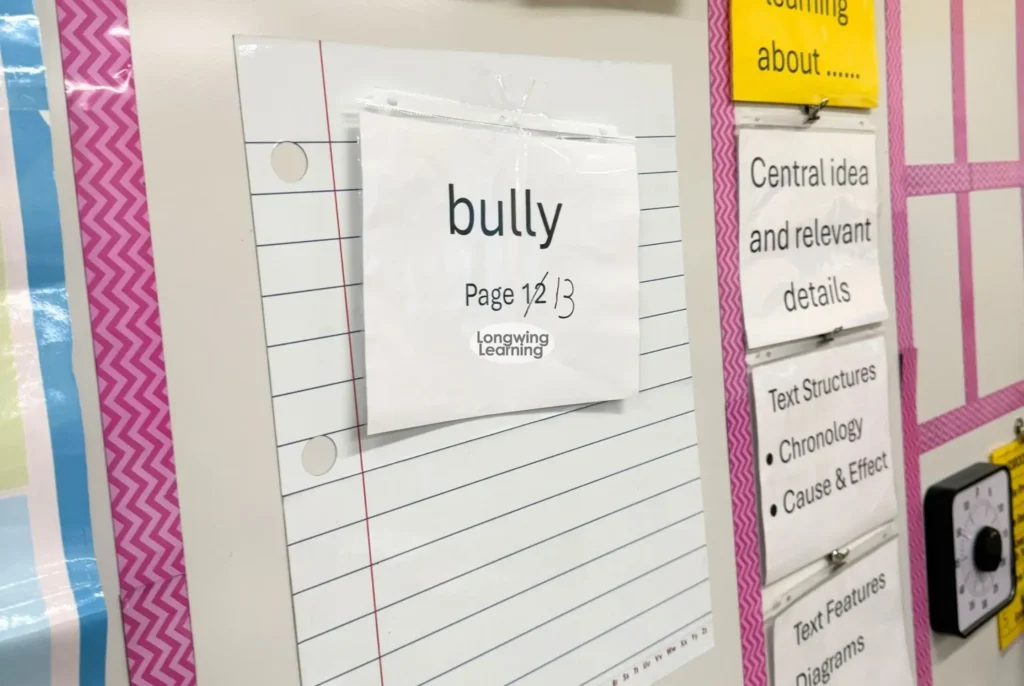
For cause and effect, students did not need another graphic organizer. They folded a notebook page in half. One side was labeled Cause. The other side was labeled Effect.
I gave them specific pages to look at, and they recorded the cause-and-effect relationships they found.
I use the same gradual release model here, modeling the first few pages, letting students work with a partner, and having them finish the last section independently.
I modeled the first example. We worked through another together. Students completed the next one with a partner. Then they completed the final example independently.
I also had students include the page number next to each relationship so we could easily return to the evidence if we needed to discuss it.
Comparing All Three Texts
Once we finish A Walk with Teddy, the last story in the set, we build a comparison chart with all three texts listed down the side and primary and secondary sources, cause and effect, and author’s perspective across the top.
Filling this out together helps students see how the same skills show up differently across texts, which matters more than any single story on its own.
Extra Practice and Small Group
For extra reading practice, I use leveled fluency passages tied to each student’s reading level, along with the comprehension questions from the teacher’s manual, which I turn into a small group worksheet instead of a whole class discussion.
After the unit assessment, I group students by which questions they missed and pull small groups for about 15 to 20 minutes a day, while the rest of the class works independently or rotates through stations.
Writing, Grammar, and Spelling in Text Set 1
A Spelling Routine That Keeps Parents in the Loop
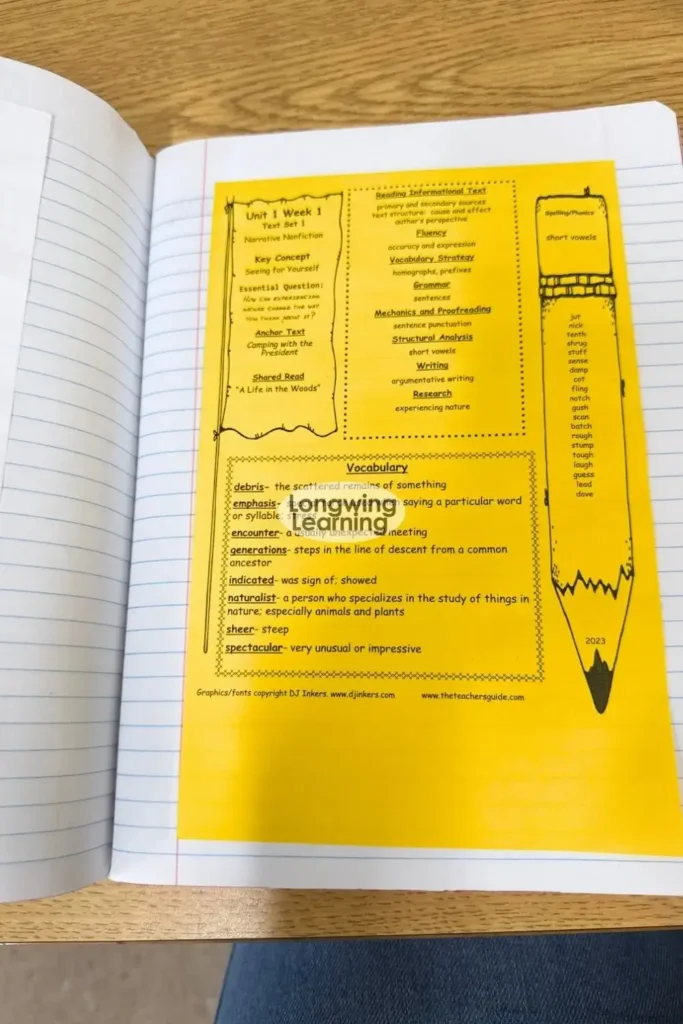
Each week, students glue a reduced copy of the spelling word list from the teacher’s guide into their homework notebook.
This is mostly for parents, so they always know what their child is working on and can check that page if they ask about an upcoming test.
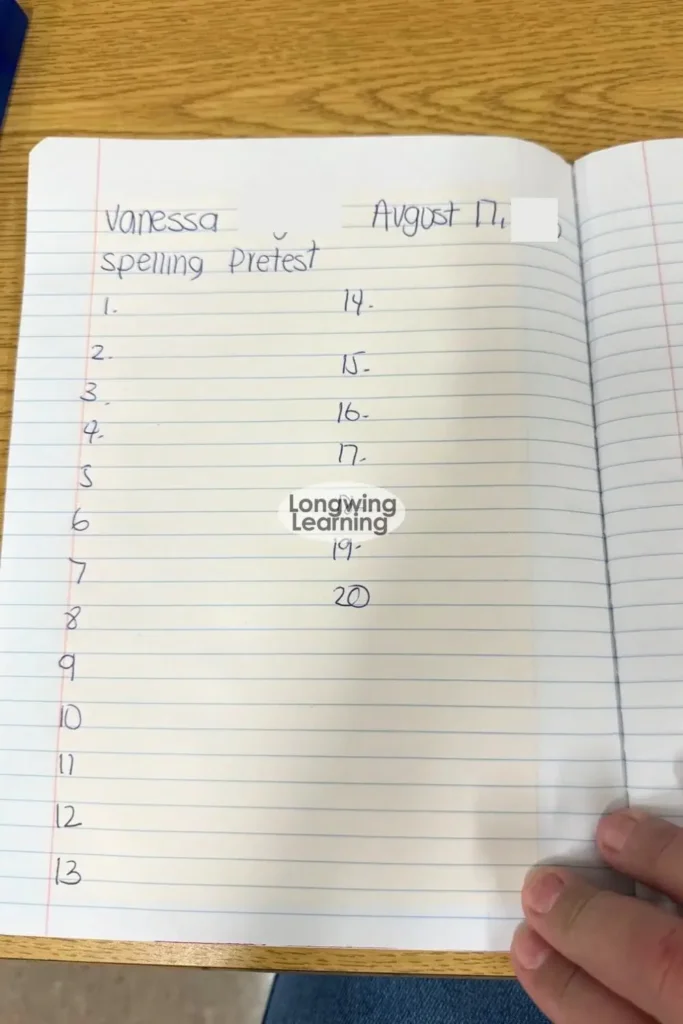
After gluing in the list, students take a spelling pretest, checking their own work as I write each correct spelling on the board. Any word they missed gets rewritten correctly and highlighted, so they know exactly what to study.
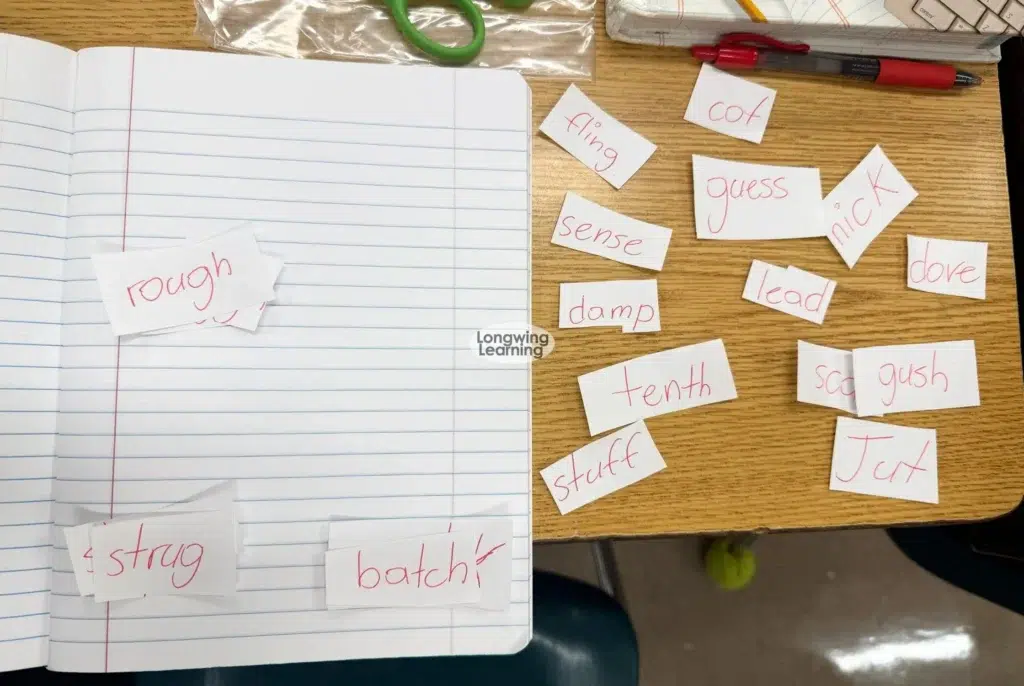
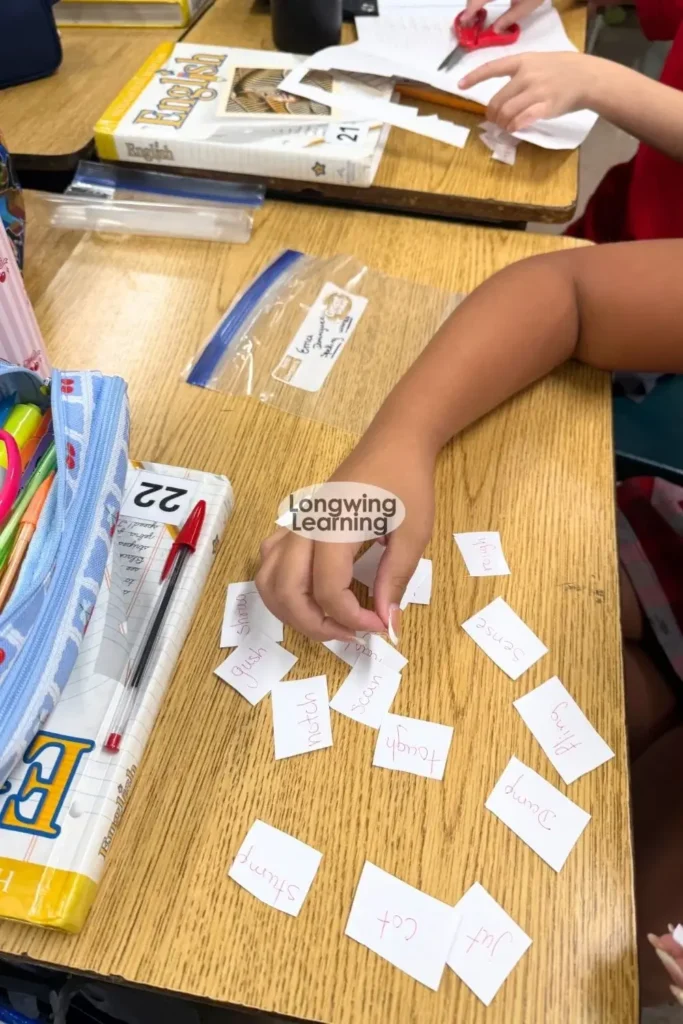
From there, students write each word on a strip of paper and cut them apart for word sorting. The first sort is always open, meaning students sort the words into their own categories based on whatever patterns they notice.
I like starting this way in fifth grade because most students already have enough phonics experience to find real patterns on their own, and we build our official categories from what they discover.
Later sorts in the week become more closed and teacher directed as we focus on the specific sound and rule for that list.
The Highlighter Method for Grammar
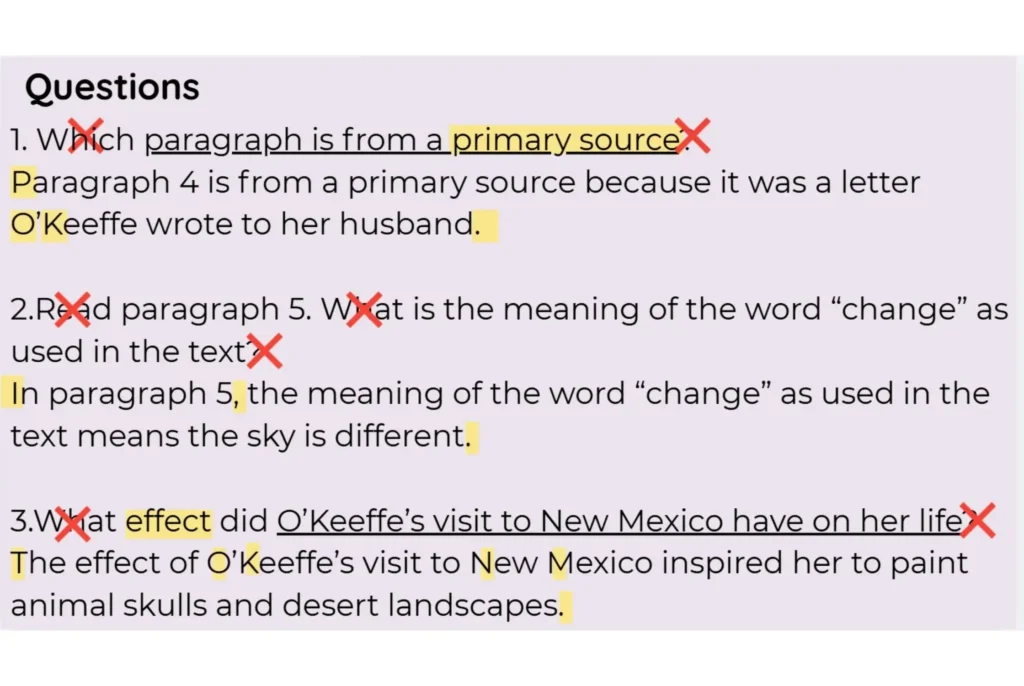
Grammar this week focuses on the difference between a sentence fragment and a complete sentence, which sounds basic but trips up a surprising number of fifth graders.
I use a highlighter method to help it stick. After writing a sentence, students highlight the capital letter and the ending punctuation, which is a quick visual check for whether their sentence has both pieces it needs.
We use the same method for subjects and predicates, with one color for the subject and a different color for the predicate.
I have found that color coding grammar this way helps it stay in students’ memory far better than just explaining the rule, because they are physically marking what they are looking for every time they write.
I use yellow for the subject and green for the predicate.
Students highlight each part of the sentence so they can visually see how the sentence is built.
We also use highlighting as a quick self-check for capitalization and punctuation.
After students write a sentence, they check:
- Do I have a capital letter?
- Do I have punctuation?
- Can I identify the subject?
- Can I identify the predicate?
If something cannot be highlighted, that is a sign that something may be missing.
Pulling Grammar Straight From the Text
Rather than using the separate grammar and spelling book that comes with Wonders, I pull grammar examples directly from the stories we are already reading.
I find sentences in the text that show the week’s skill, students copy them into their notebooks, and then they practice the skill using those same sentences.
At the end of each story, students highlight or point out where that grammar skill shows up in their own writing, so grammar connects back to what they are producing instead of staying an isolated worksheet skill.
For this particular text set, we stayed at the sentence level rather than moving into full essays, since it is the very start of the year.
The National Park Research Project
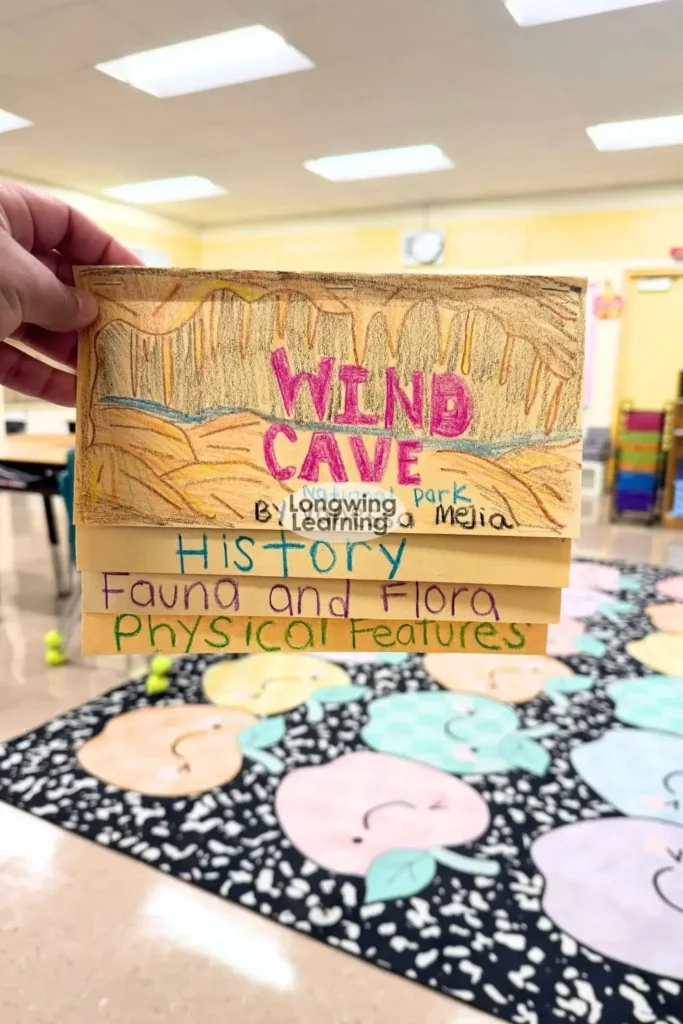
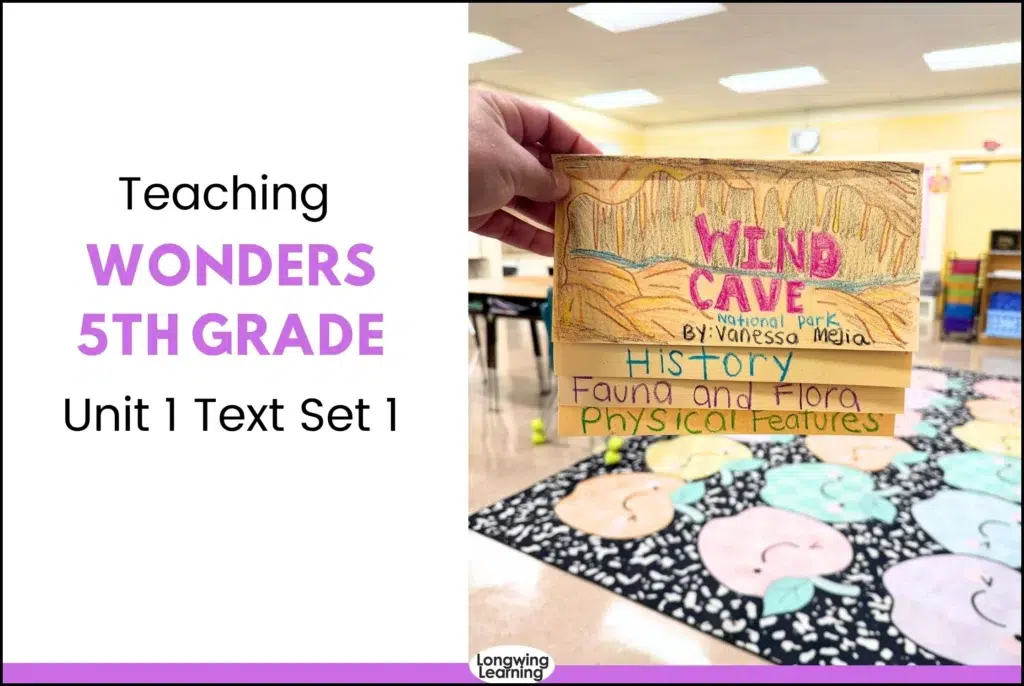
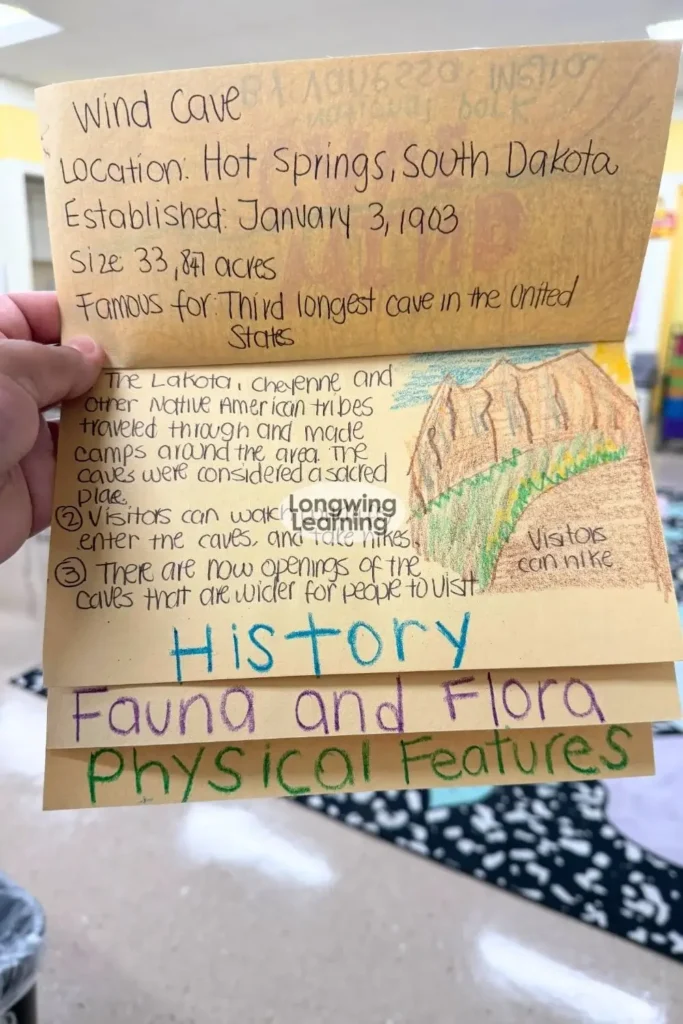
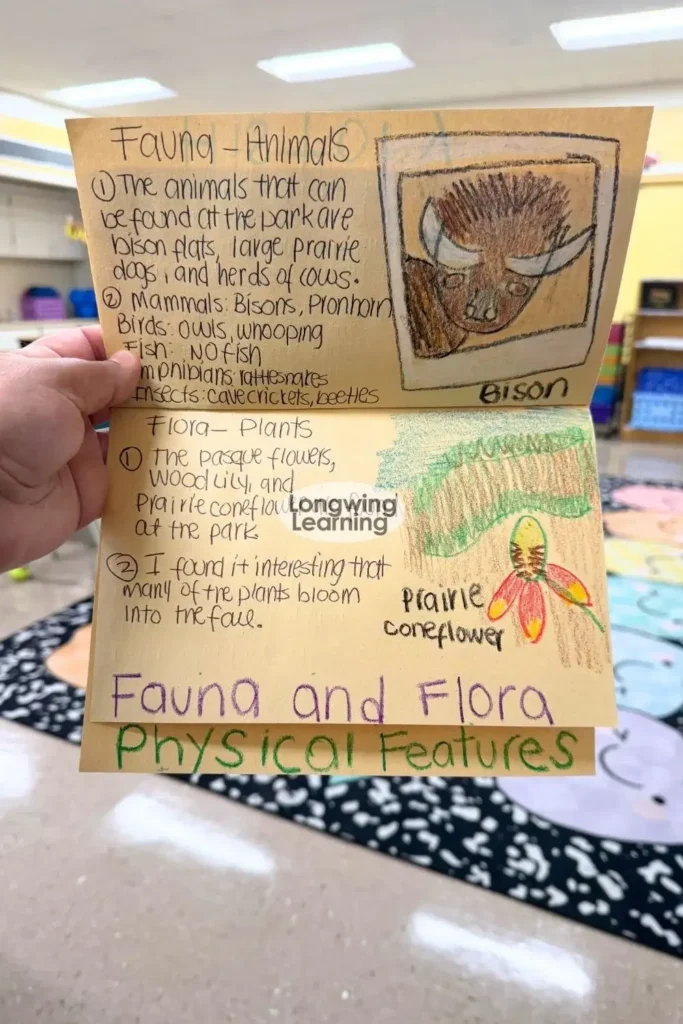
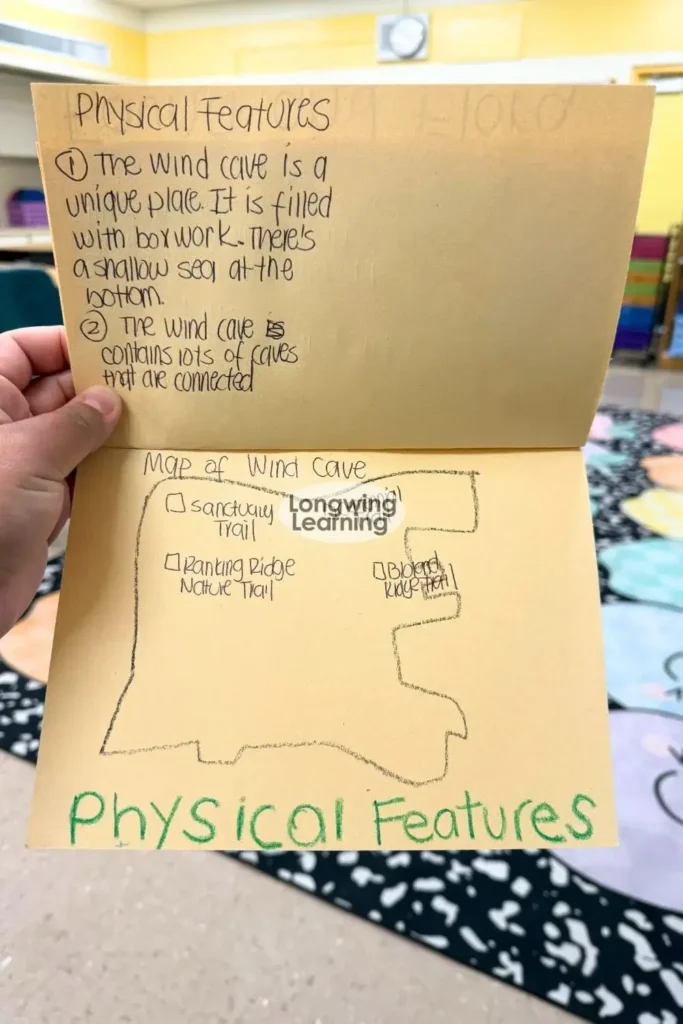
To wrap up this unit, each student researches one of the national parks and builds a foldable with four sections.
The first flap includes the park’s name and a picture. The second covers the park’s history. The third focuses on flora and fauna, meaning the plants and animals found there.
The fourth is a simple map, where students draw the park’s key features and include a compass rose, which ties in nicely with what students are learning about maps in social studies.
Since this project falls at the very beginning of the year, not every student has laptop access yet, so I pull as many library books on national parks as I can find and let students choose between print research and online research.
Students get about ten days to work on it, using any early finished time in class, and it rolls into the next unit, when a few students present each day.
Save This Wonders 5th Grade Post for Later
If you are teaching Wonders 5th Grade Unit 1 Text Set 1, save this post to Pinterest so you can come back to the reading, writing, grammar, and spelling ideas when you are planning your lessons.
You can also follow along as I continue sharing how I am teaching each Wonders text set throughout the school year.
Frequently Asked Questions
What texts are in Wonders 5th Grade Unit 1 Text Set 1?
Text Set 1 includes A Life in the Woods as the shared read, Camping with the President as the anchor text, and A Walk with Teddy as a paired selection.
What reading skills does Text Set 1 focus on?
This text set focuses on primary and secondary sources, cause and effect, and author’s perspective, along with using context clues to determine the meaning of homographs.
How long does it take to teach this text set?
In my classroom, this text set takes about a 7 to 8 days, with each of the three stories building on the reading skills introduced on day one and a national park research project running alongside the unit.