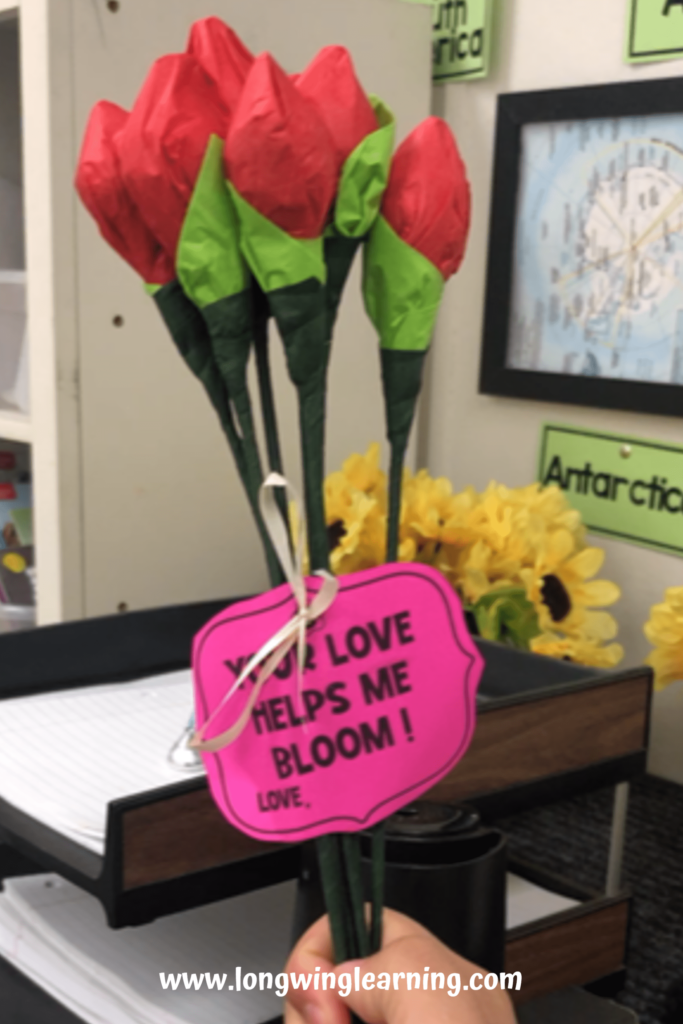
There is nothing more special to moms than receiving a homemade Mother’s Day gift from their kids. Celebrate Mother’s Day by making these chocolate rosebuds that make the perfect gift for moms to receive and budget-friendly for your class to make.
Table of Contents
Materials for Homemade Mother’s Day Gift
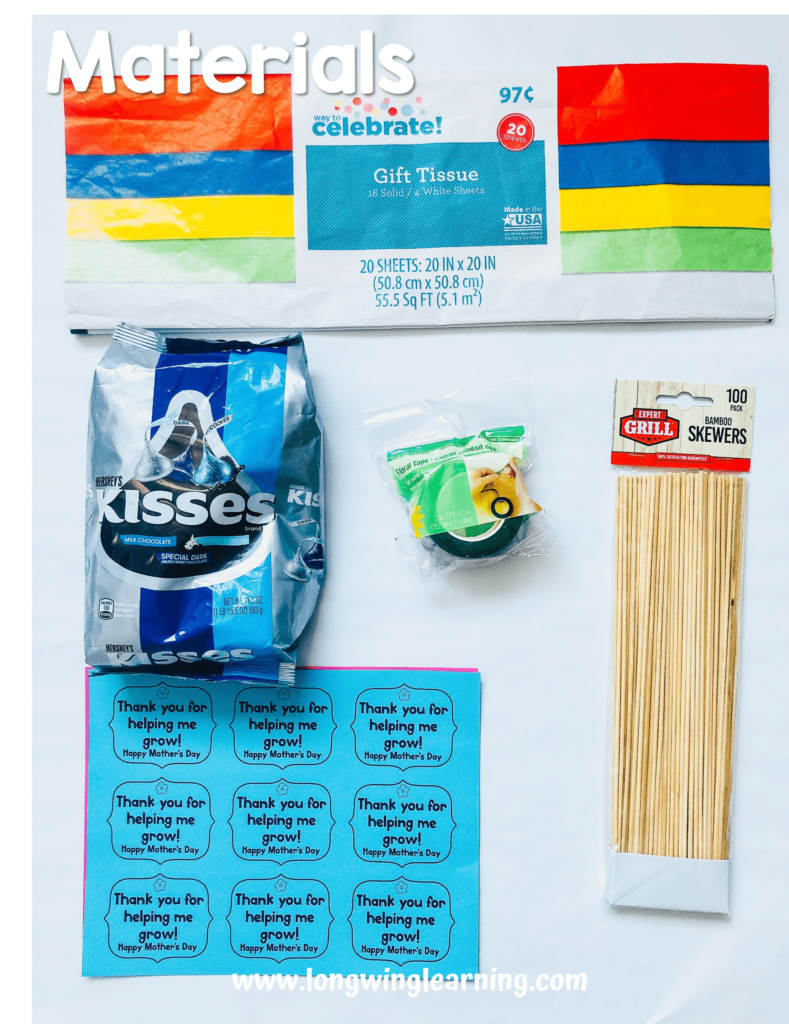
List of materials you need to make the chocolate rosebuds.
Two chocolate kisses per flower
One bamboo skewer per flower
Green floral tape
Two red tissue paper 5 inches by 5 inches per flower
One green tissue paper 5 inches by 5 inches per flower
Scissor
Tape
Chocolate Rosebuds Shopping Tips
On your search for these materials, here are my shopping tips.
For a class of 22 students, one party size bag of chocolate kisses was enough to make 100 chocolate rosebuds. There were 120 chocolate kisses in the party-size bag. The chocolates are the most costly item for this project.

For the bamboo skewers, look in the barbecue section or on the side of the aisle. Bamboo skewers are sold in large quantities and are cheap to get. The cost for 100 bamboo skewers was less than a dollar.

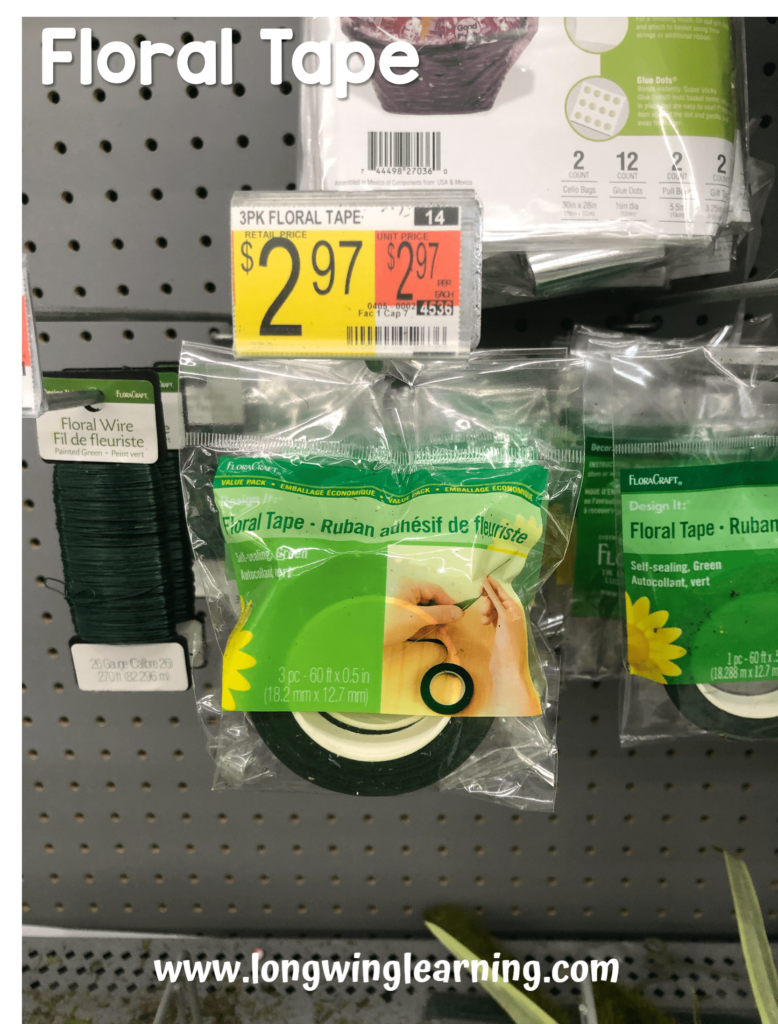
For the floral tape, you can find it in craft stores. A pack of three floral tapes was enough for 100 chocolate rosebuds.
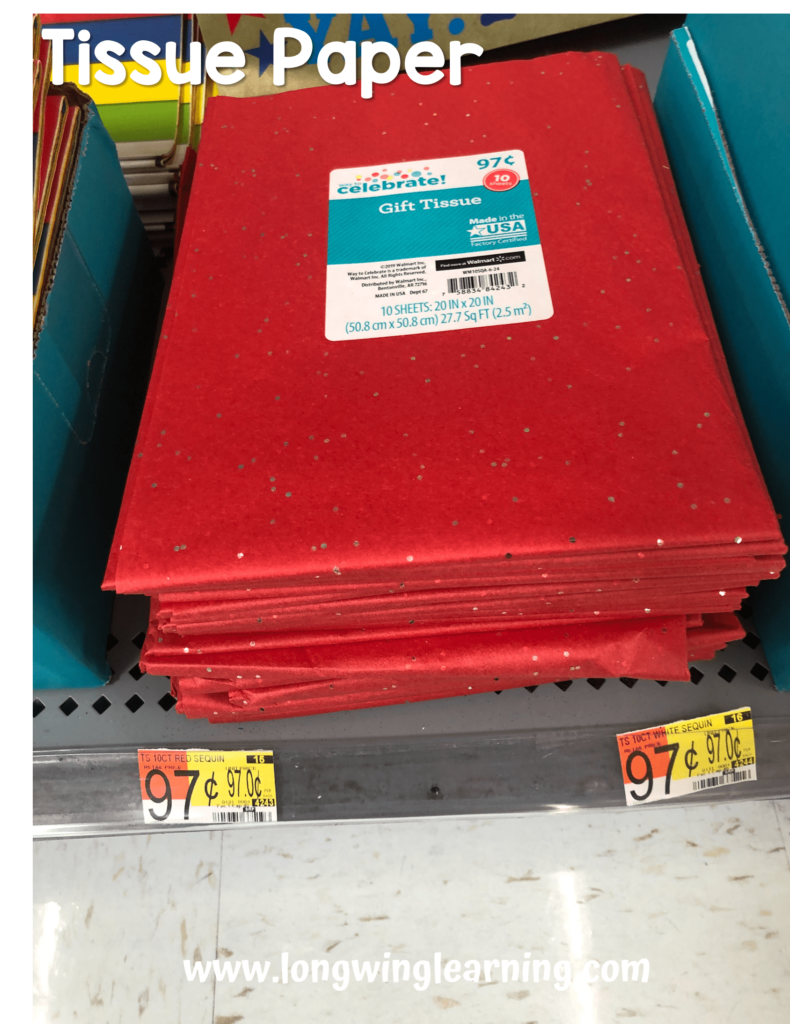
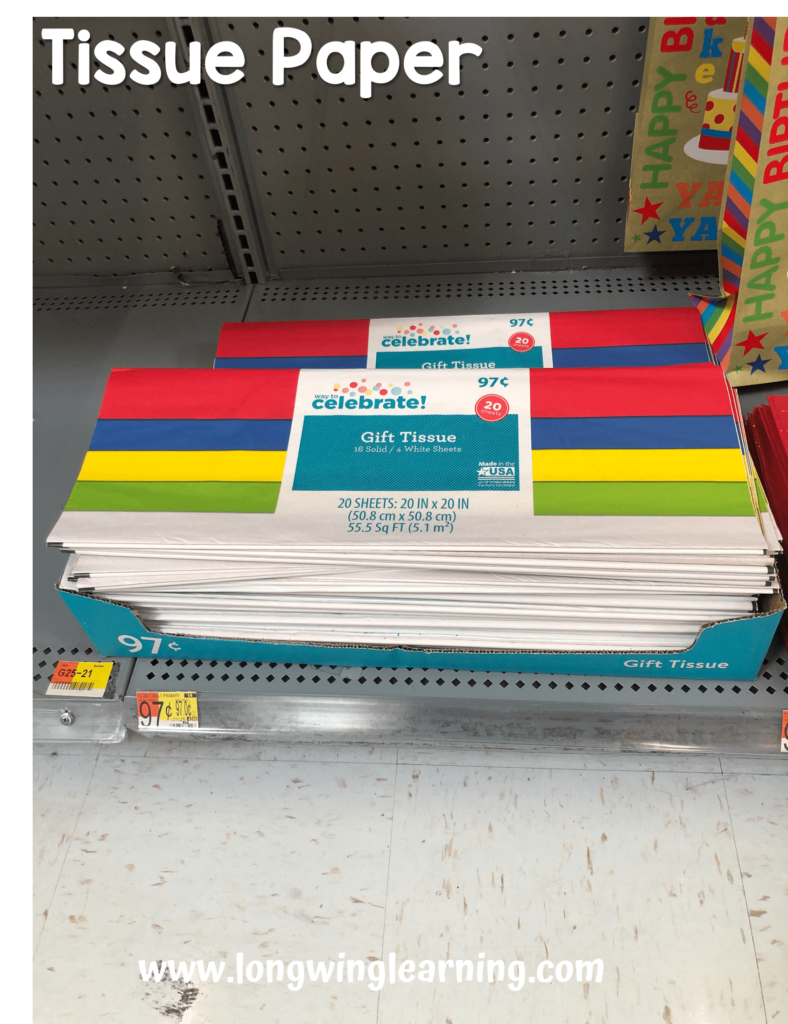
Next, tissue paper comes in packs of five or in assorted colors. You want to look for tissue paper containing the colors green, red, and pink. These are perfect colors for flowers. If you can purchase tissue paper in a single color, that will be ideal for this project.
Last, one time-saving tip to make these chocolate rosebuds is to have the double-sided tape. Folding the tape to hold the chocolate kisses can be a difficult task for nine years old.
Prepping to Make Chocolate Rosebuds
Before dividing into making your chocolate rosebuds with kids or your class, here are some tips to make this crafting activity smoother and hassle-free.
The hardest part is to put the skewer through the chocolate kisses. One way to avoid a chocolate kiss disaster is to have the skewer with the chocolate kisses set up ahead of time. The kids can put the chocolate kisses together to save you time using the double-sided tape.
Another item to prep ahead of time is cutting to squares the tissue paper. Cut the tissue paper into squares measuring 5 inches by 5 inches. Tissue paper commonly has a width of 20 inches.
So, out of one tissue paper sheet, you will get 20 squares and make ten chocolate rosebuds. You can have your kids use a ruler to measure and turn this into a math lesson!
Making the Chocolate Rosebuds
Now is time to make these adorable DIY chocolate rosebuds.
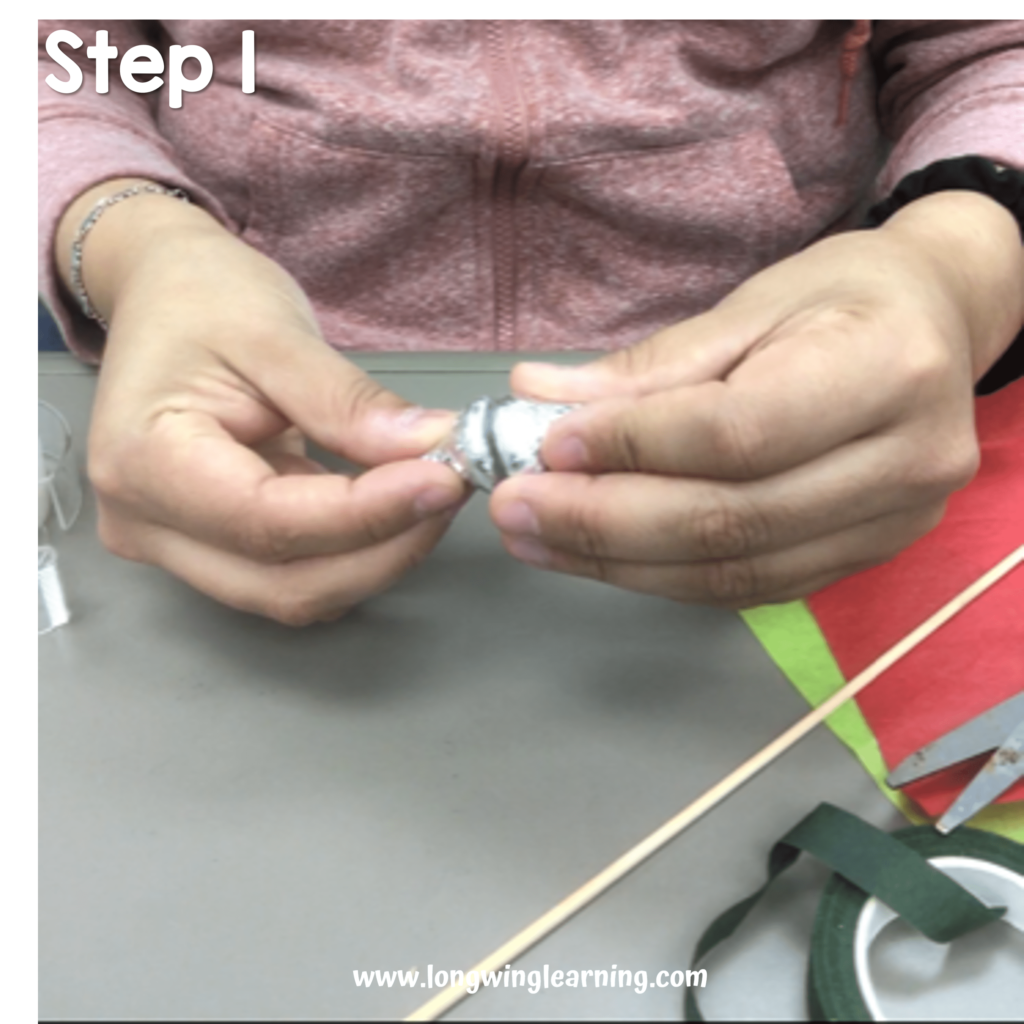
Step 1: The first step is to take two chocolate kisses and place the flat bottoms together, securing them with a piece of tape.
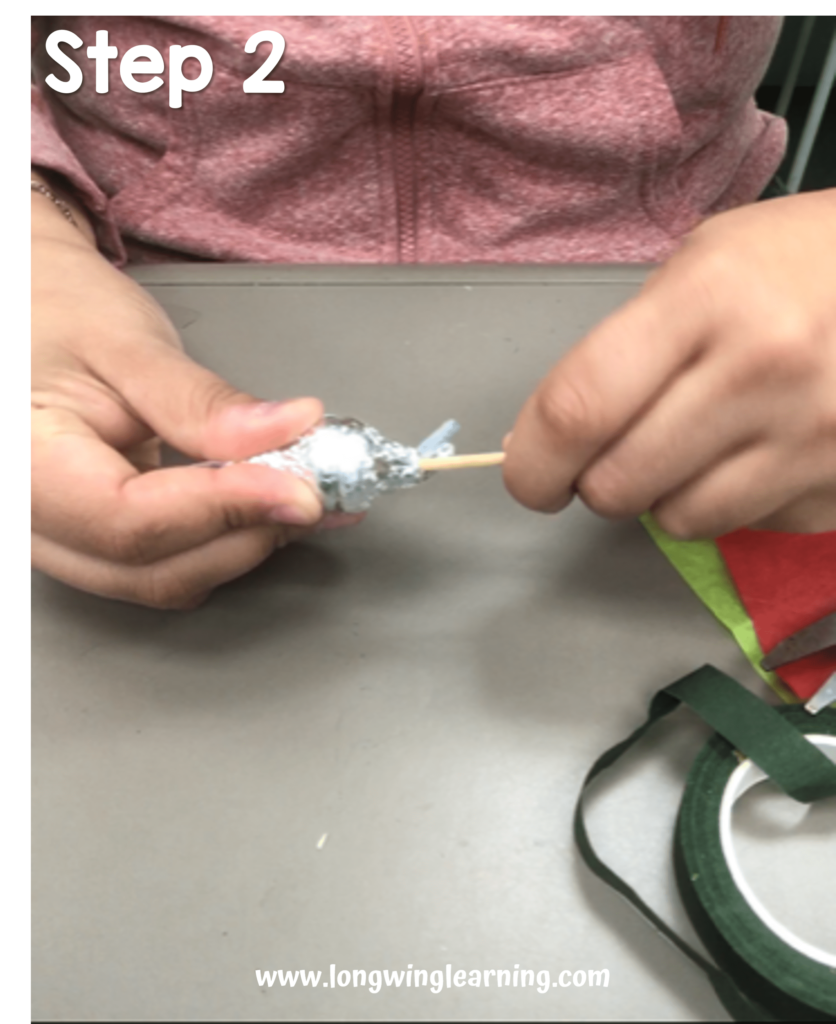
Step 2: Then, use one bamboo skewer from the tray and firmly stick the sharp end into the pointy end of one of the chocolate kisses. Make sure the bamboo skewer is secure.
Step 3: Next, you will make the rosebud by taking two of the red square tissue papers and putting them together. Fold the tissue paper to find the center point.
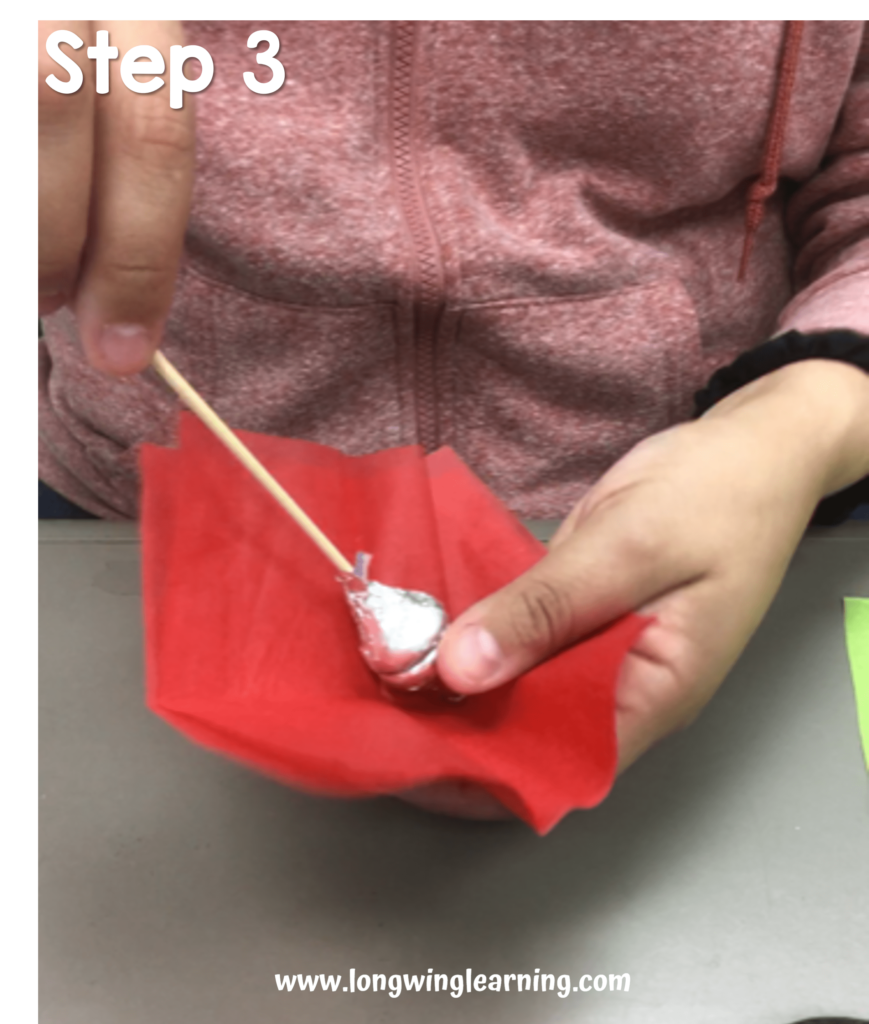
Then place the center of the tissue papers over the pointy end of the chocolate kisses. The last part is to scrunch the bottom of the tissue paper tightly around the skewer.
Step 4: Now, you will make the leaf by folding the corner to create a triangle. You are going to be doing this one more time to form a smaller triangle.
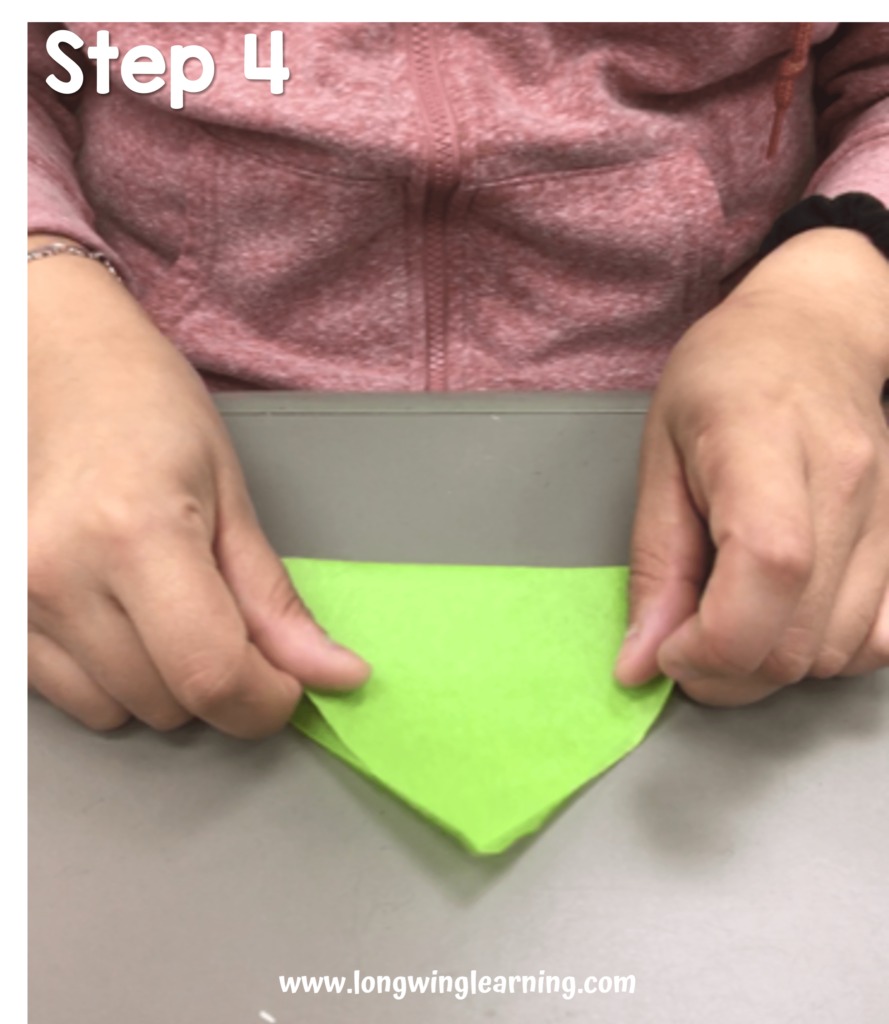
Next, wrap the green triangle around the rosebud to form the shape of a leaf.
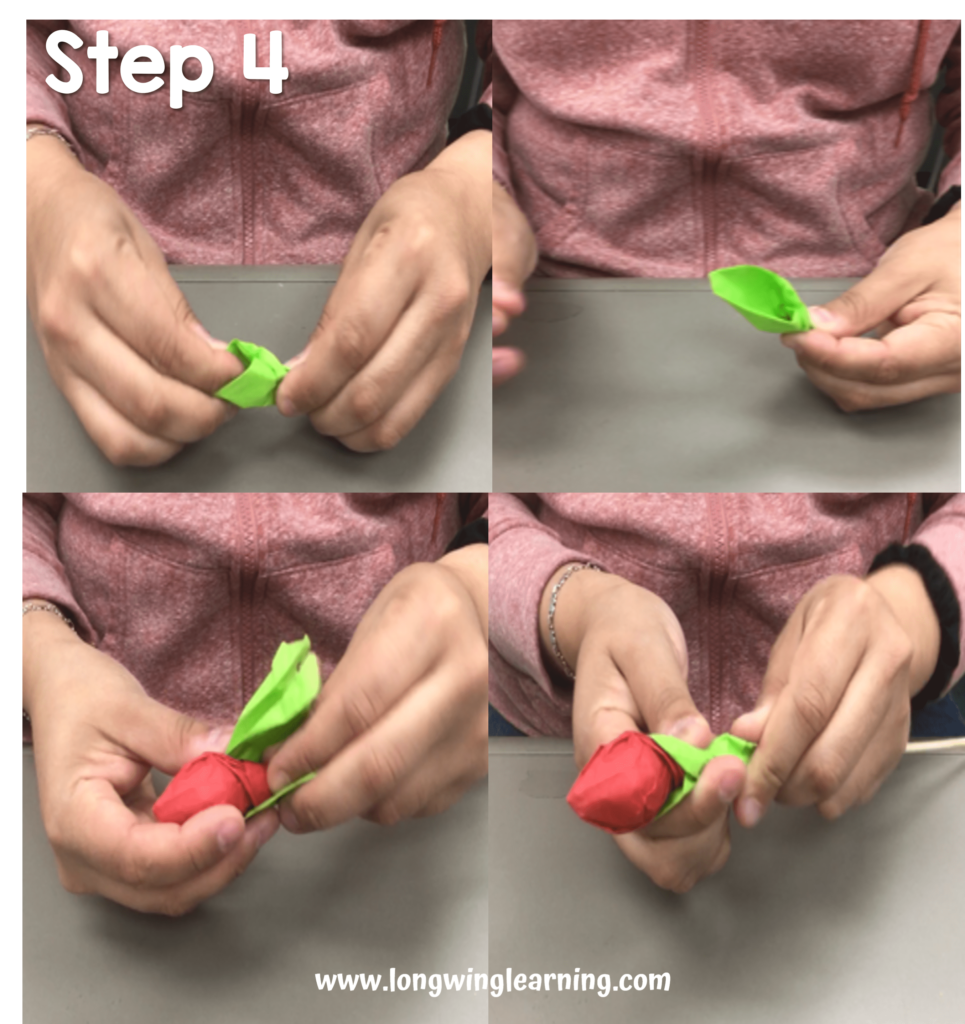
Step 5: In this part, we are going to make the stem. Hold the green and red tissue paper as you get the floral tape.
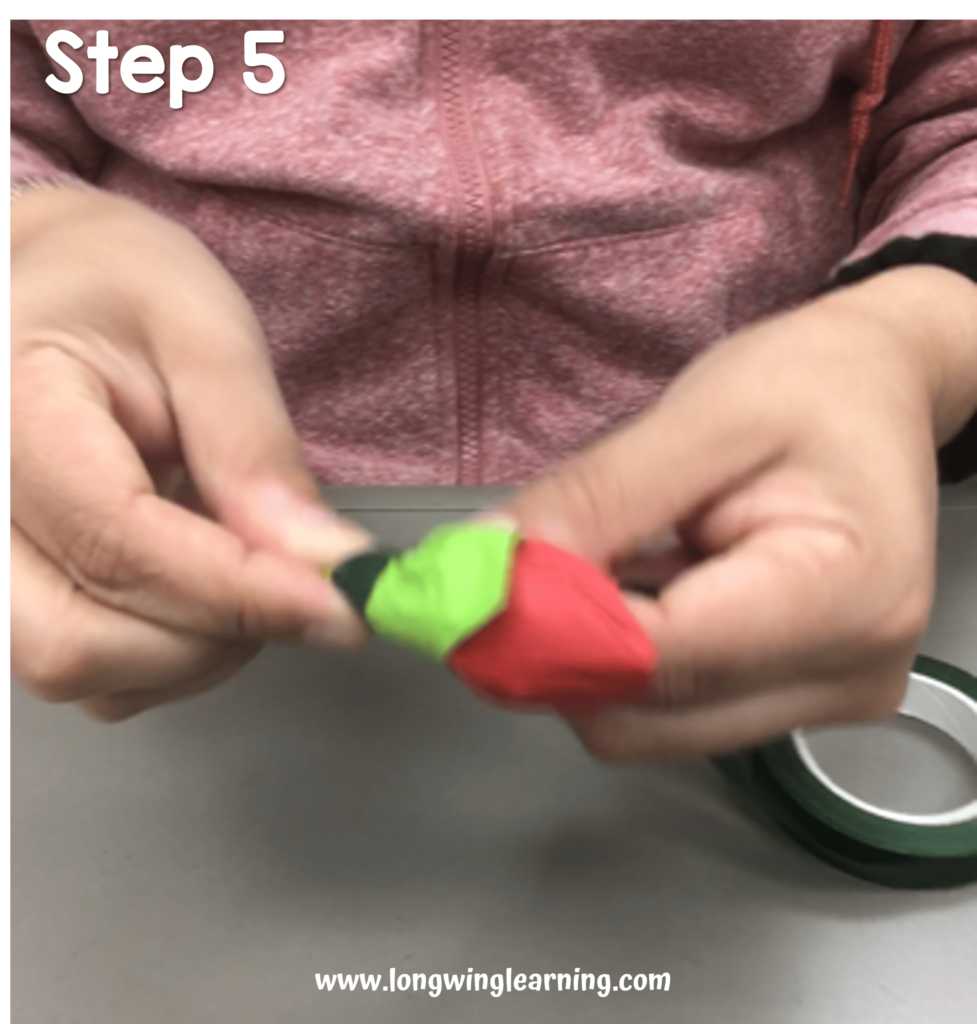
Wrap the floral tape two or three times around the bottom of the tissue papers, and skewer to secure the rosebud and the leaf.
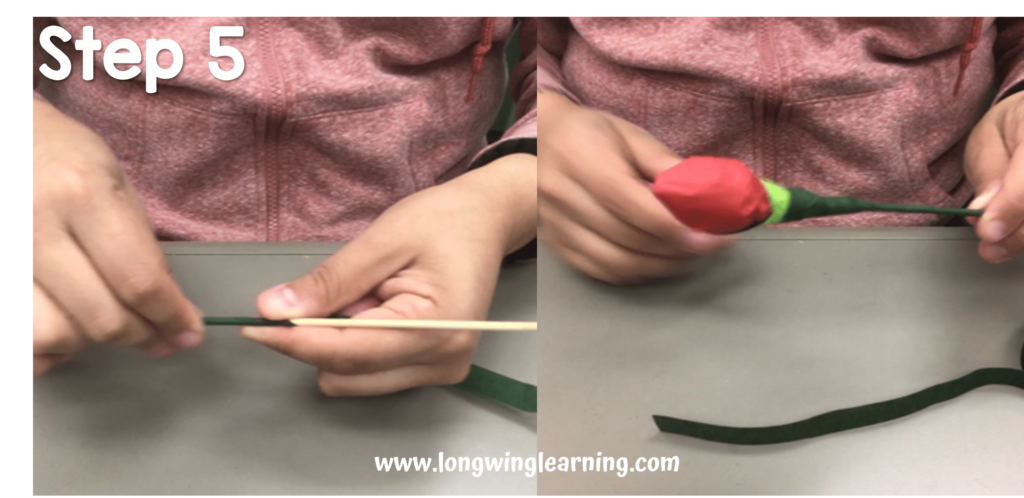
Step 6: Finally, use the floral tape to wrap around the skewer to create a green stem. Once you get to the bottom, cut the floral tape and use the remaining floral tape to wrap the skewer.
This DIY mother’s day craft can become even more special by making a couple of chocolate rosebuds and turning them into a bouquet. Then, add this Happy Mother’s Day gift tag to add that extra touch.
