Every summer has a story and mine starts with vinyl.
This year my summer to-do list was to finish making silhouette projects for the classroom. This really means taking out the silhouette and spending the day labeling all things with vinyl.
I put together a roundup of my summer projects where vinyl reign the craft table. In this post, I will be sharing with you how I use my silhouette for the classroom.
Table of Contents
Project 1: Place Holder
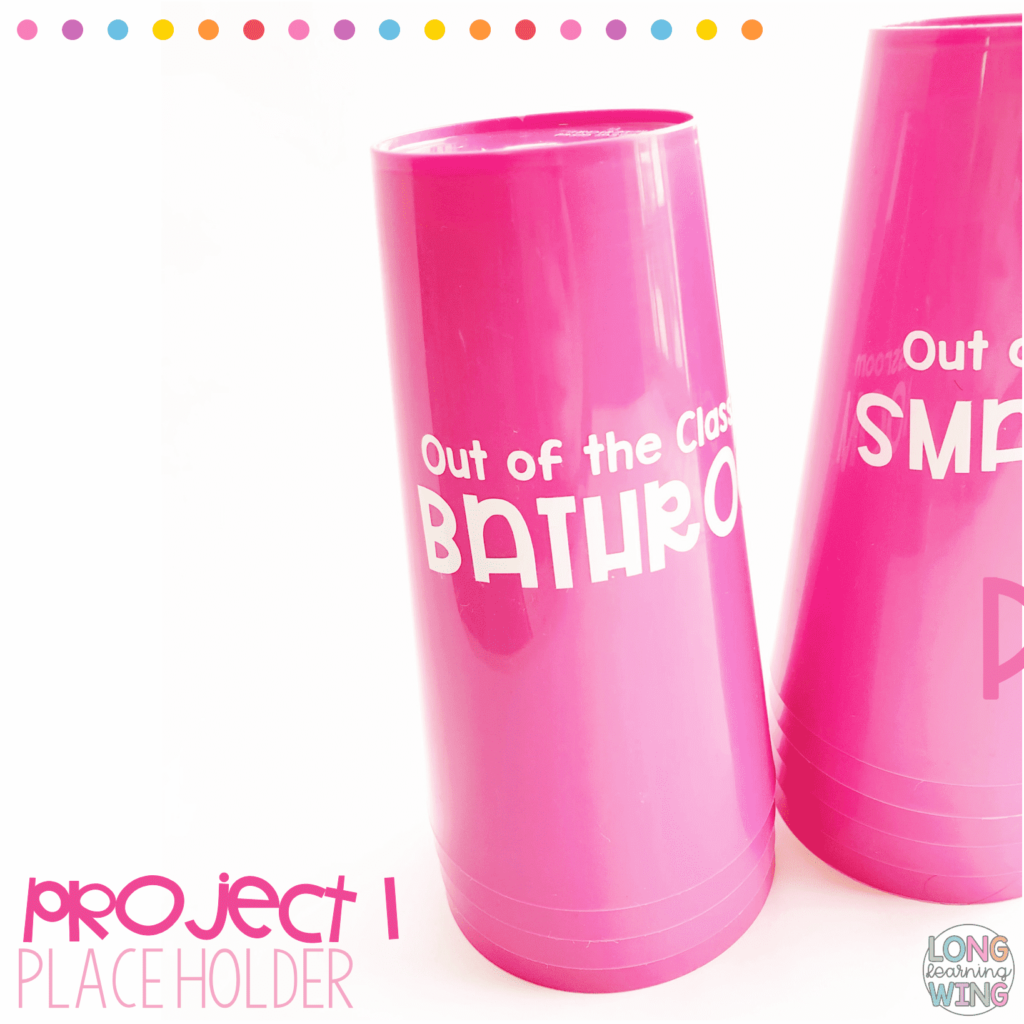
The Story Behind Silhouette Project #1
Kids walk in and out of my classroom for many different reasons. When I had a class of 18 kids, I could tell you where they were when they stepped out of the classroom. Now that I have three different classes and see 67 kids in a day is not that easy anymore. Most of the time I can’t even remember where they are.
So, when I saw @ms.rutledgein5th use cones as a hall pass, I knew I had to do the same. I will not be using them as hall passes instead as the kids leave the classroom, they will place a cup on top of their desk to let me know where they are at. A quick glance at these cups is all I need.
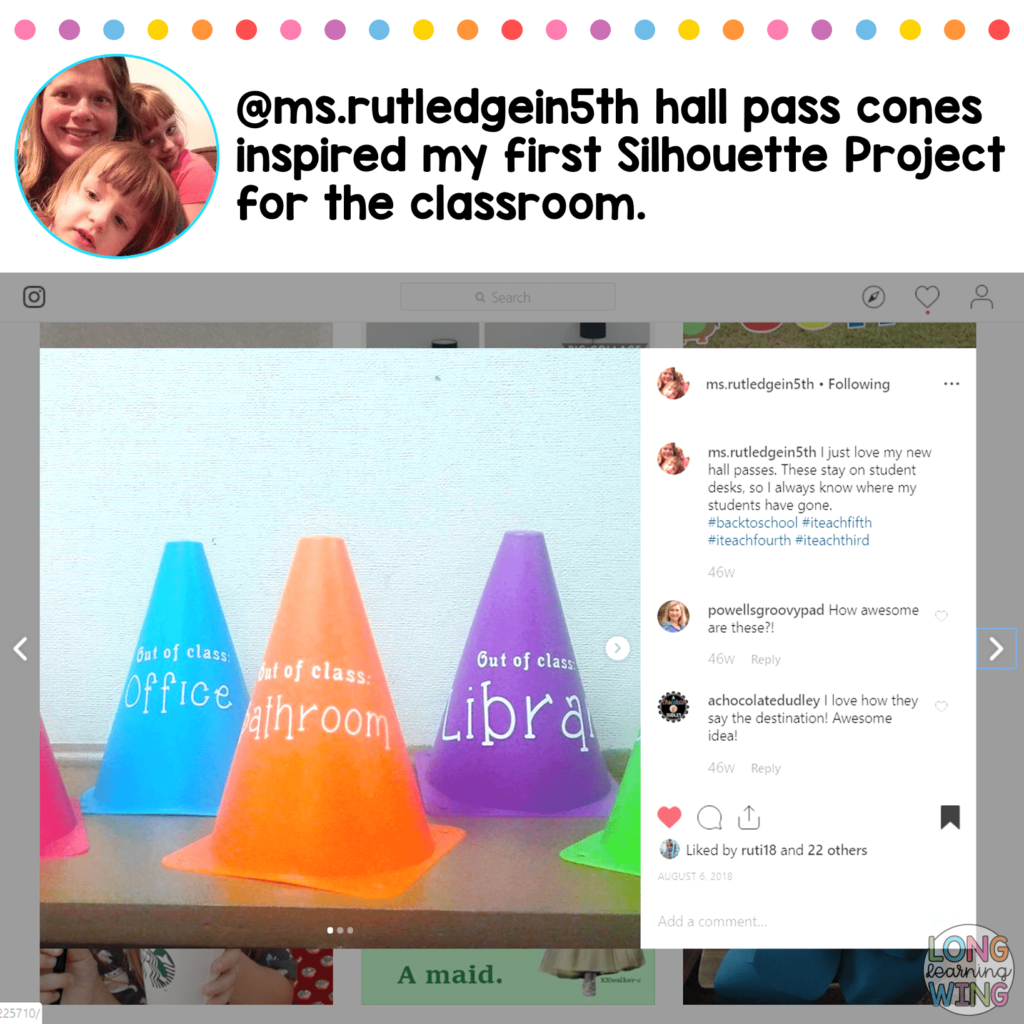
Other Ways to do the Project
The original idea was to use different colored cones, but my dollar tree was out of cones. As an alternative, I used these cups. Also, the didn’t have different colors. I’m glad I did because they match my color scheme. This was a great deal because I got 4 cups for a dollar.
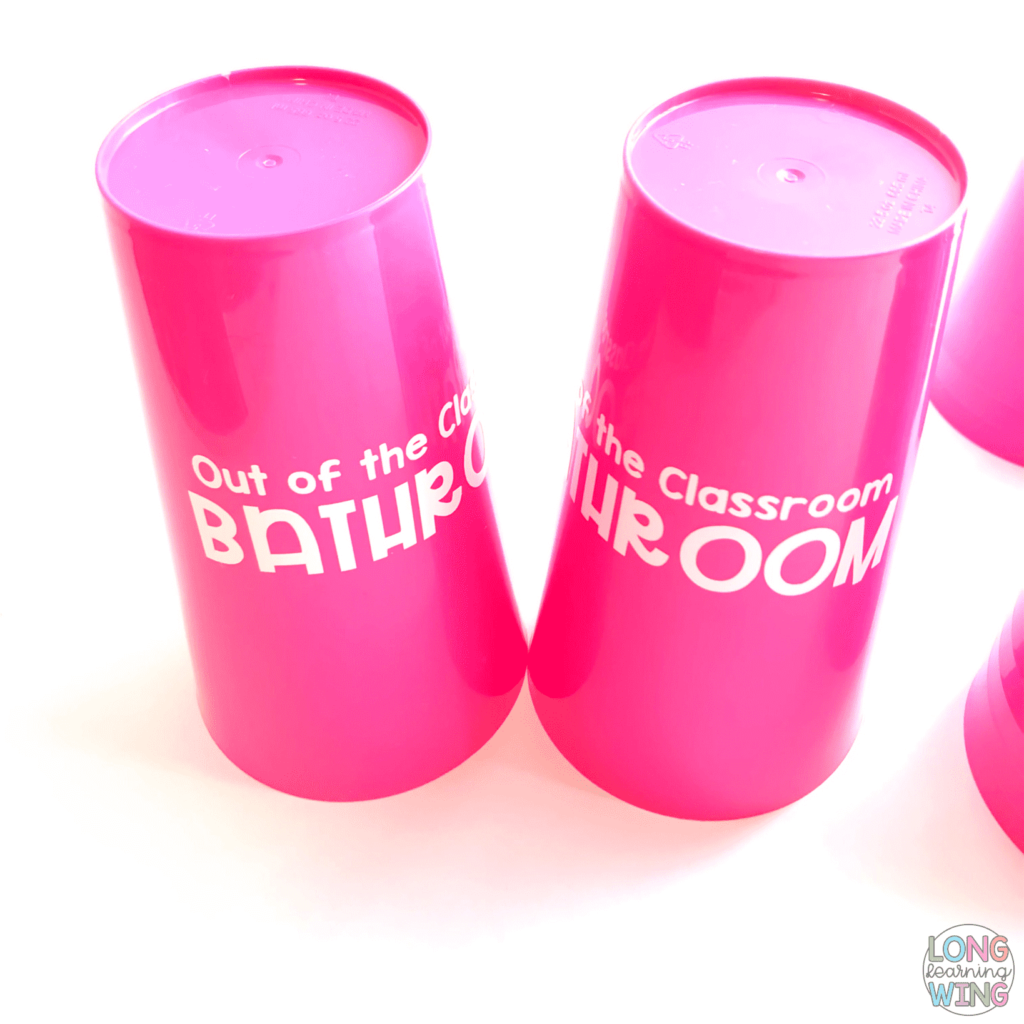
Tips for Vinyl & This Project
- If you are using these same cups, first wipe them down with alcohol and let them dry. I jumped right in trying to put the vinyl without prepping and the vinyl wouldn’t stick.
- I also recommend putting the vinyl in two different parts. Some of the cups I had to do twice because one side was higher than another.
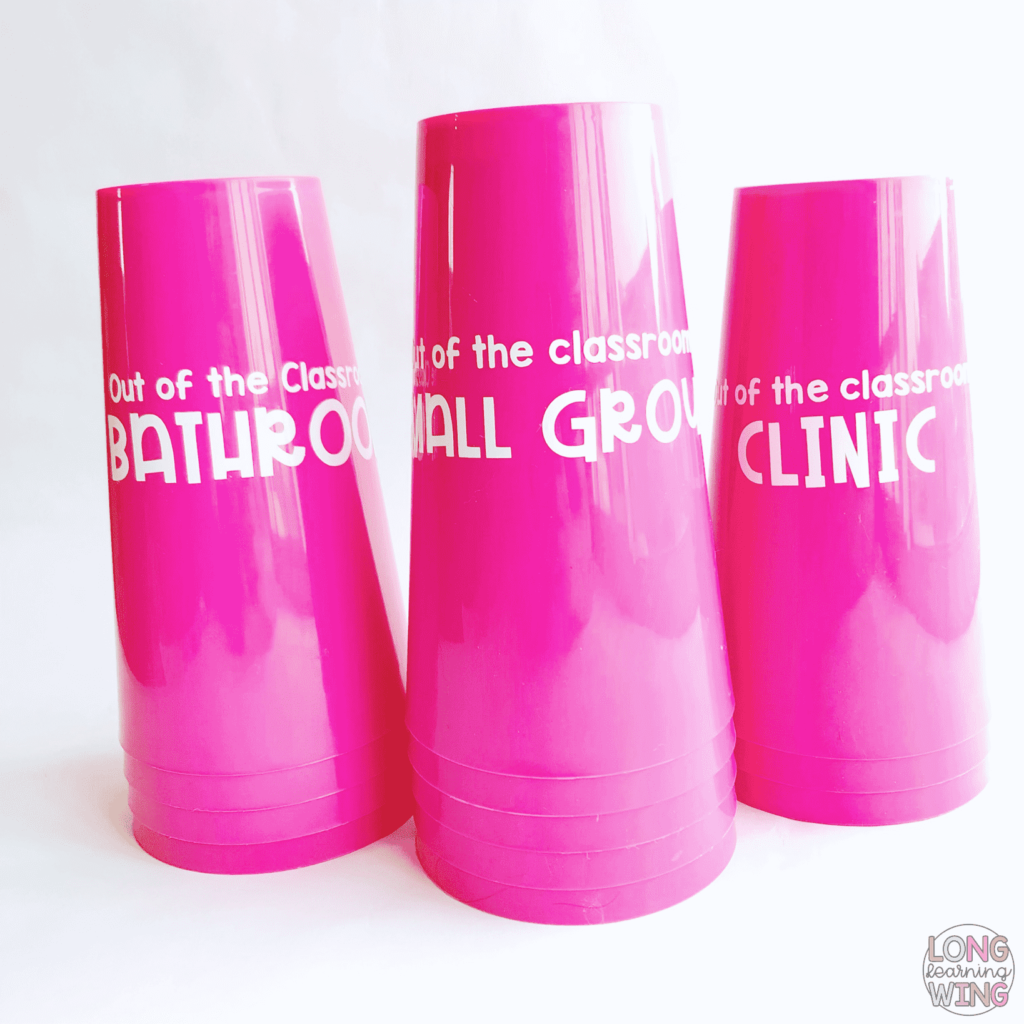
Total cost: This project is affordable if you get the 4 cups for a dollar. I also purchase the vinyl in bulk and used three vinyl sheets for all 12 cups. Below I have linked the type of vinyl I used.
Project 2: Response Bag
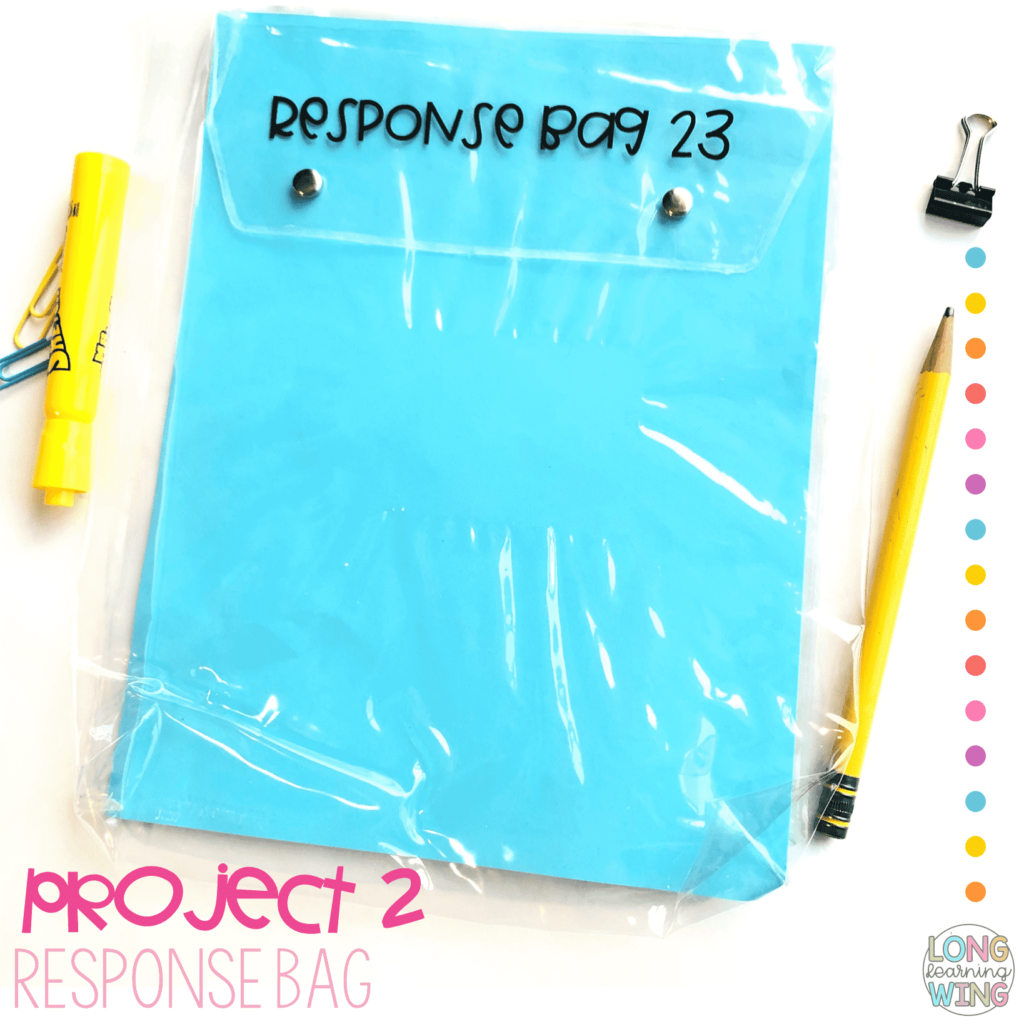
The Story Behind Silhouette Project #2
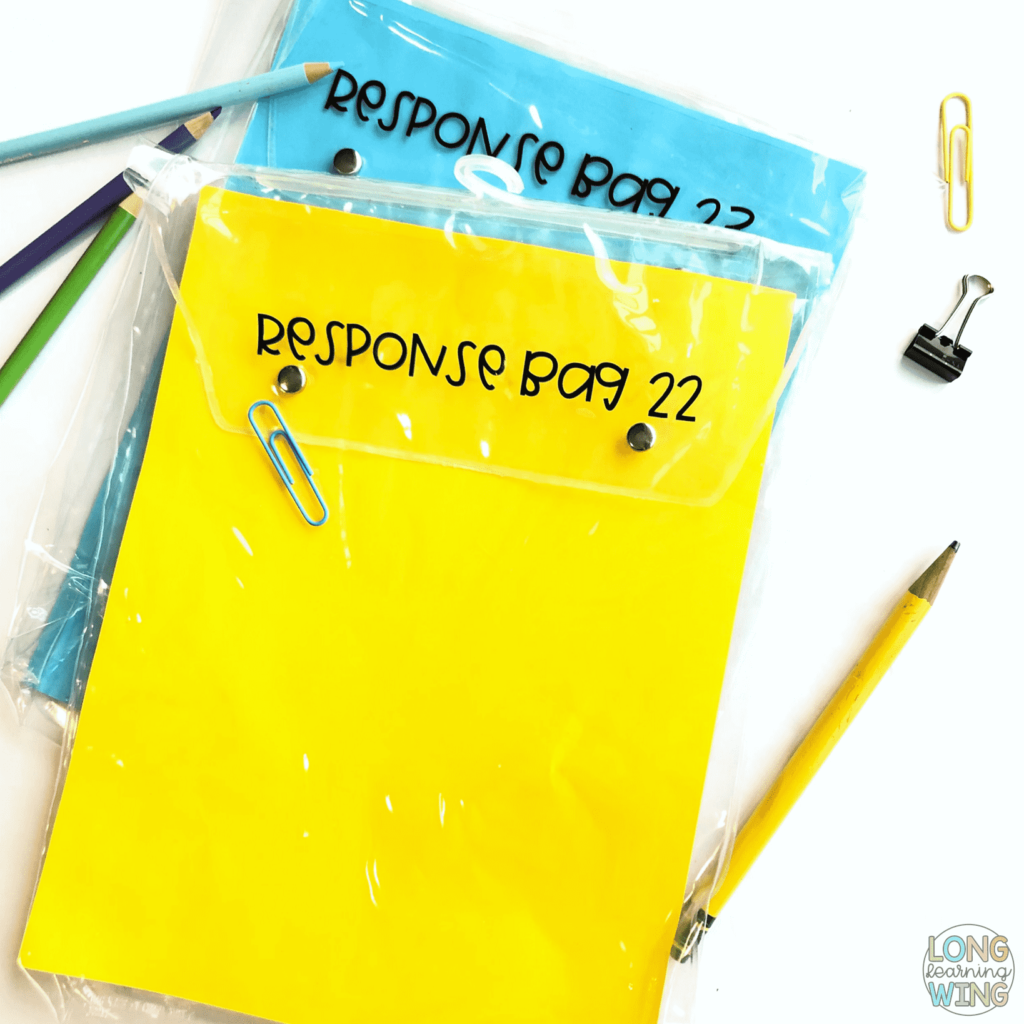
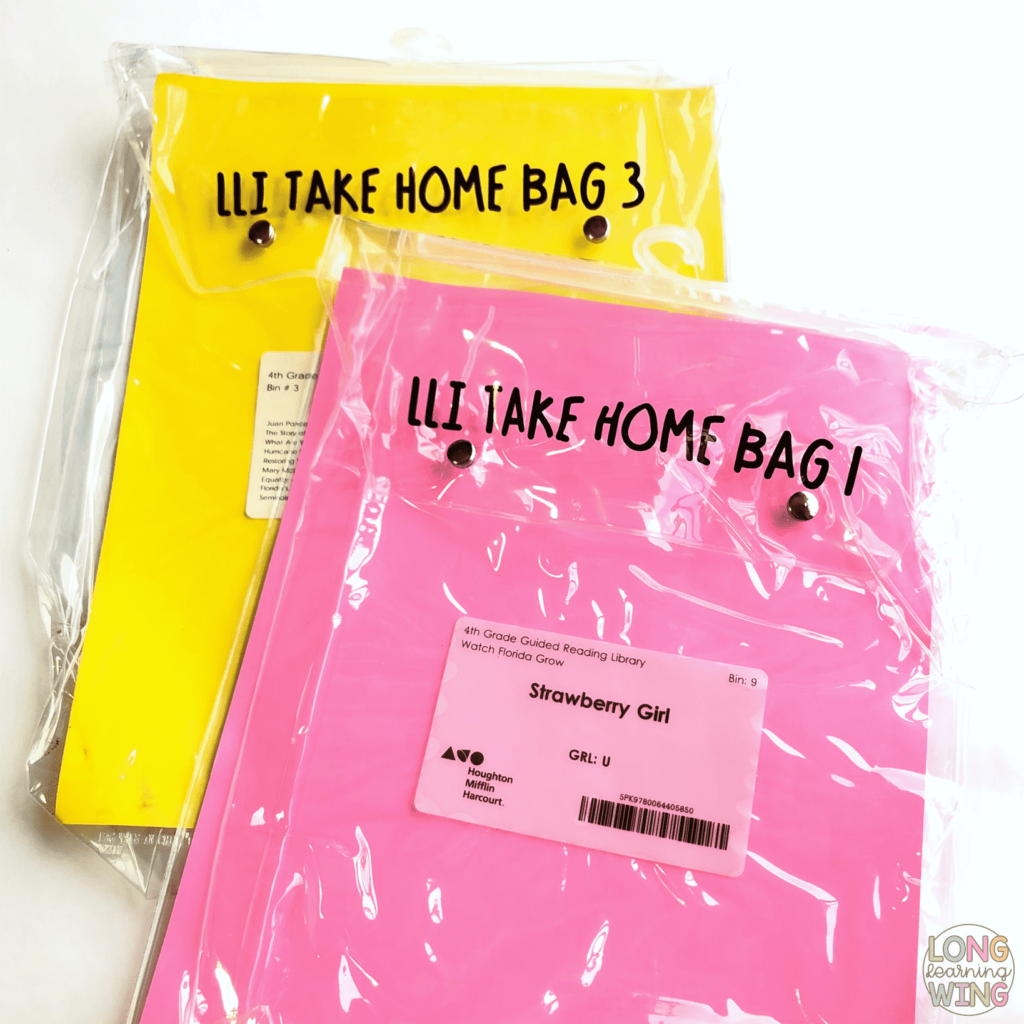
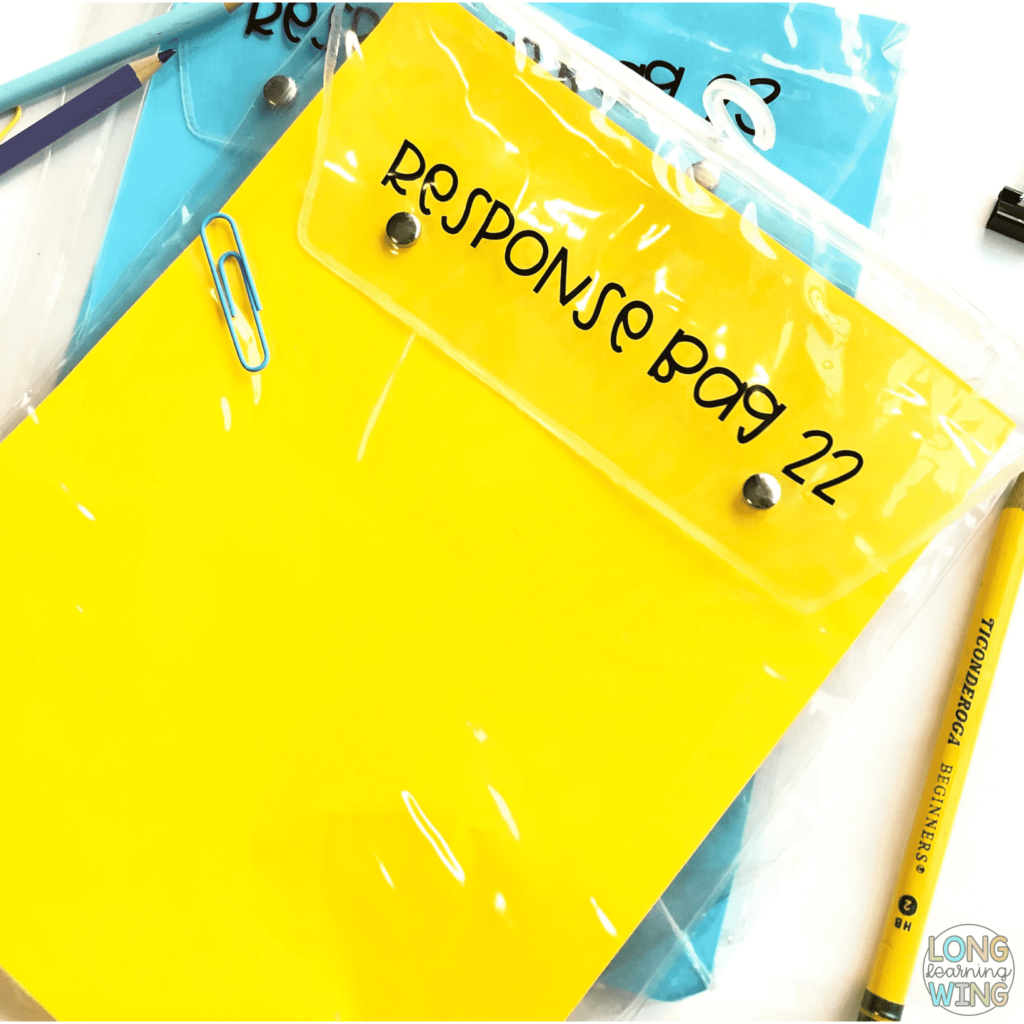
At the start of the school year, the fourth-grade teachers received new Social Studies books in these durable plastic bags. Many of the teachers were throwing them out so the crafter in me just picked them up. I hoarded them till the end of the year until I found two uses for them during summer. I am first using them as a bag to hold all the tools my kids need to complete different formative assessments. More about these response bags and how I use them in the classroom will be in another post.
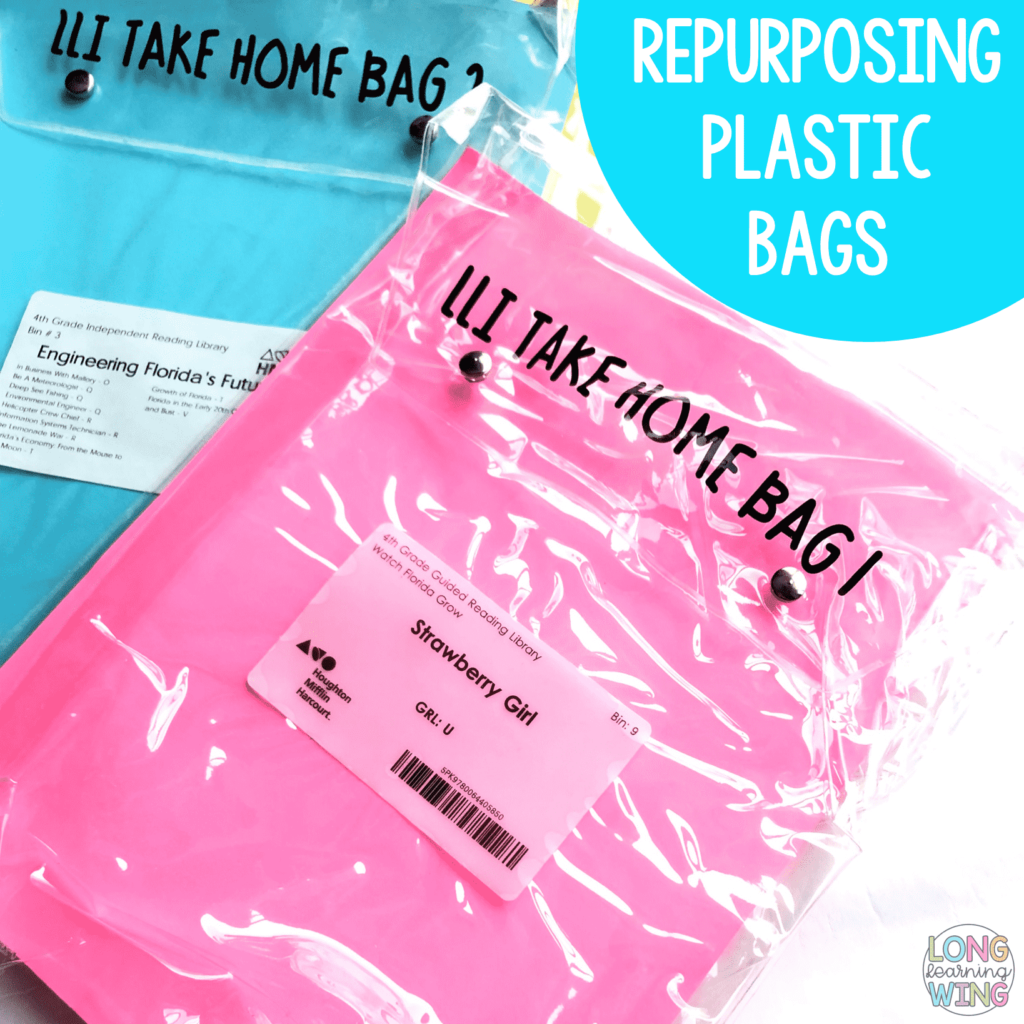
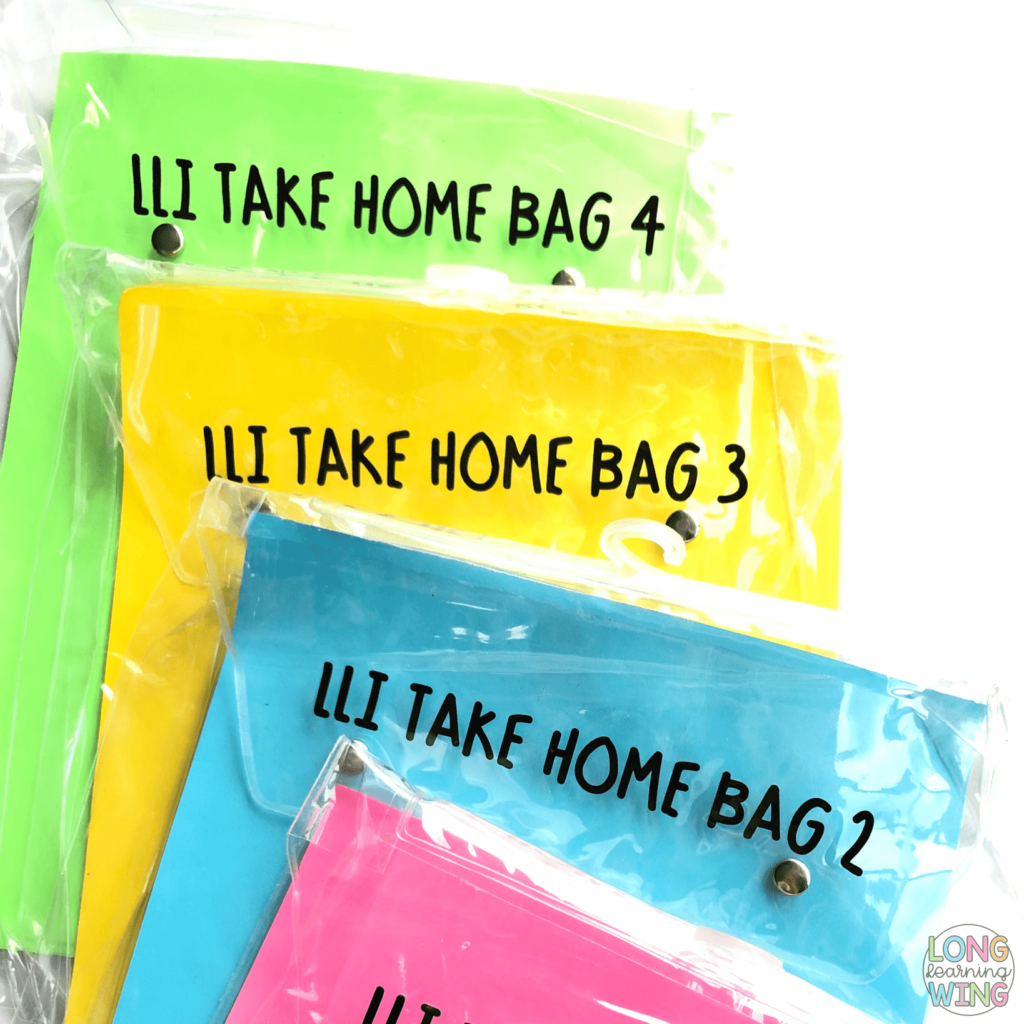
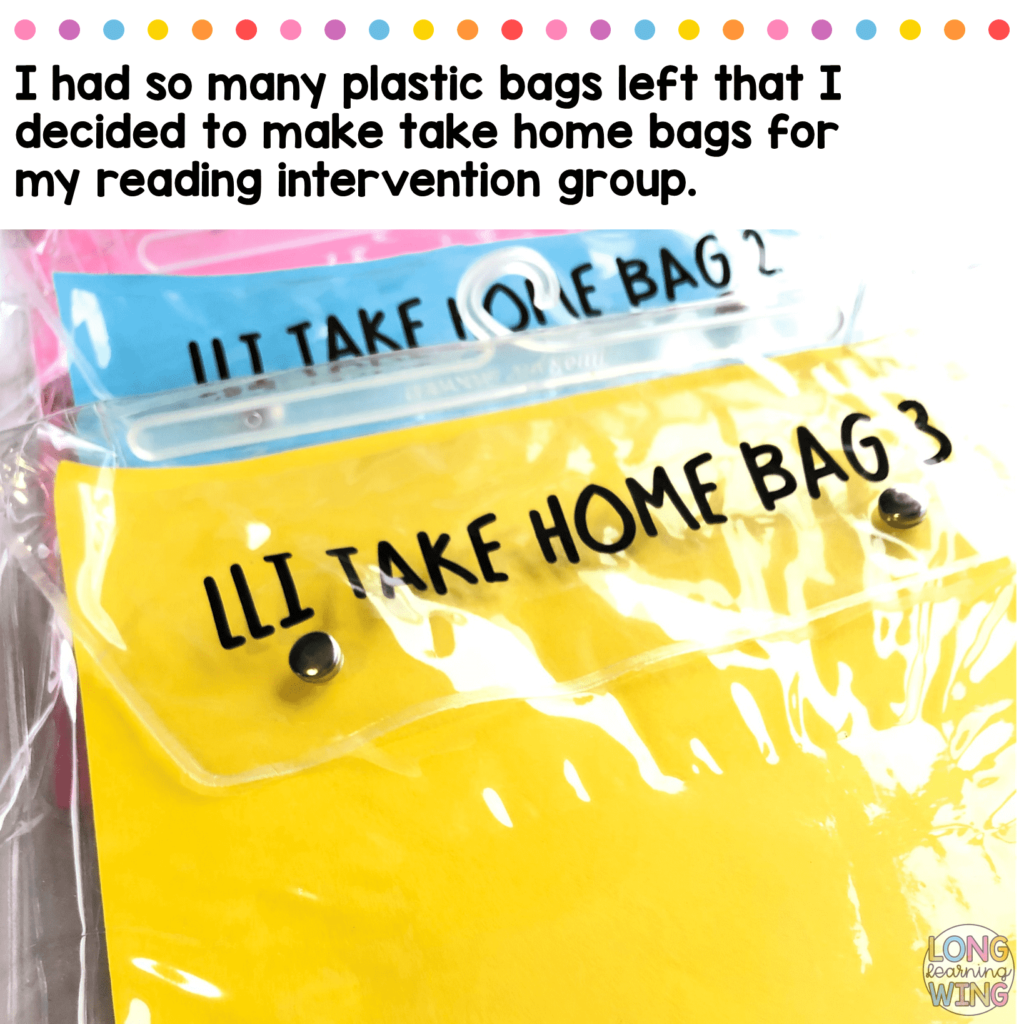
I had so many plastic bags leftover that I replaced my intervention take-home bags with these durable plastic bags. The results came out amazing! I can’t wait to use them next year and test their durability.
Other Ways to Do the Project
- If you can’t get a hold of these bags, any gallon Ziplock bag would work for this project.
- These bags can also be good for reading books take home bags or just book bags for the kids.
Tips for Vinyl & Project # 2
This is a great project for beginners or anyone new to working with vinyl. I did not prep the bags as I did with the cups. I did not have any issues putting on the vinyl.
Total cost: If you have the bags and the vinyl then it is a low cost. If you are buying the bags and vinyl you are looking between $2 – $3 each bag.
Project 3: Inspirational Quotes
The Story Behind Silhouette Project #3
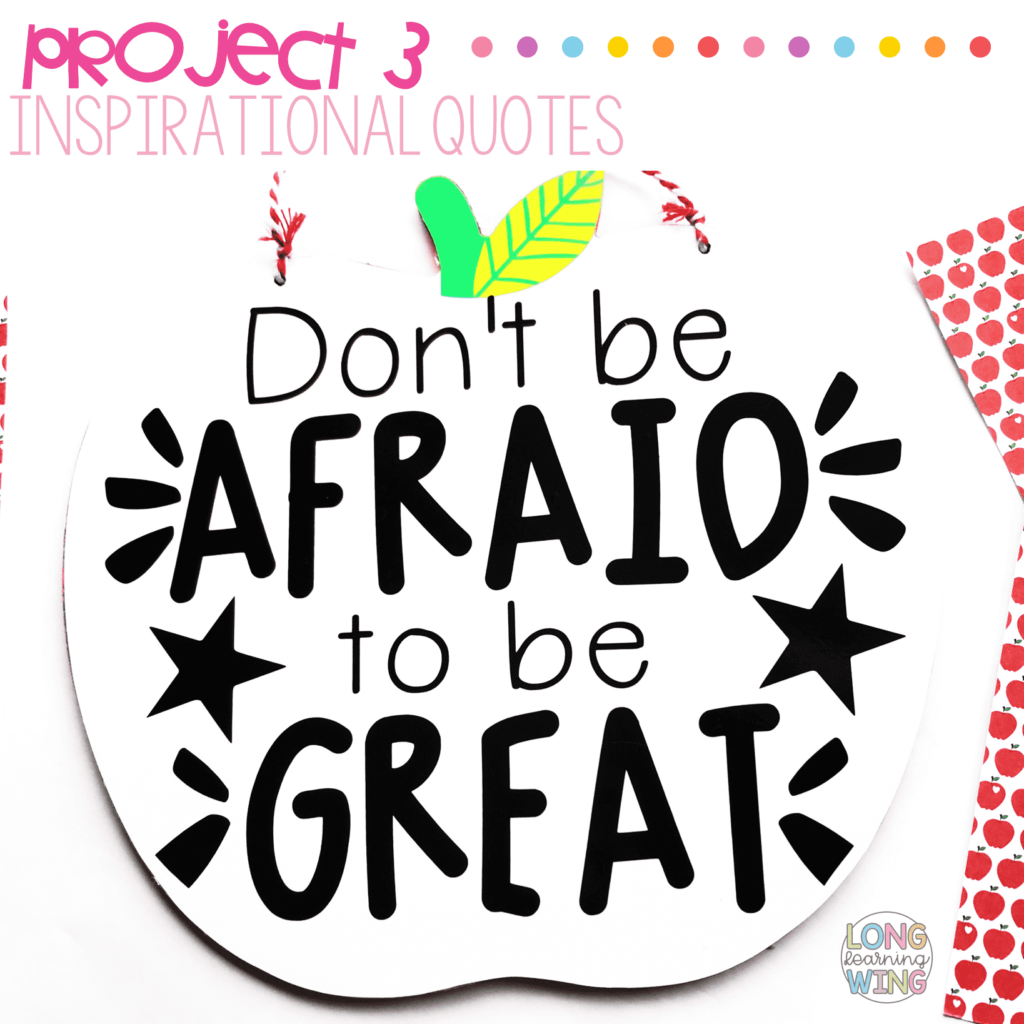
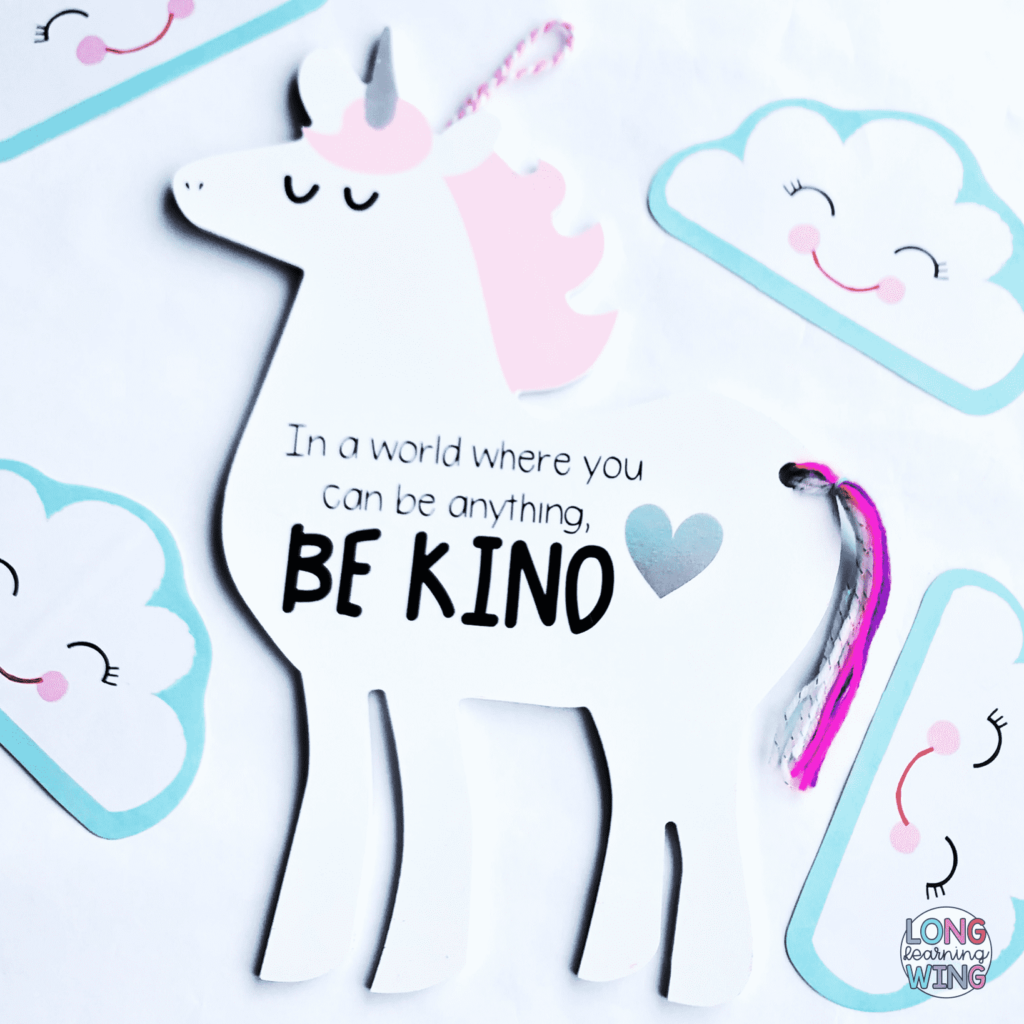
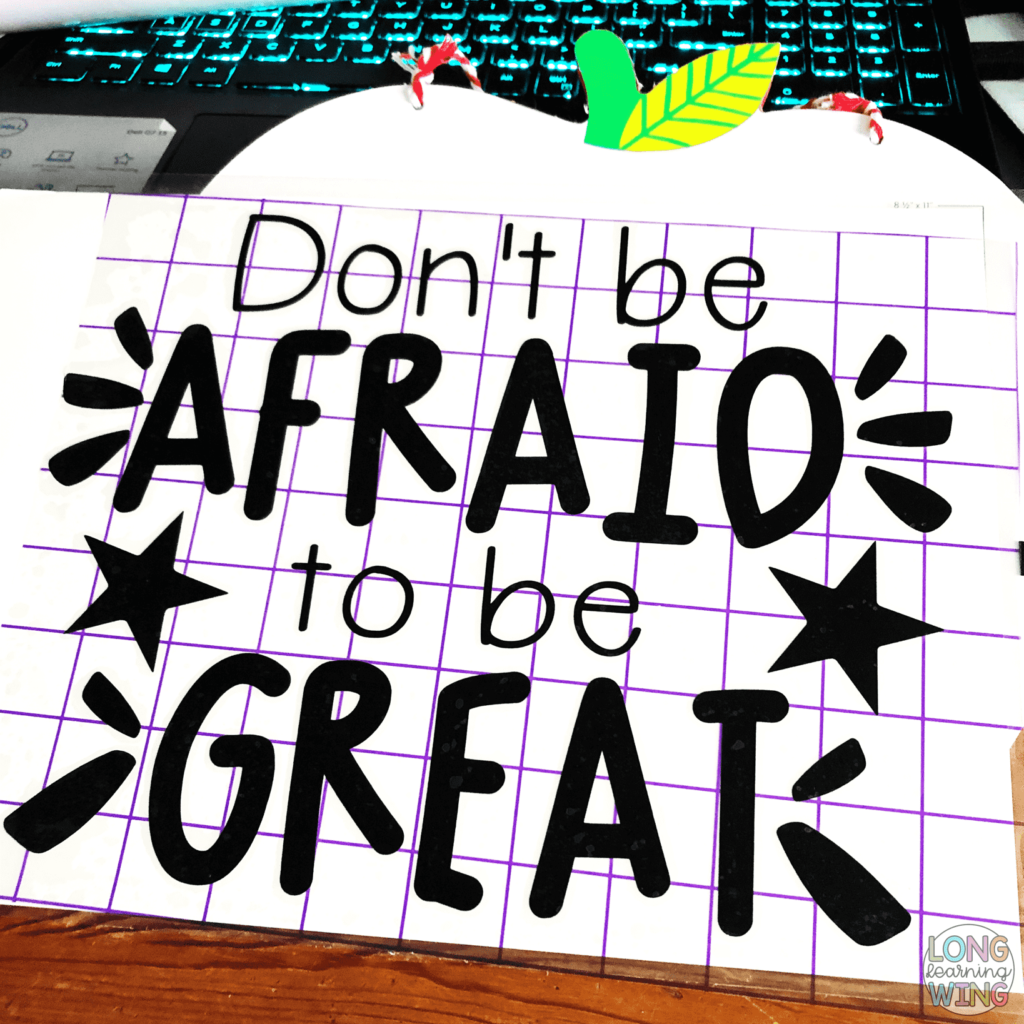
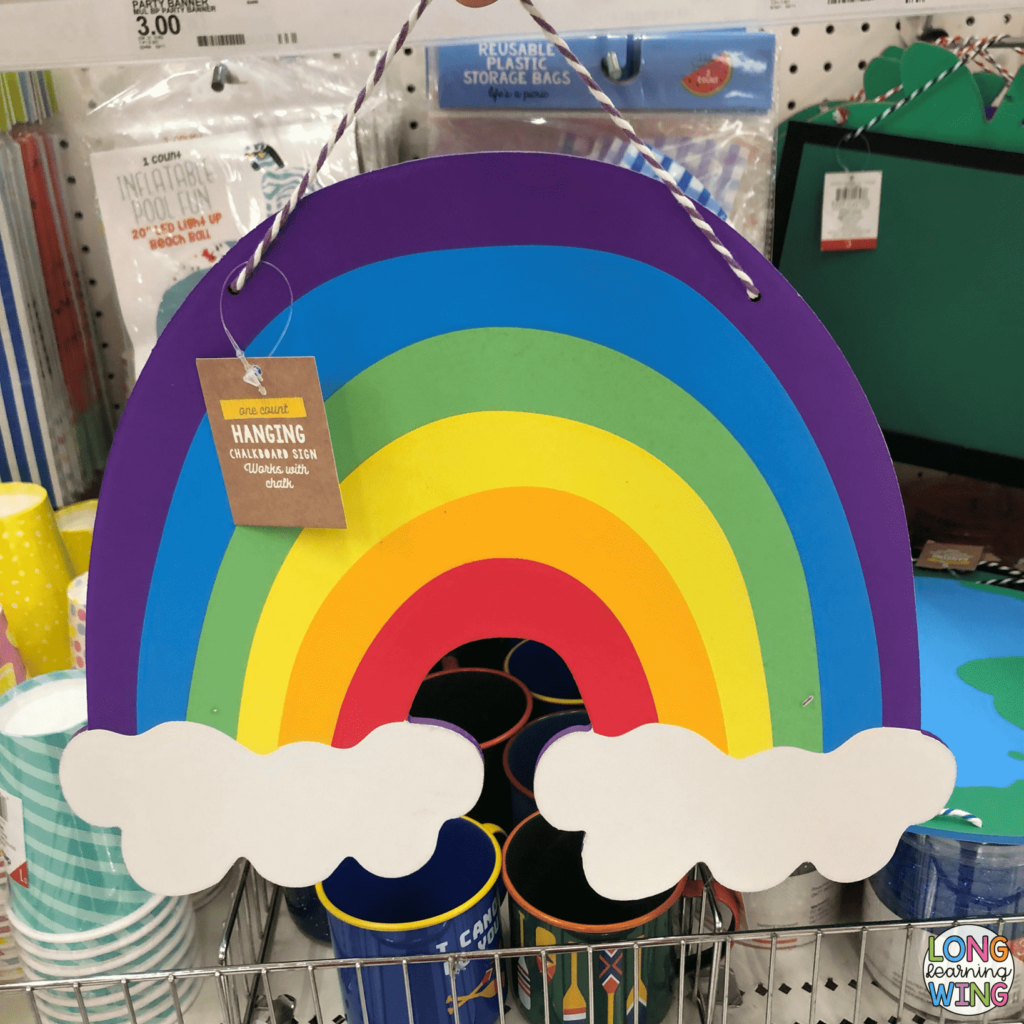
I teach writing to fourth graders so asking them to write anything is challenging in the classroom. Since my fourth graders are new to essay writing, we discuss ways to overcome negative feelings and emotions towards writing by having a growth mindset. One way that my prior kids felt motivate to write was through the discussions of different motivational quotes throughout the year. And what better way to display a quote than with the cute frame tags found at the Target Dollar Spot!
Other Ways to Do the Project
- You can display these quotes around the room, on the wall, or on a bulletin board.
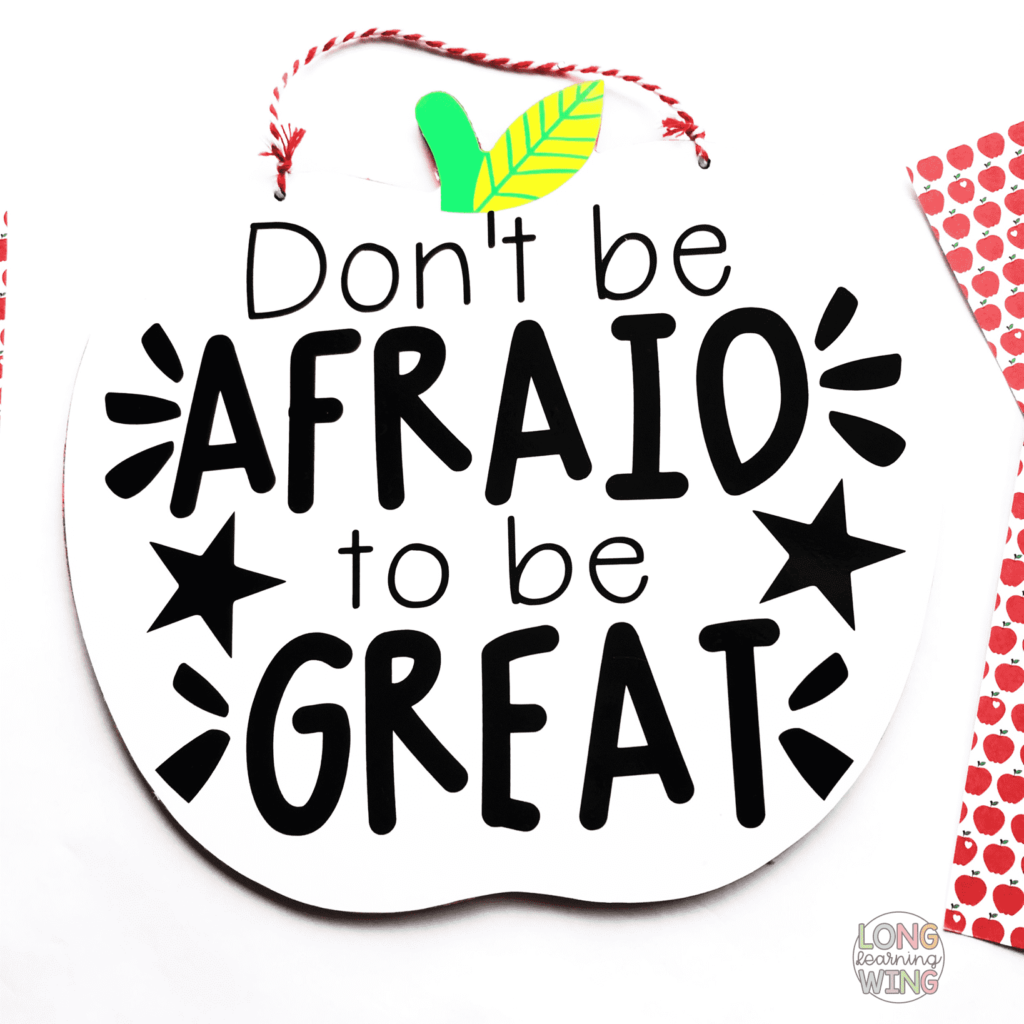
- You can print out the quotes and have them displayed in high traffic areas in the classroom.
- Another inspiration that came from the quotes was to create a testing sign for my classroom. The apple was the perfect object for this since its double-sided.
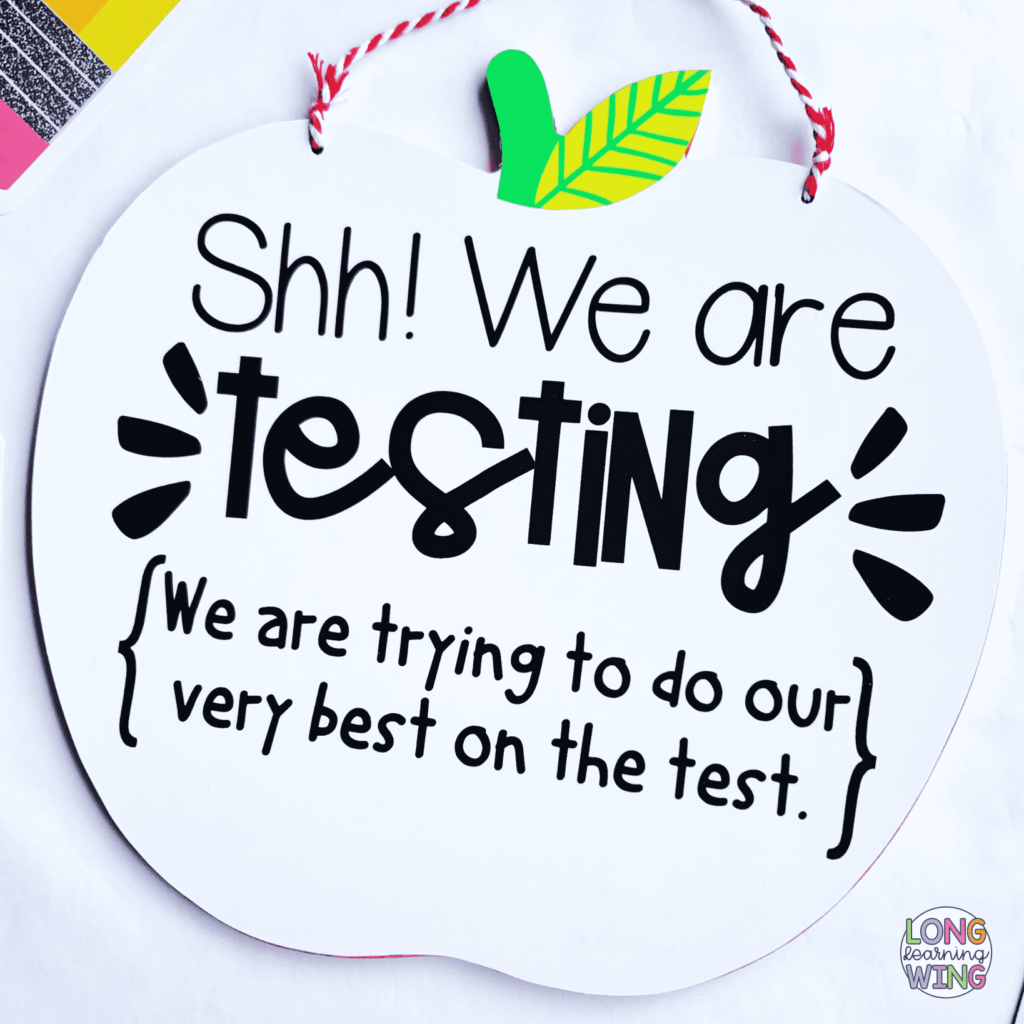
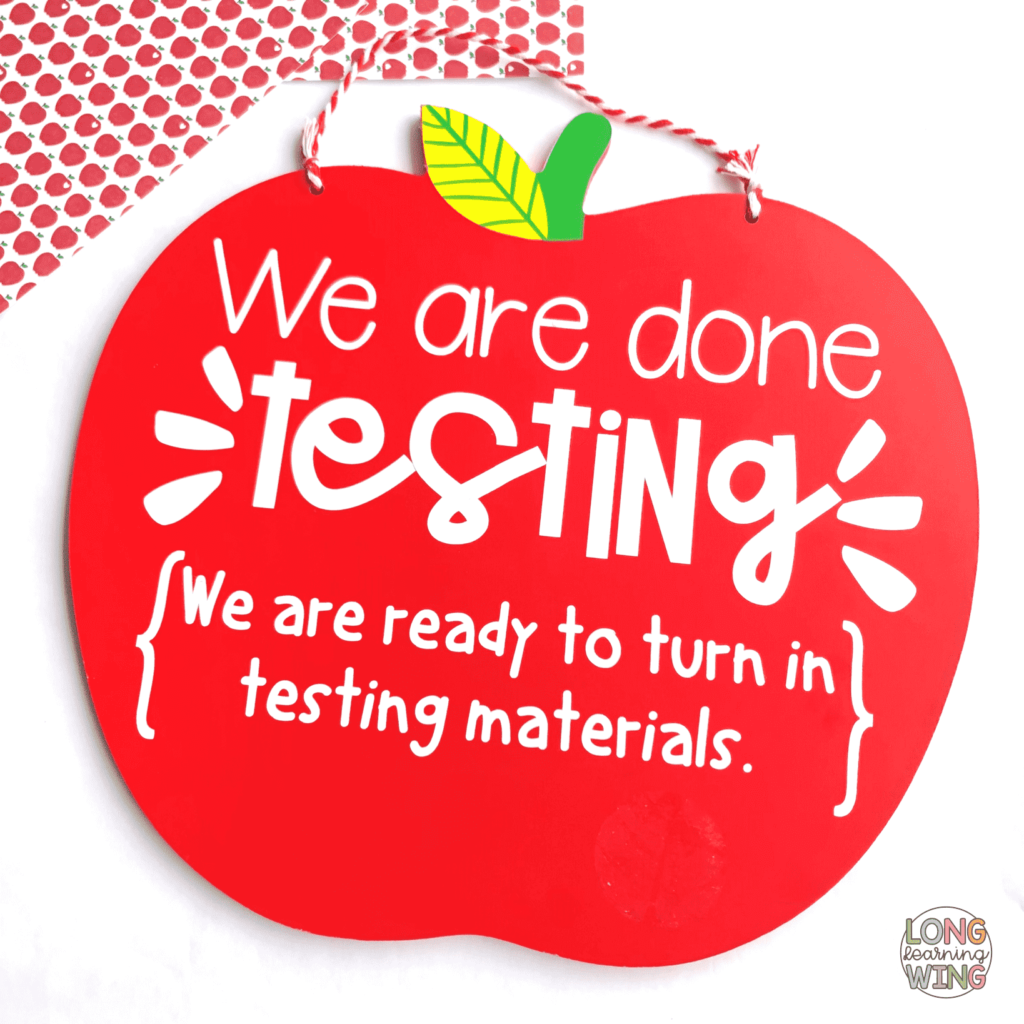
- These signs are perfect because I can turn them over during those testing days and get the message across to our visitors. The school gives us a paper sign but no matter what tape I use the sign ends up on the floor. From now on I will use this testing sign instead.
Tips If You Are Recreating This Project
This was my first time making a sign this big. I suggest removing the excess vinyl when weeding around letters that have an opening or are just small.
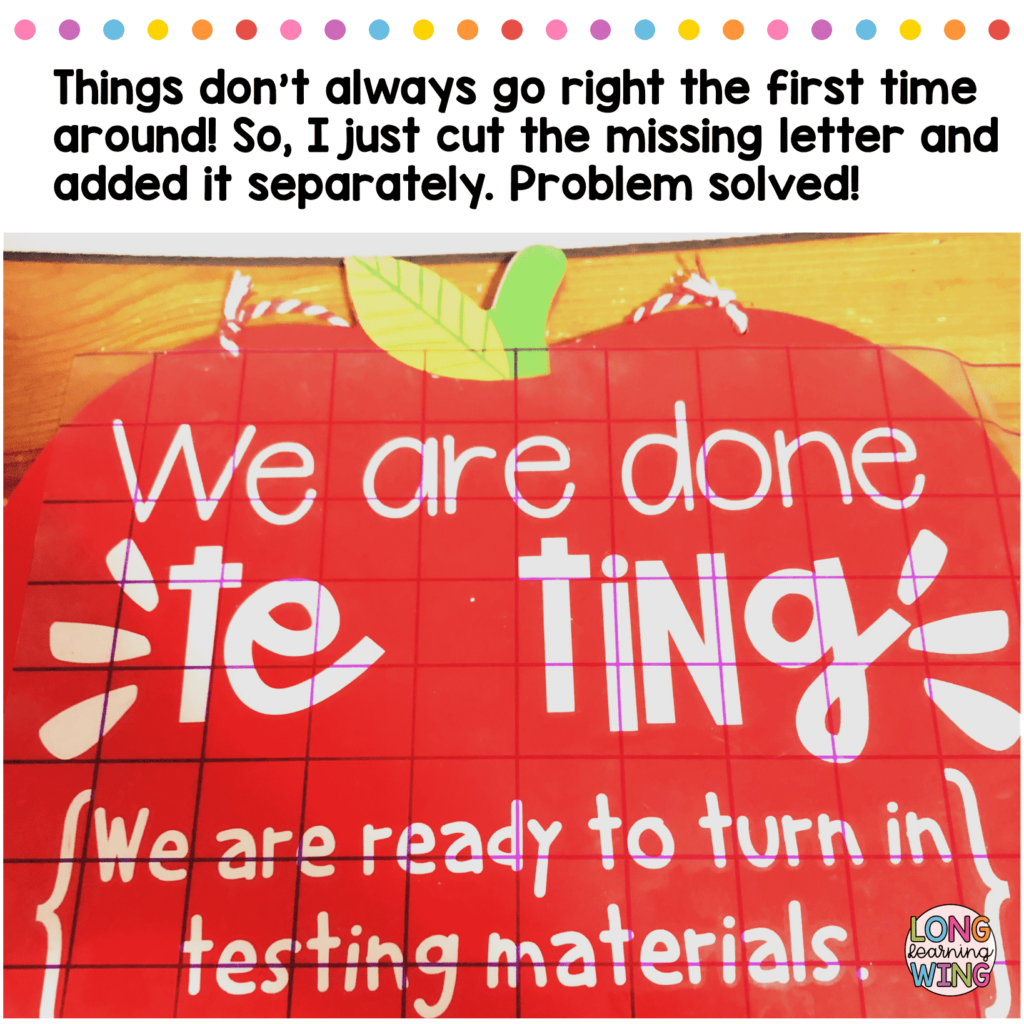
The first time I did this I removed the vinyl to fast and some of the letters got tangled. It was a huge mess and I ended up cutting another set and start from scratch.
The Tools for Vinyl
If you are interested in using the same materials, here is a list of materials that I recommend buying:
- Weeding Tool– This is the main tool I use the most out of the whole set. I recommend going to a pharmacy and purchasing a dental cleaning kit. It is cost-effective and sometimes even cheaper. The weeding tool in mine dental cleaning kit is smaller, pointer and effective!
- Oracal 651 – This brand of vinyl paper is one of the easiest types of vinyl paper I have ever working with.
- Objects: Besides the plastic bag, I purchased my materials from the Dollar Tree and Target because where else would a teacher shop for these materials!
I love using my silhouette cutter during summertime. Endless hours of cutting and creating without interruptions. What isn’t there to love? I hope you will find inspiration in my projects to take out your silhouette and label all things!



One Response