

How to make a classroom poster without a poster printer? It only takes two free methods and a few supplies already sitting in your classroom!
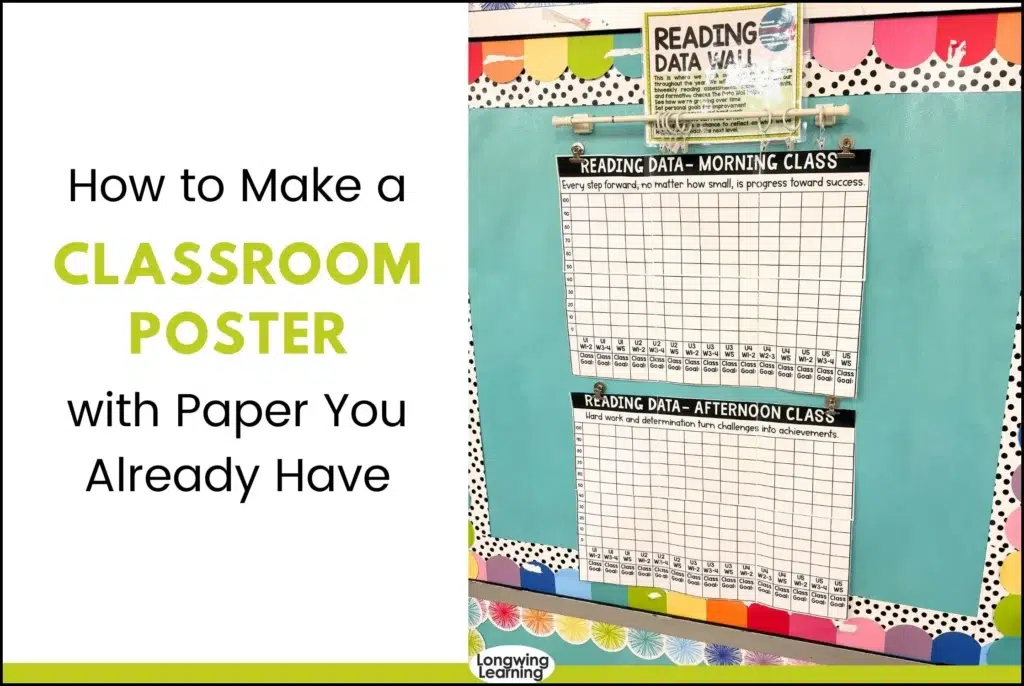
I designed a reading data wall on a regular sheet of paper. It looked great on my screen. Then I went to hang it up and realized it was the size of a piece of notebook paper on a wall that needed something my whole class could see from across the room.
I did not want to pay for poster printing. I did not want to drive to an office supply store either. So I started figuring out how to make a classroom poster using stuff I already had at my desk: my printer, some cardstock, a glue stick, and a paper cutter.
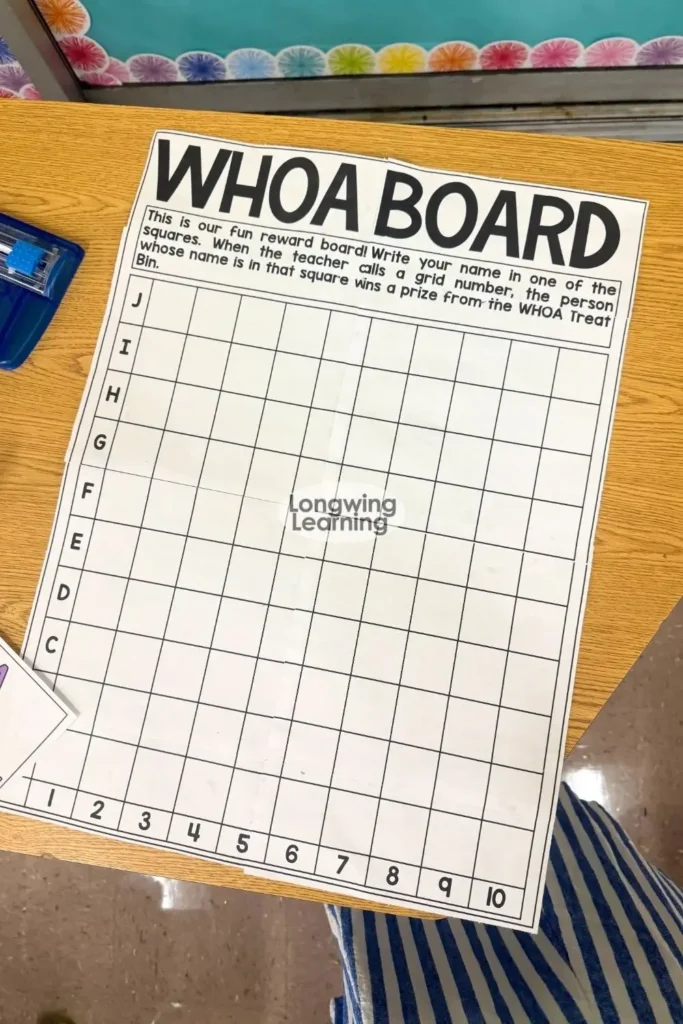
Once I got the hang of it, I started enlarging everything this way. My reading data wall, my WHOA board incentive chart, and any anchor chart I wanted bigger than a regular page. Here are the two methods I use, plus what I have learned about assembling them without losing your mind.
Why I Started Making My Own Classroom Posters
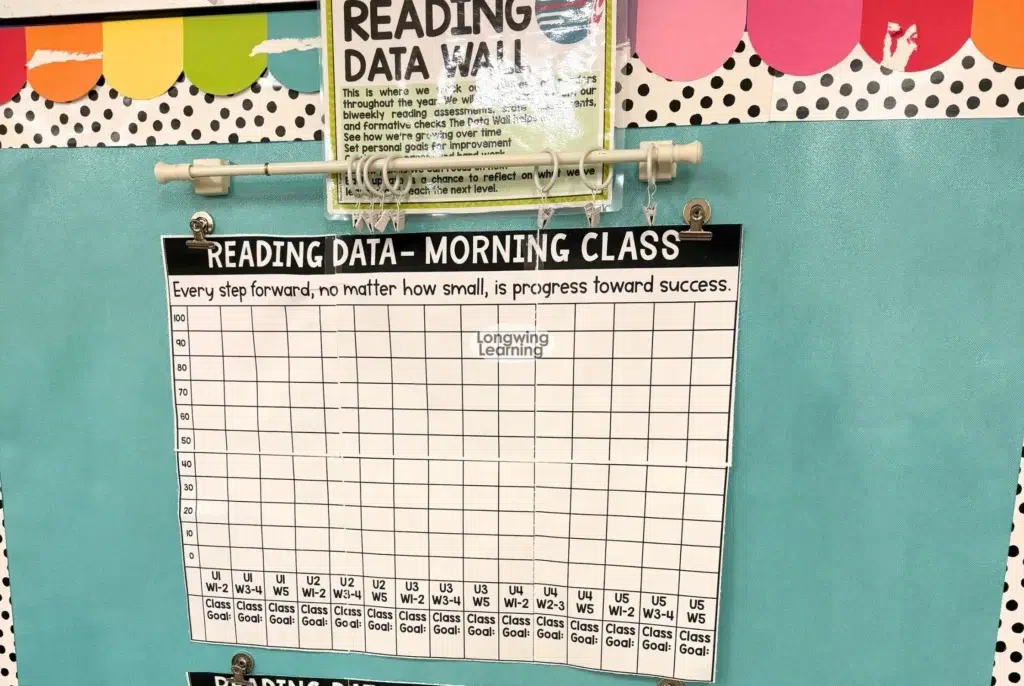
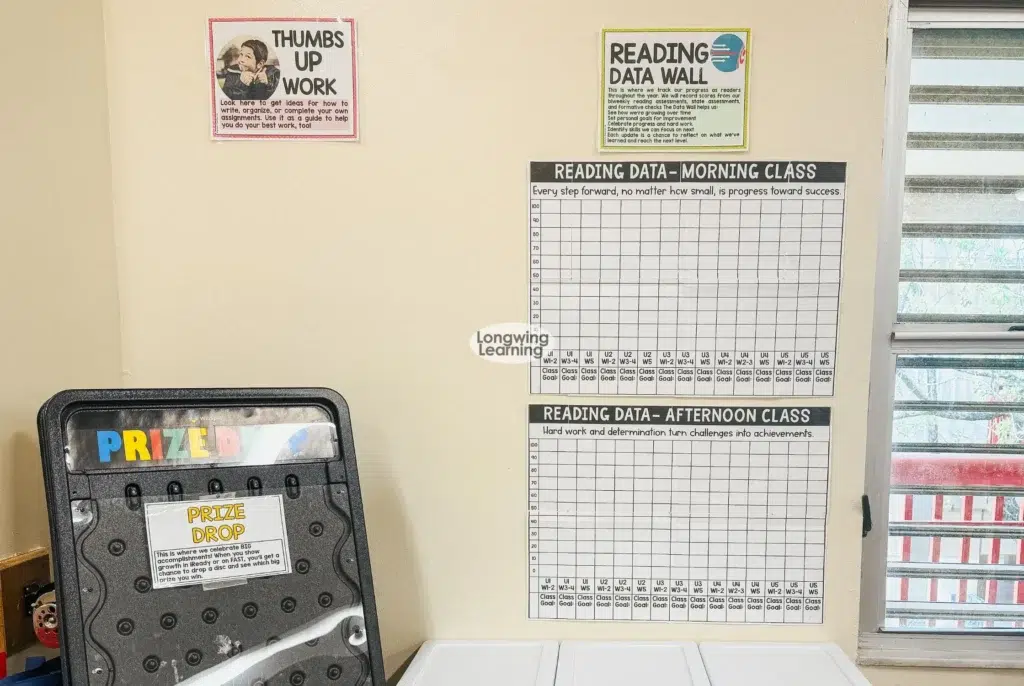
Between my reading data wall and my WHOA board reward system, I needed two large displays that would hold up all year. Buying pre made posters that size gets expensive fast, especially if you want to update or replace them. Printing a regular sheet of paper across several pages and taping it together costs almost nothing, and you can make it exactly the size your wall needs.
The two methods below both start the same way: you need a file, whether it is a PDF, a Google Slide, or a Word document, that has the design you want to enlarge already on one page.
Method 1: Use Your Printer’s Poster Setting
Most printers, especially through Adobe or your computer’s print dialog box, have a built in setting for this. Here is how I do it.
- Open your file and go to File, then Print.
- Choose the page you want to enlarge, if your file has more than one page.
- Look for a setting called Poster, Poster Size, or Tile Scale, depending on your printer or software. This is usually under something like “Page Sizing and Handling.”
- Change the percentage to enlarge your file. The higher the percentage, the bigger your poster will be, and the more pages it will print across.
- Always check the preview before you print. This shows you how big the final poster will be and how many pages it will take, so you are not surprised later.
- Press print.
Your file will now print across multiple sheets of paper instead of just one. That is normal, and it is the whole point. You will piece those pages together like a puzzle.
Piecing It Together (Cutting and Gluing Tips)
This is the part that trips people up the first time, so here is exactly how I handle it.
I cut and assemble as I go, instead of cutting every page first and then trying to figure out where they all go. If you cut everything first and then try to lay it all out, it is way too easy to lose track of which piece goes where, especially with a poster that spans a lot of pages.
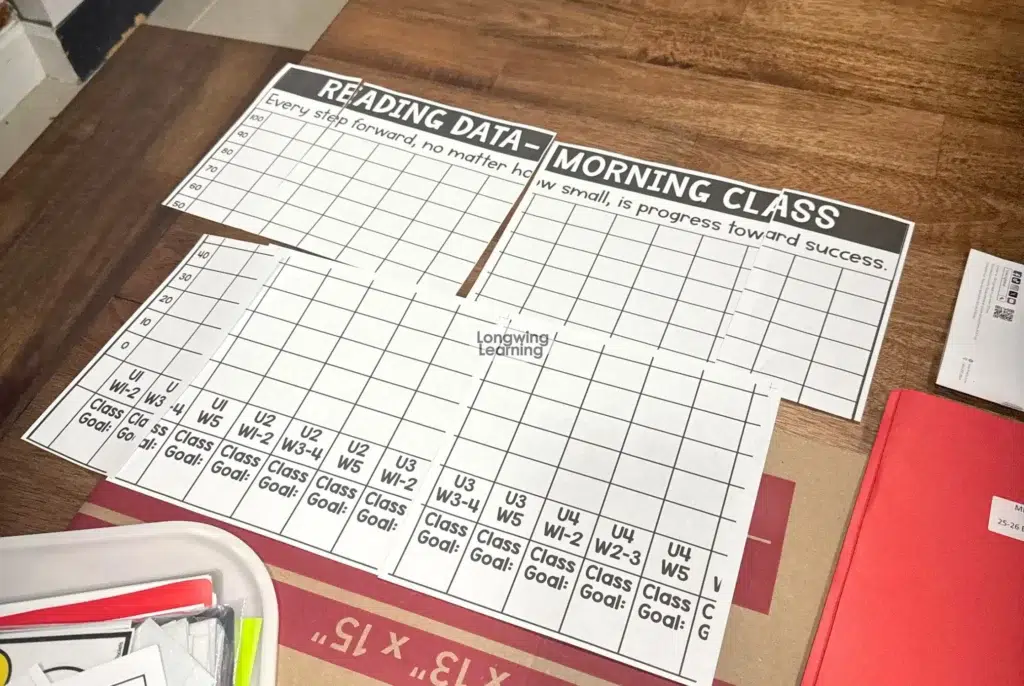
Here is my process:
- Lay out all your pages first in the correct order, without cutting anything yet, so you can see the full picture.
- Starting with one page, trim off the white margins on the edges that need to connect to another page.
- Glue that trimmed page to the next one using a glue stick. I always start with the glue stick because it lets you reposition slightly if something is a little off, and it holds the pieces in place while you keep working.
- Move to the next page, cut, glue, and repeat until the whole poster is assembled.
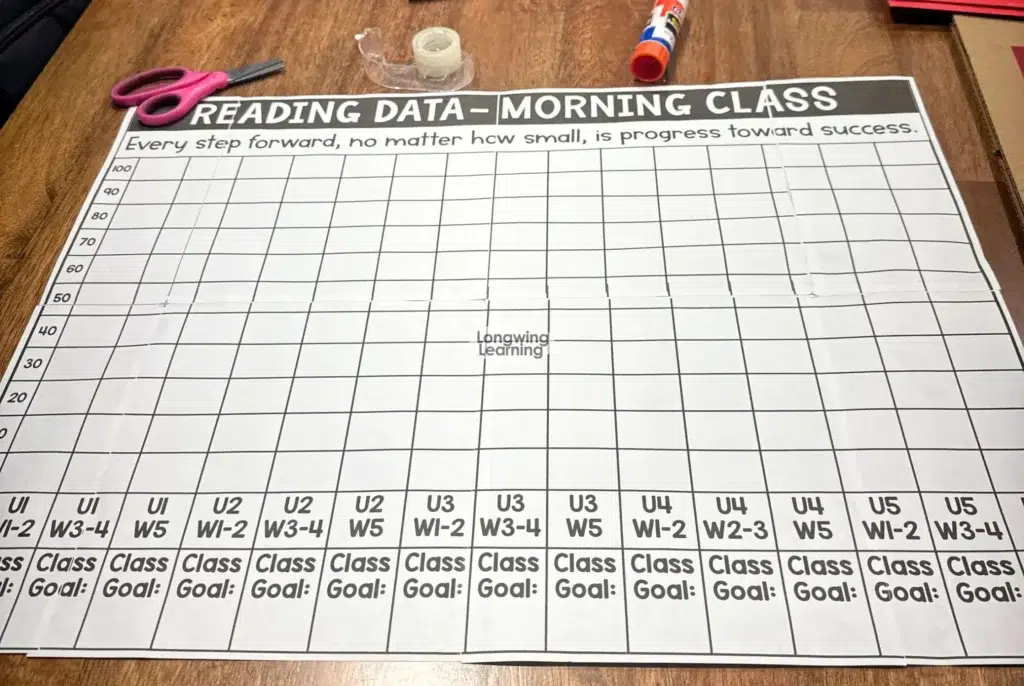
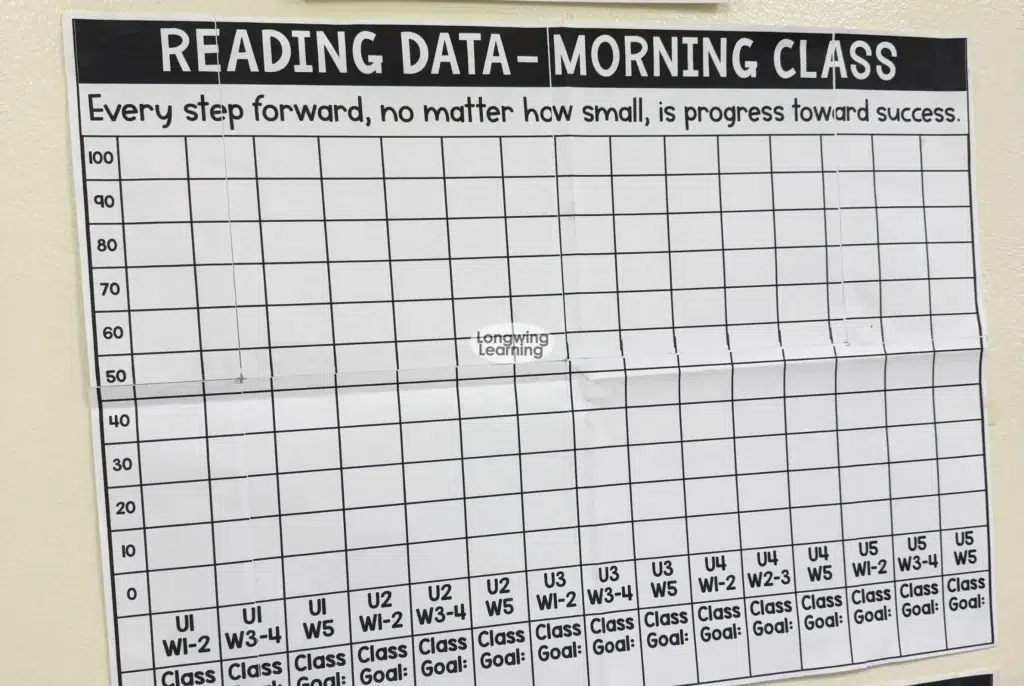
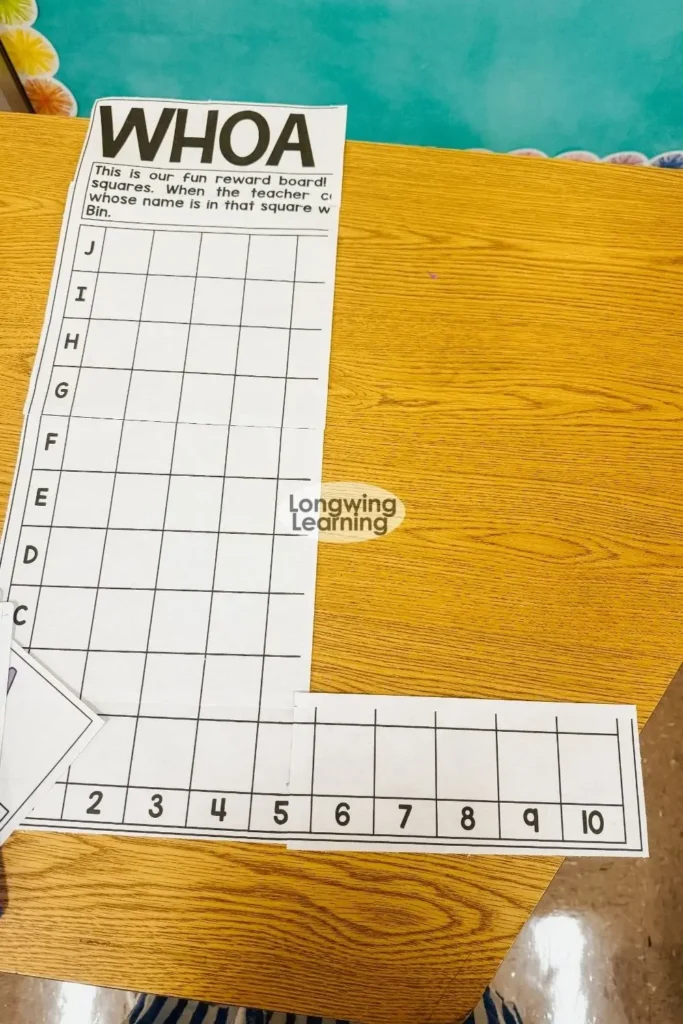
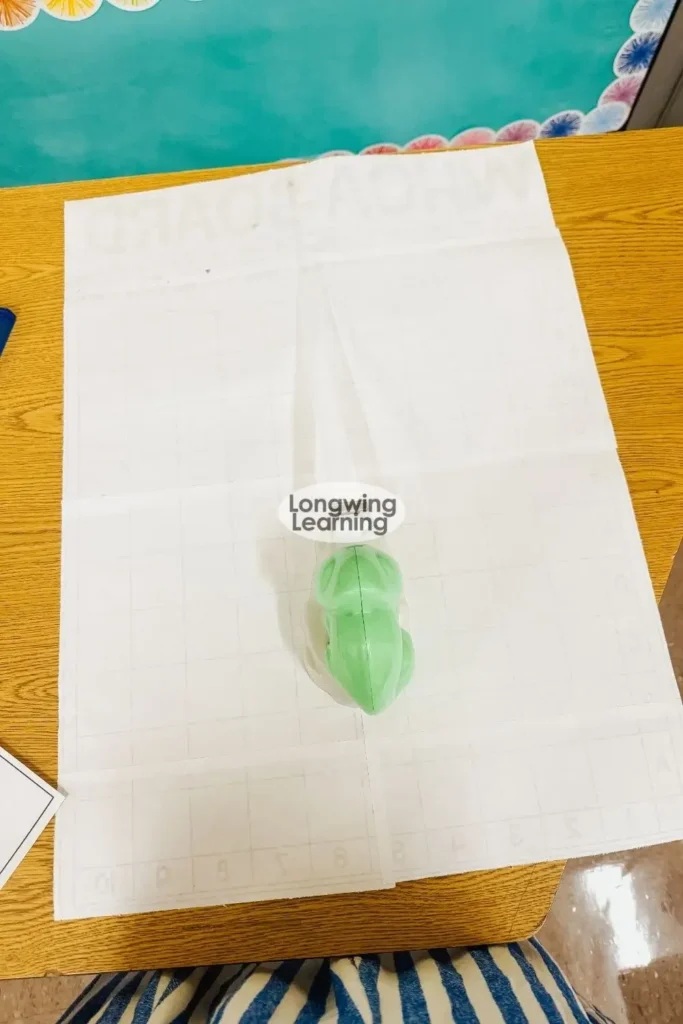
Once the whole poster is glued together, flip it over and run tape along the back seams. This is what actually makes it sturdy enough to survive being taken up and down, rolled, or handled by little hands during a lesson.
The glue stick holds it together while you build it, but the tape is what keeps it in one piece long term.
Method 2: No Poster Setting? Use Rasterbator.net
Not every printer has a poster or tile scale option built in. If yours does not, there is a free website that does the exact same job: rasterbator.net.
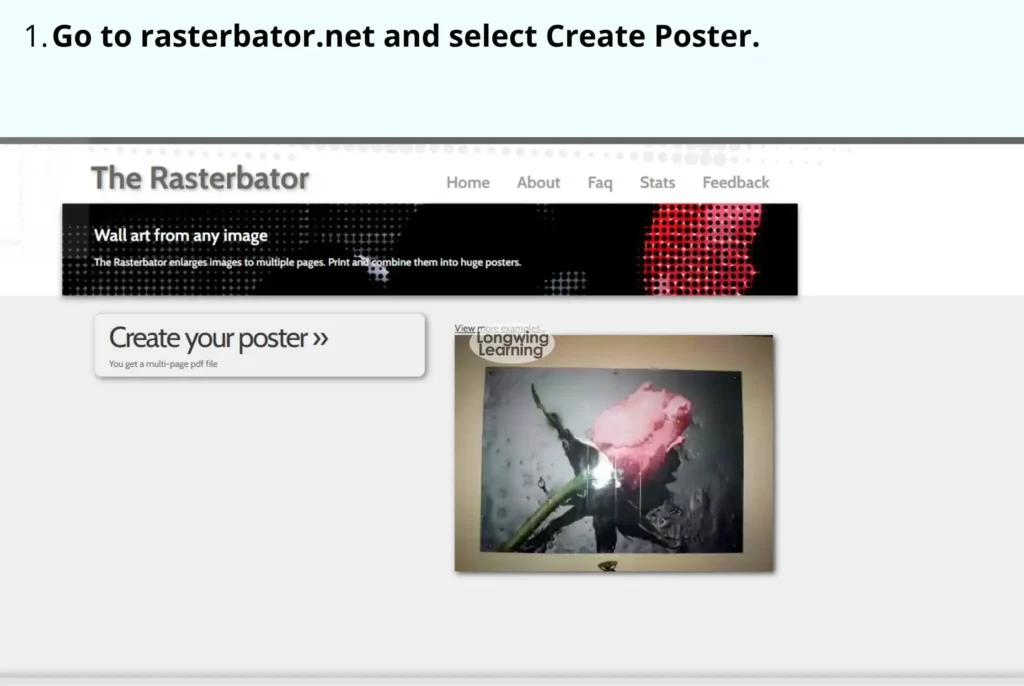
- Go to rasterbator.net and select Create Poster.
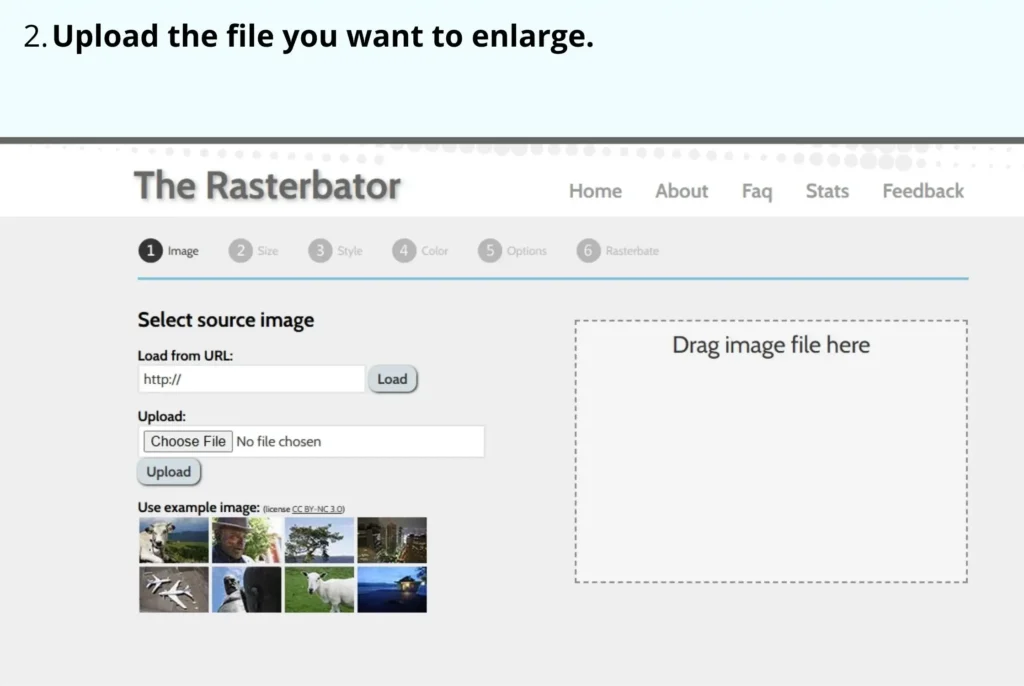
- Upload the file you want to enlarge.
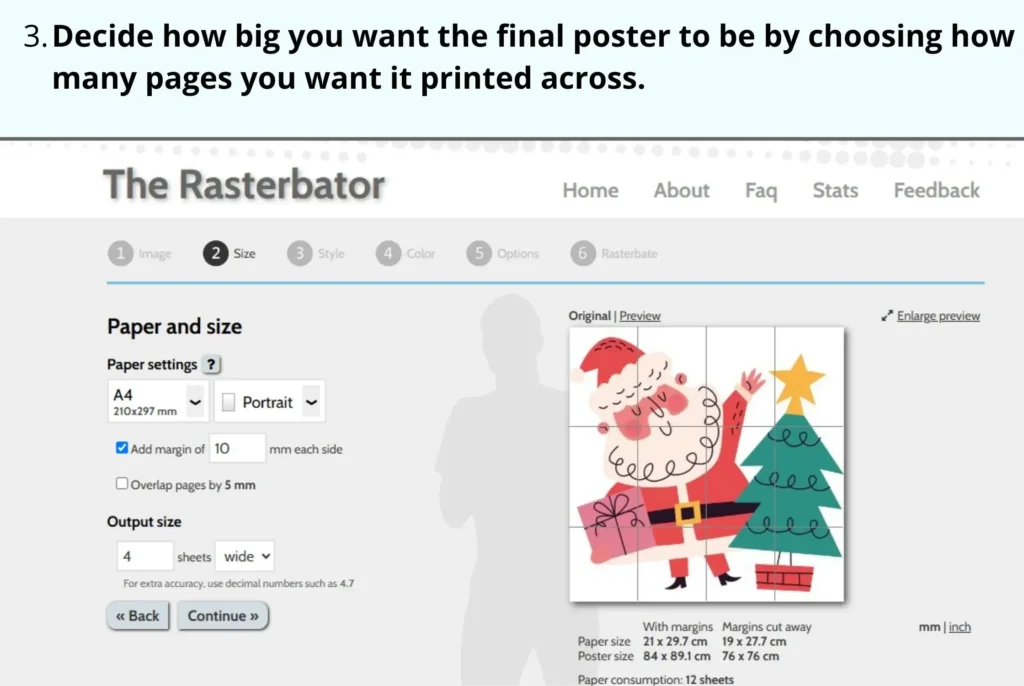
- Decide how big you want the final poster to be by choosing how many pages you want it printed across.
- Check the preview on the right side of the screen. This gives you a visual of the final size before you commit to anything.
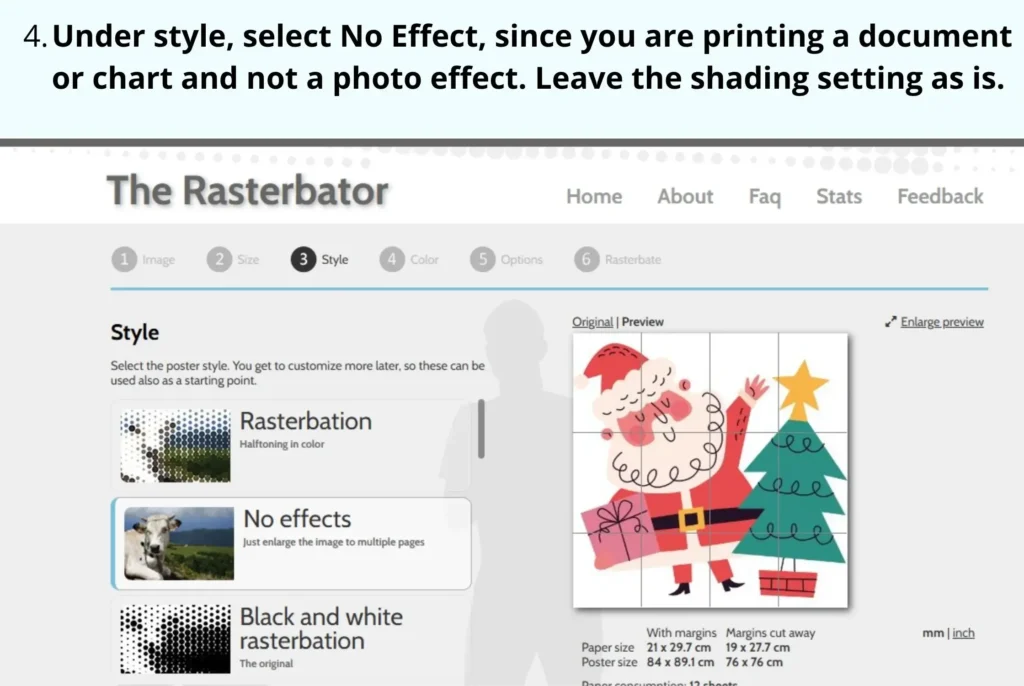
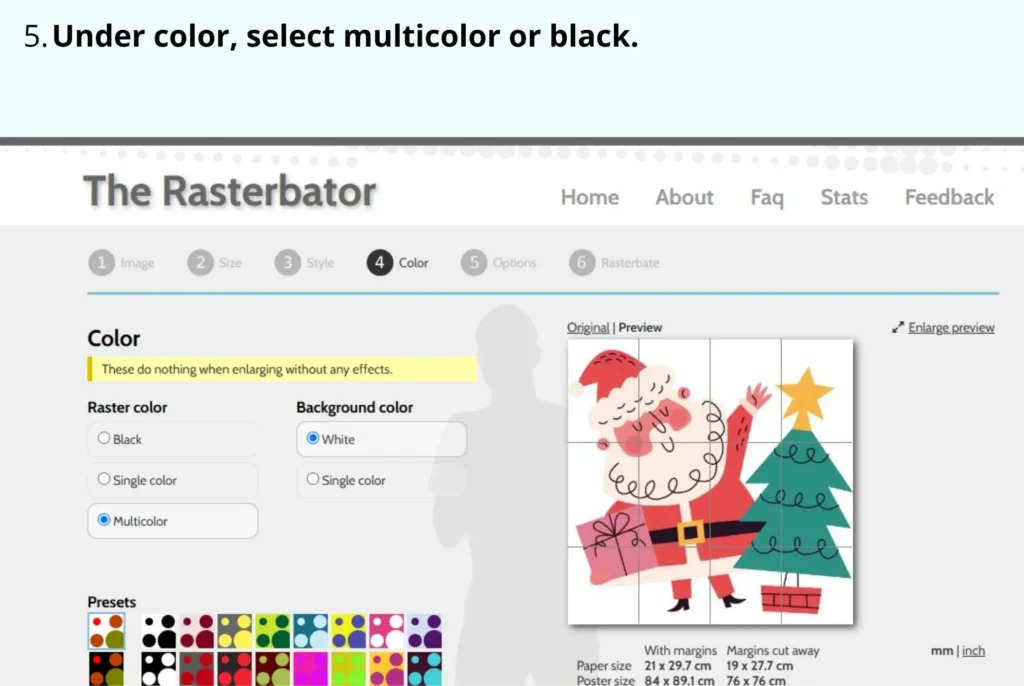
- Under style, select No Effect, since you are printing a document or chart and not a photo effect. Leave the shading setting as is.
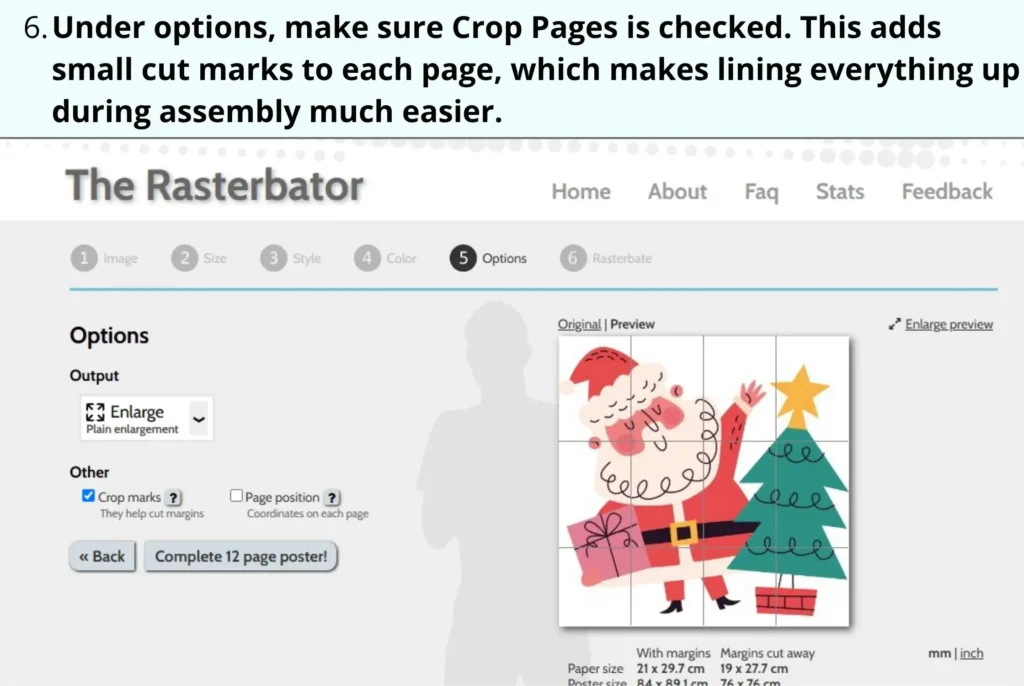
- Under options, make sure Crop Pages is checked. This adds small cut marks to each page, which makes lining everything up during assembly much easier.
- Select Complete Project.
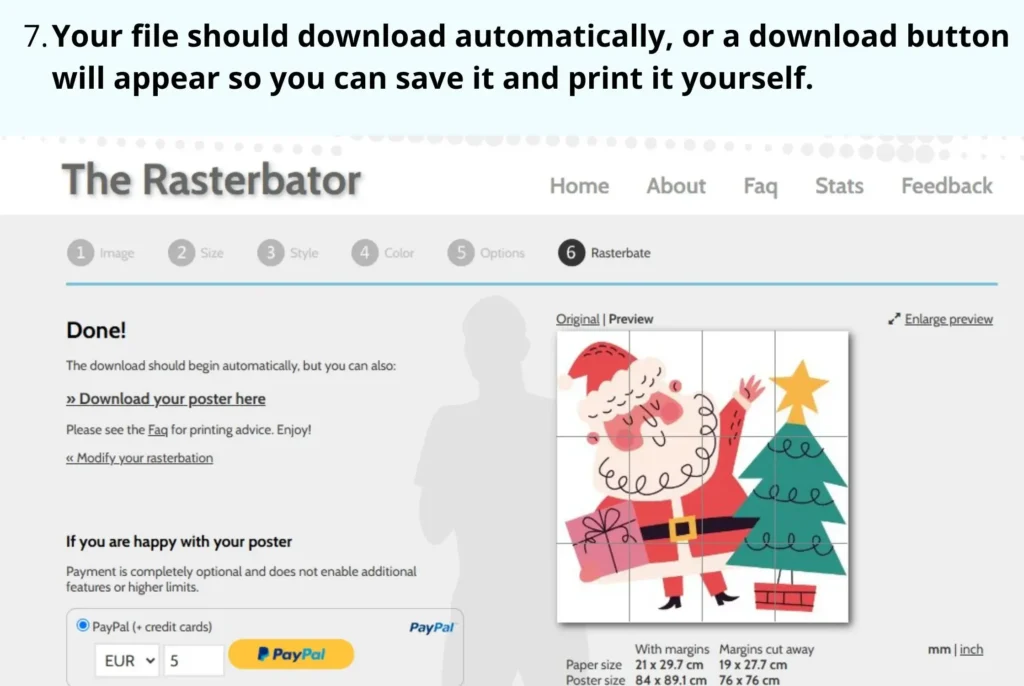
- Your file should download automatically, or a download button will appear so you can save it and print it yourself.
Once you print the downloaded file, you assemble it the same way described above: trim, glue as you go, then tape the back for sturdiness.
Ways to Use This in Your Classroom
Once you know how to make a classroom poster this way, you will probably find more uses for it than you expect. Here is what I use it for most.
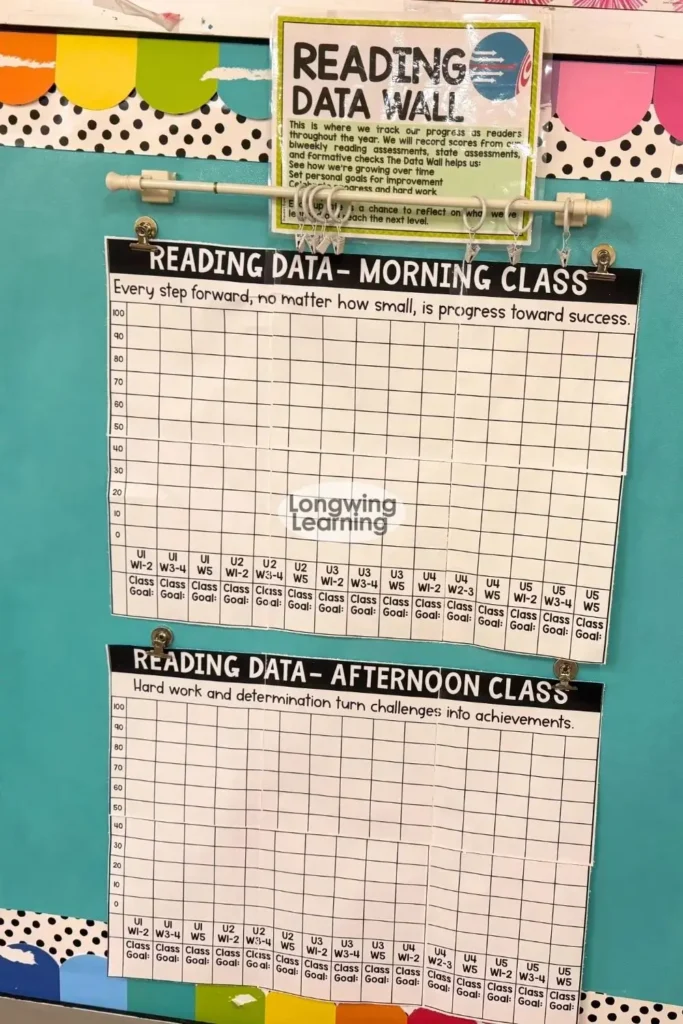
Reading data walls. My data wall tracks whole class progress across the year, and it needed to be big enough to read from across the room. Enlarging it this way let me design exactly what I wanted first, then blow it up to the size the wall actually needed.
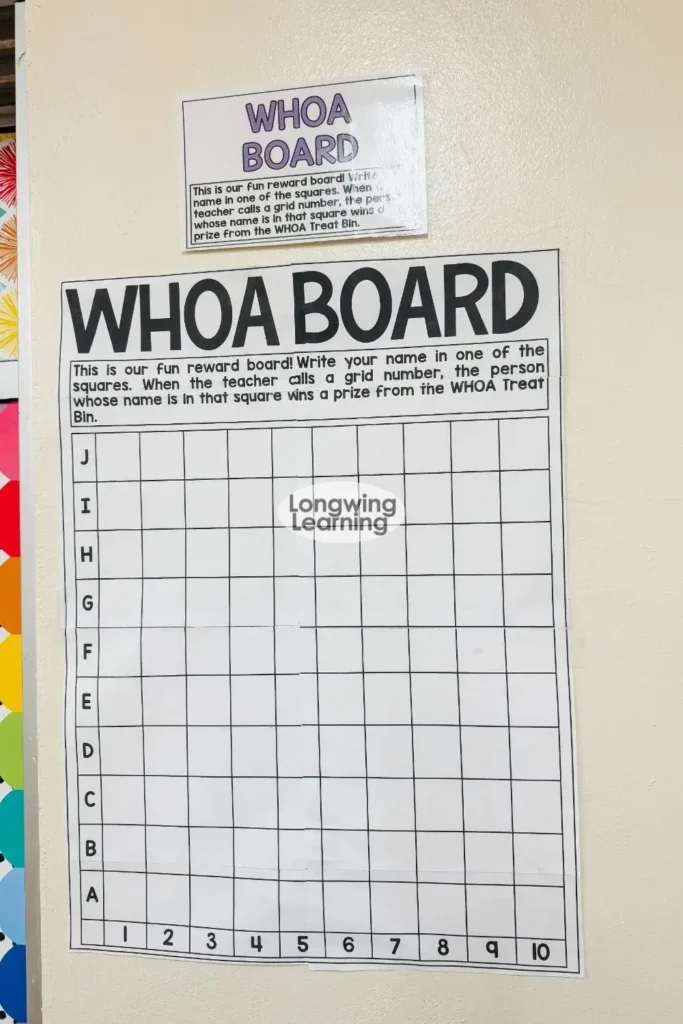
Classroom incentive boards. My WHOA board is a reward system where students write their name in a grid square, and when their square gets called, they earn a prize.
A board like that needs to be large enough for a whole class to interact with, which makes it a great fit for this method.
Anchor charts. Any anchor chart you design digitally can be enlarged the exact same way, whether it is for reading strategies, writing goals, or grammar concepts.
If you already have anchor charts you like in a smaller format, this is an easy way to make them poster sized without redesigning anything. I go into more anchor chart ideas in 8 Ways to Use Elaboration Anchor Charts
Pretty much anything you want displayed big. Vocabulary walls, classroom rules, seasonal displays, whatever you want visible from across the room works with this same process. You can see more of the display ideas I use in my classroom under DIY Classroom Decor
Ready to Make Your First Classroom Poster?
The first time you piece one of these together, it will probably take you longer than you expect. By your second or third poster, you will have a rhythm down, and it goes fast.
Start with something small, like a single anchor chart, before you try a large data wall so you get comfortable with the cutting and gluing process first.
If you want more ideas for what to display once your poster is ready, check out my post on 8 Ways to Use Elaboration Anchor Charts, and browse more classroom setup ideas under DIY Classroom Decor.
Save this post to your classroom organization Pinterest board so you can find it again the next time you need to size something up.
FAQ
Do I need special paper to make a classroom poster from regular printer paper?
No. Regular printer paper works fine. Cardstock will hold up a little better over time if you plan to keep the poster up all year, but it is not required.
How many pages will I need to print for a classroom poster?
It depends on how large you want the final poster and how big your original file is. Both methods let you preview the layout before printing, so you can see the page count and adjust the size up or down before you commit.
Can I use this method for anchor charts, not just large displays like a data wall?
Yes. Any single page design can be enlarged this way, whether it is a full data wall or a smaller anchor chart you just want a little bigger than a regular sheet of paper.
What if my printer does not have a poster or tile scale setting?
Use rasterbator.net instead. It does the same job as the printer setting and is completely free.