Have your students ever struggled to explain text evidence when writing a response to a writing prompt? Trust me, they are not alone.
It’s like they hit a wall of writer’s block that makes them want to give up altogether. Sounds familiar, doesn’t it?
Many students face this challenge, and it can be pretty frustrating.
So, if you’re looking for ways to help your students overcome this writer’s block at explaining text evidence, you’ve come to the right place!
In this blog post, I’m sharing a simple yet effective approach with a free step-by-step lesson plan to help your students become rock stars at explaining text evidence.
Writing Strategy Background
In my fourth-grade classroom, the biggest hurdle came when it was time to write their explanations on paper.
When asked why they chose a specific sentence to support their topic sentence, I asked them, “Why?”
Many could explain their reasons for selecting that particular text evidence.
However, all the words would disappear into thin air once they had to write them down.
So, here’s what I did to help.
Each time they answered “why,” they had to focus on jotting down that one explanation.
Then, I continued asking them, “Why?” – just like those kids who incessantly ask their parents, “Are we there yet?”
All it took was answering that one question repeatedly: “Why?”
And guess what? This approach worked wonders.
It led me to create a graphic organizer for my students, which served as a starting point for them to gather their thoughts and get those wheels turning when it was time to explain their evidence.
How to Teach Students to Explain Text Evidence
Model the Writing Strategy
Let’s break it down step by step!
Step 1: Get the ball rolling by having your students read the “Rainforests of the Sea” reading passage and the accompanying writing prompt.
The goal is to help them identify the text evidence they need to support their writing response.
Step 2: It’s time to dive into the graphic organizer “Steps to Explain My Text Evidence,” it’s a handy tool for your students to organize their thoughts.
Model to them how to answer each question in the organizer, adding more details as you go along. This step will help them understand how to explain the importance of coral reefs.
Step 3: Now, it’s time to transfer the information from the graphic organizer to the Writing Response worksheet.
This is where your students will showcase their writing skills by crafting a well-rounded response. To guide them, you can refer to the answer key for some helpful insights.
Practice the Writing Strategy Together
Now let’s put the writing strategy into action with them!
Here’s how you can guide your students through practice:
Step 1: Have your students collaborate with a partner or work independently to complete the graphic organizer.
The focus now is on kelp forests. Encourage them to refer back to the reading passage and select strong text evidence to support their ideas.
Step 2: Gather the student’s answers and go through them together. This collaborative discussion will help clarify any doubts and reinforce their understanding.
Step 3: Transfer their answers from the graphic organizer to the response sheet.
The writing response is now complete! Take a moment to celebrate their hard work.
To further enhance their understanding, point out the different parts of the paragraph.
Highlight how they effectively explained their text evidence and the overall structure of their response.
Students Practice the Writing Strategy Independently
It’s time for students to practice the writing strategy independently.
Provide them with the graphic organizer to revise a previous writing response or create a new writing prompt.
They can work with a different reading passage and writing prompt to continue honing their skills.
Students will gain a solid grasp of the writing strategy by practicing both collaboratively and independently.
It’s all about giving them the opportunity to apply what they’ve learned and become confident writers who can explain text evidence like pros.
Click here to learn more about using picture books to boost writing skills.
More Writing Strategies to Explain Text Evidence
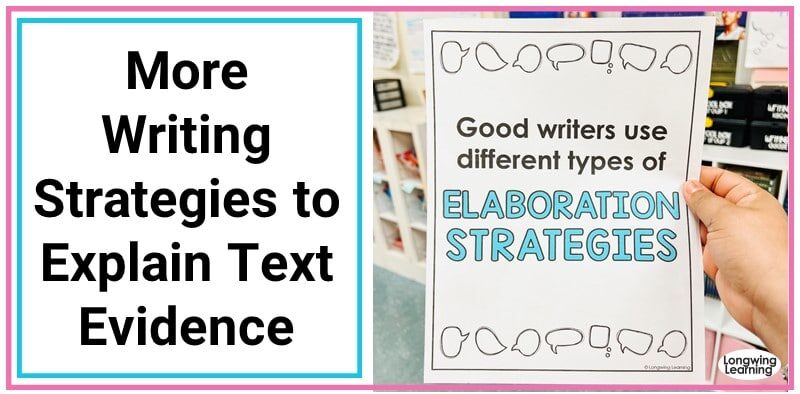
Continuing to help students become rock stars at explaining text evidence, it’s all about giving them various writing tools to rock their writing game!
Here is a list of writing lessons to pair up with when teaching elaboration to boost their writing skills even more!
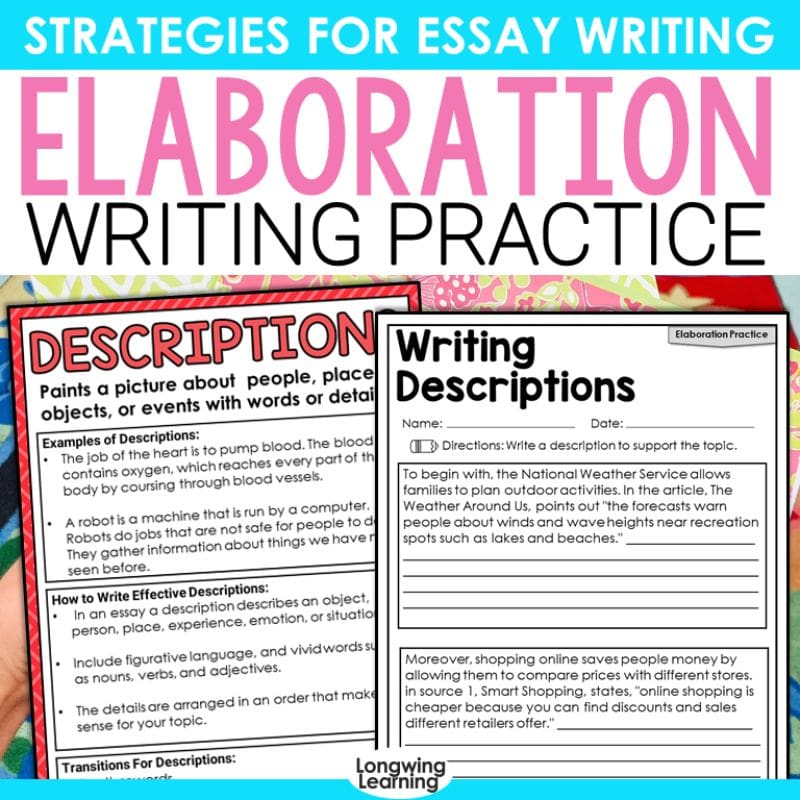
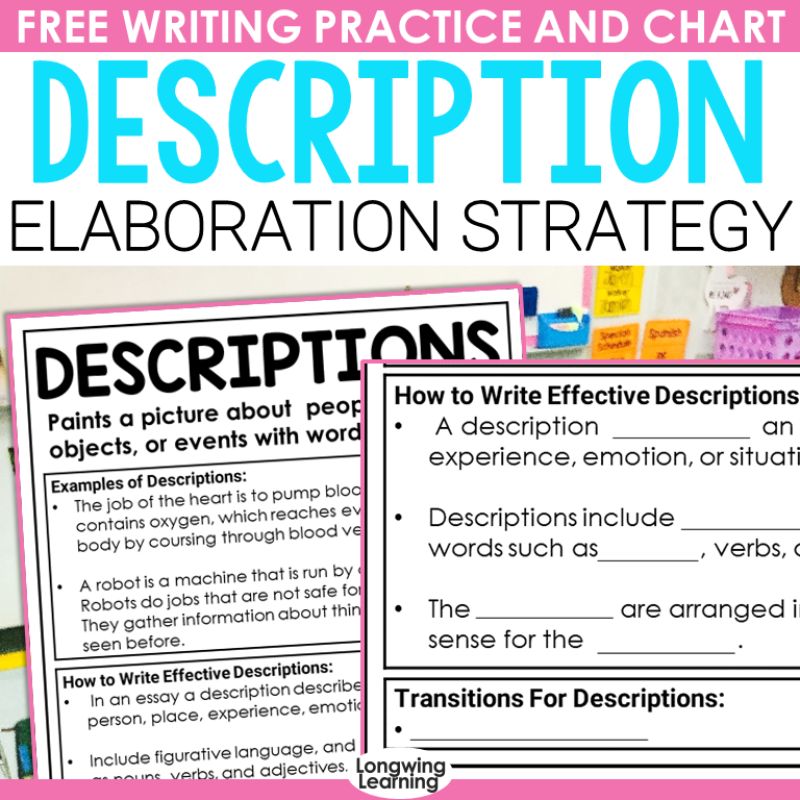
- Teaching students how to explain text evidence using the seven most common types of elaboration strategies in writing.
- Show them the power of transition words to connect their ideas within paragraphs, making their text evidence explanations even more compelling.
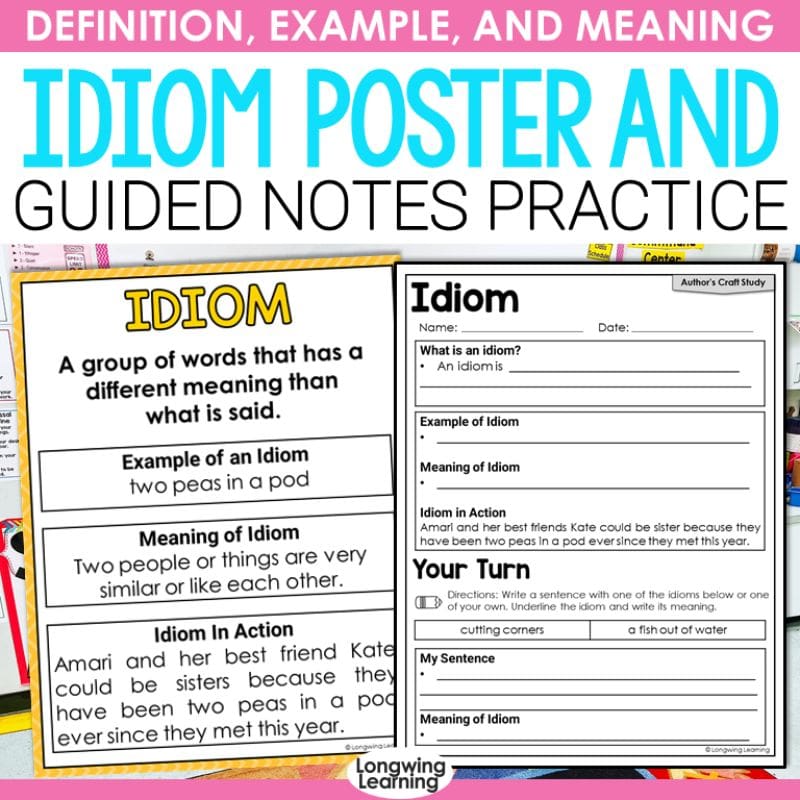
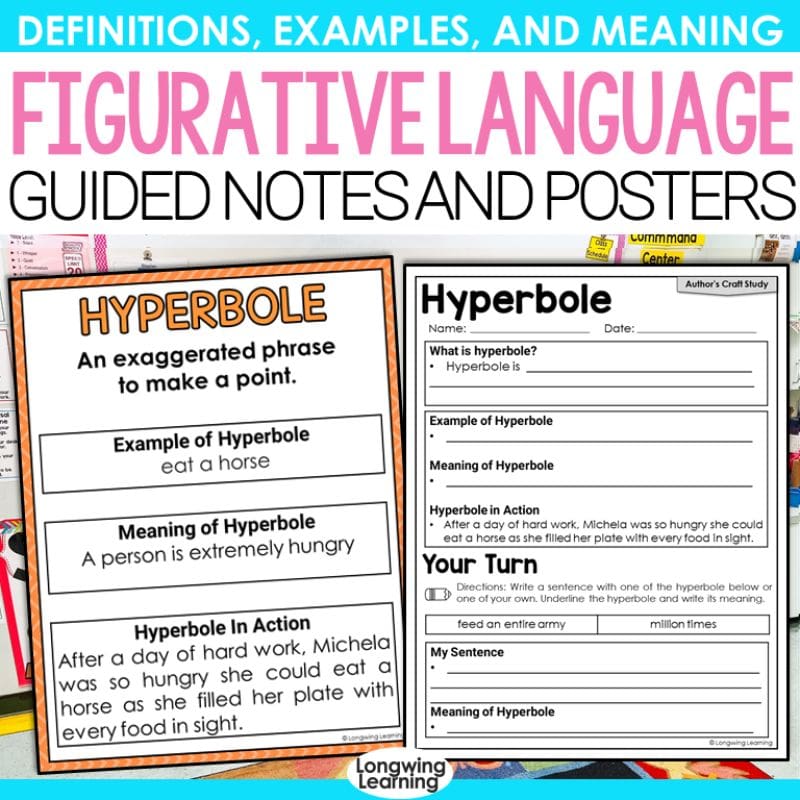
- Add different types of figurative language, such as similes, metaphors, and idioms, to expand on ideas and make their text evidence explanations soar.
Wrapping It Up
In conclusion, helping students overcome the challenge of explaining text evidence is crucial for their writing success.
By asking students “Why?” and encouraging them to tell their reasons for selecting specific text evidence help students explain their thoughts before writing their explanation.
To implement the writing strategy in your classroom, follow the step-by-step Guide. Model the process, practice with students, and allow them to apply the writing strategy independently.
It’s all about giving them the necessary support and practice to master this crucial writing skill to explain text evidence in any writing task that comes their way!
Featured Resources


One Response